Dead of the Night
Intel Brief
A grand English estate on a stormy winter night where vampires, werewolves, and the undead collide. The Chaos crew races to uncover the manor's dark secrets.
Setup Guide
Power
- Spawn starts split by a barrier on the North Atrium Bridge. Push either side to the Grand Staircase.
- Activate the Sentinel Artifact on the Grand Staircase to open red barriers and unify route access.
- Once Artifact is active, prioritize opening Main Hall connectors: East Hallway, West Hallway, Wine Cellar, and Forest Terrace.
- Bring online your utility loop early: Shield table (Smoking Room), Silver Melter (Wine Cellar), and Silver Bullet station (Library).
Pack-a-Punch Location
Forest end-path, unlocked by the Tuning Fork gate from Forest Terrace.
Accessing Pack-a-Punch
- Activate the Sentinel Artifact on the Grand Staircase.
- Find and melee three smoke-emitting vases to reveal purple, blue, and green stones.
- For each stone, kill four nearby zombies to charge it, then interact to reveal the linked object task.
- Complete three object tasks (clock/perk statue/ghost-object variants) to earn three Tuning Forks.
- Go to Forest Terrace and interact with the blocked gate using the collected Tuning Forks.
- Enter the Forest (first opening spawns a werewolf), then move to the far end to use Pack-a-Punch.
Ballistic Shield
Three-part shield built at the Smoking Room table. Core survivability tool for hallway revives and objective steps.
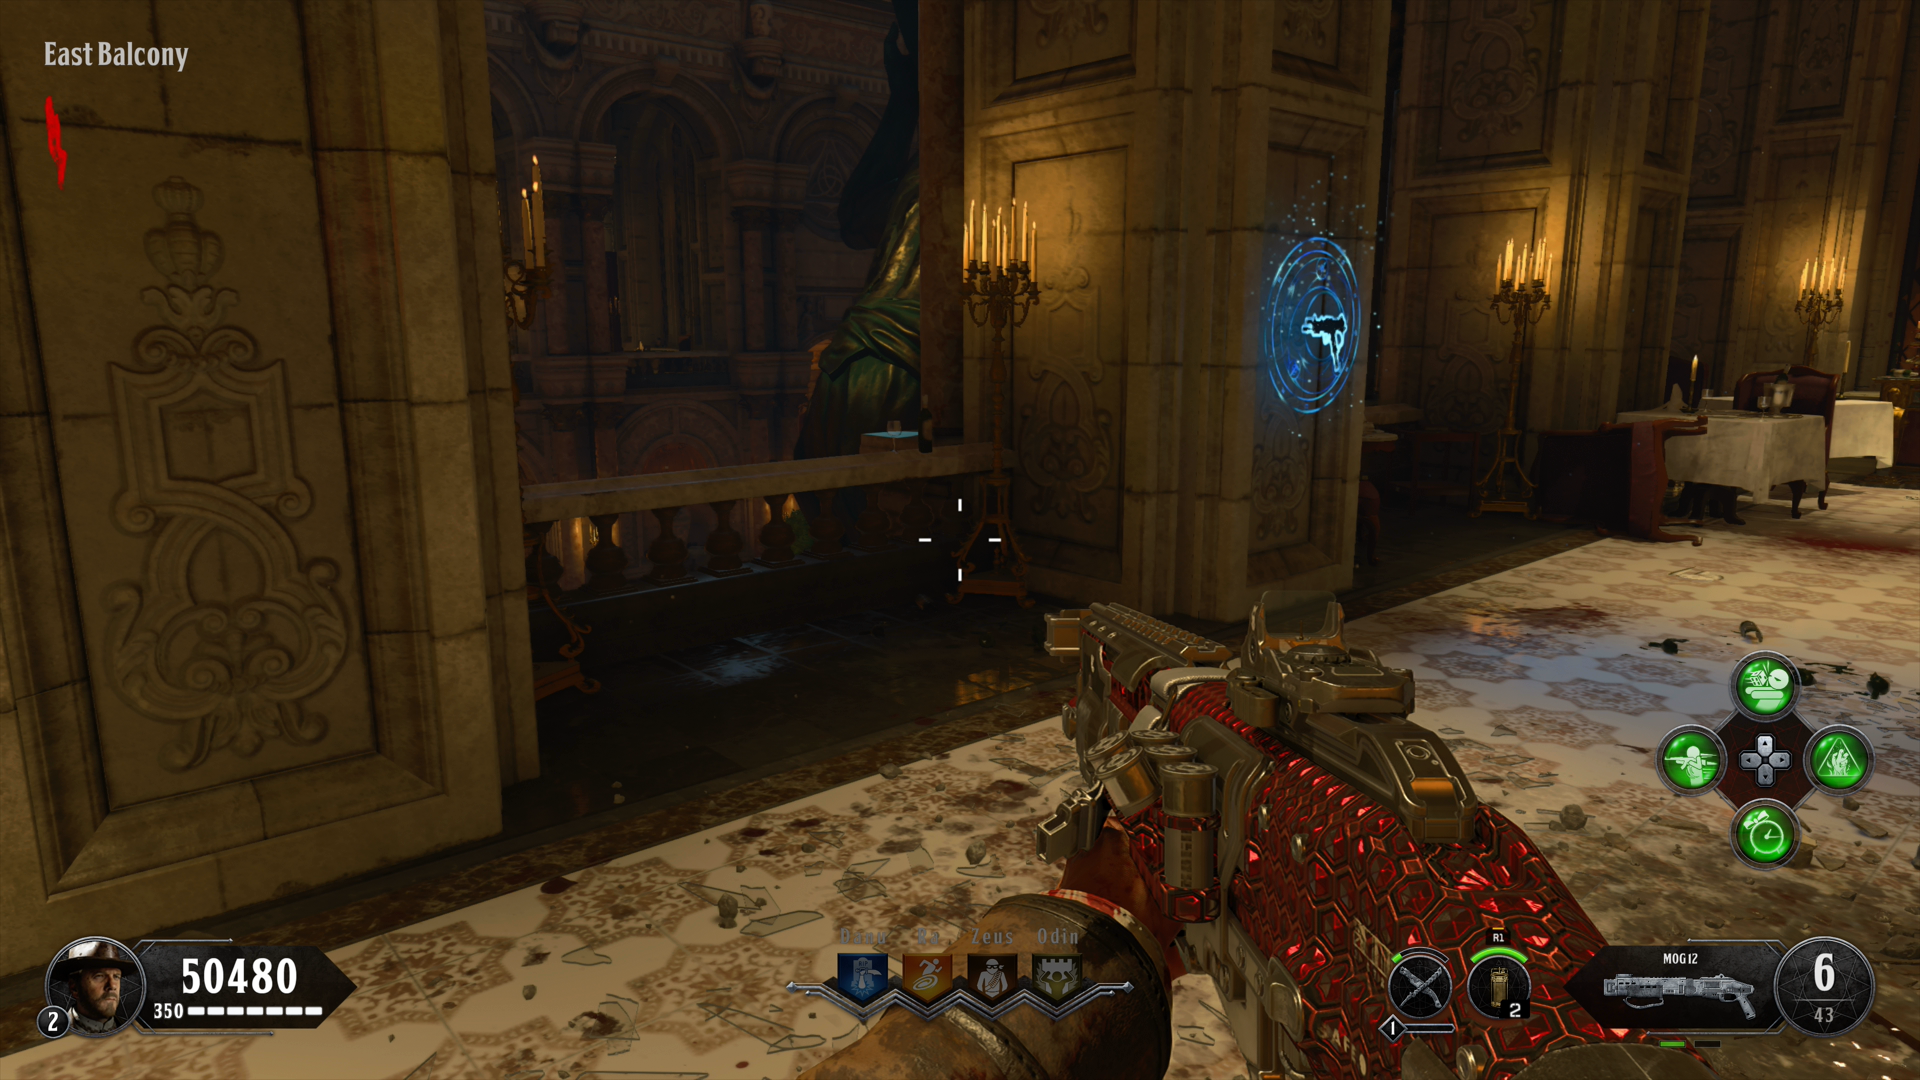 East Balcony, left of Saug wall-buy.
 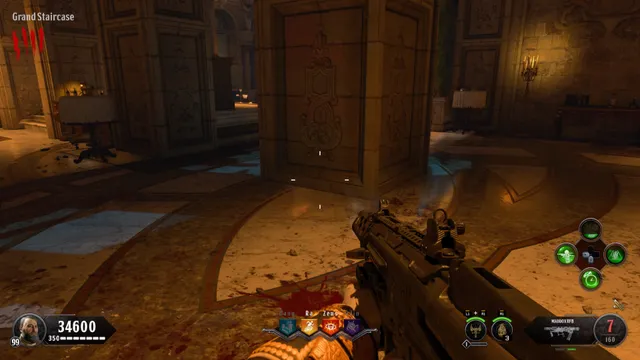 Grand Staircase, leaning on pillar.
 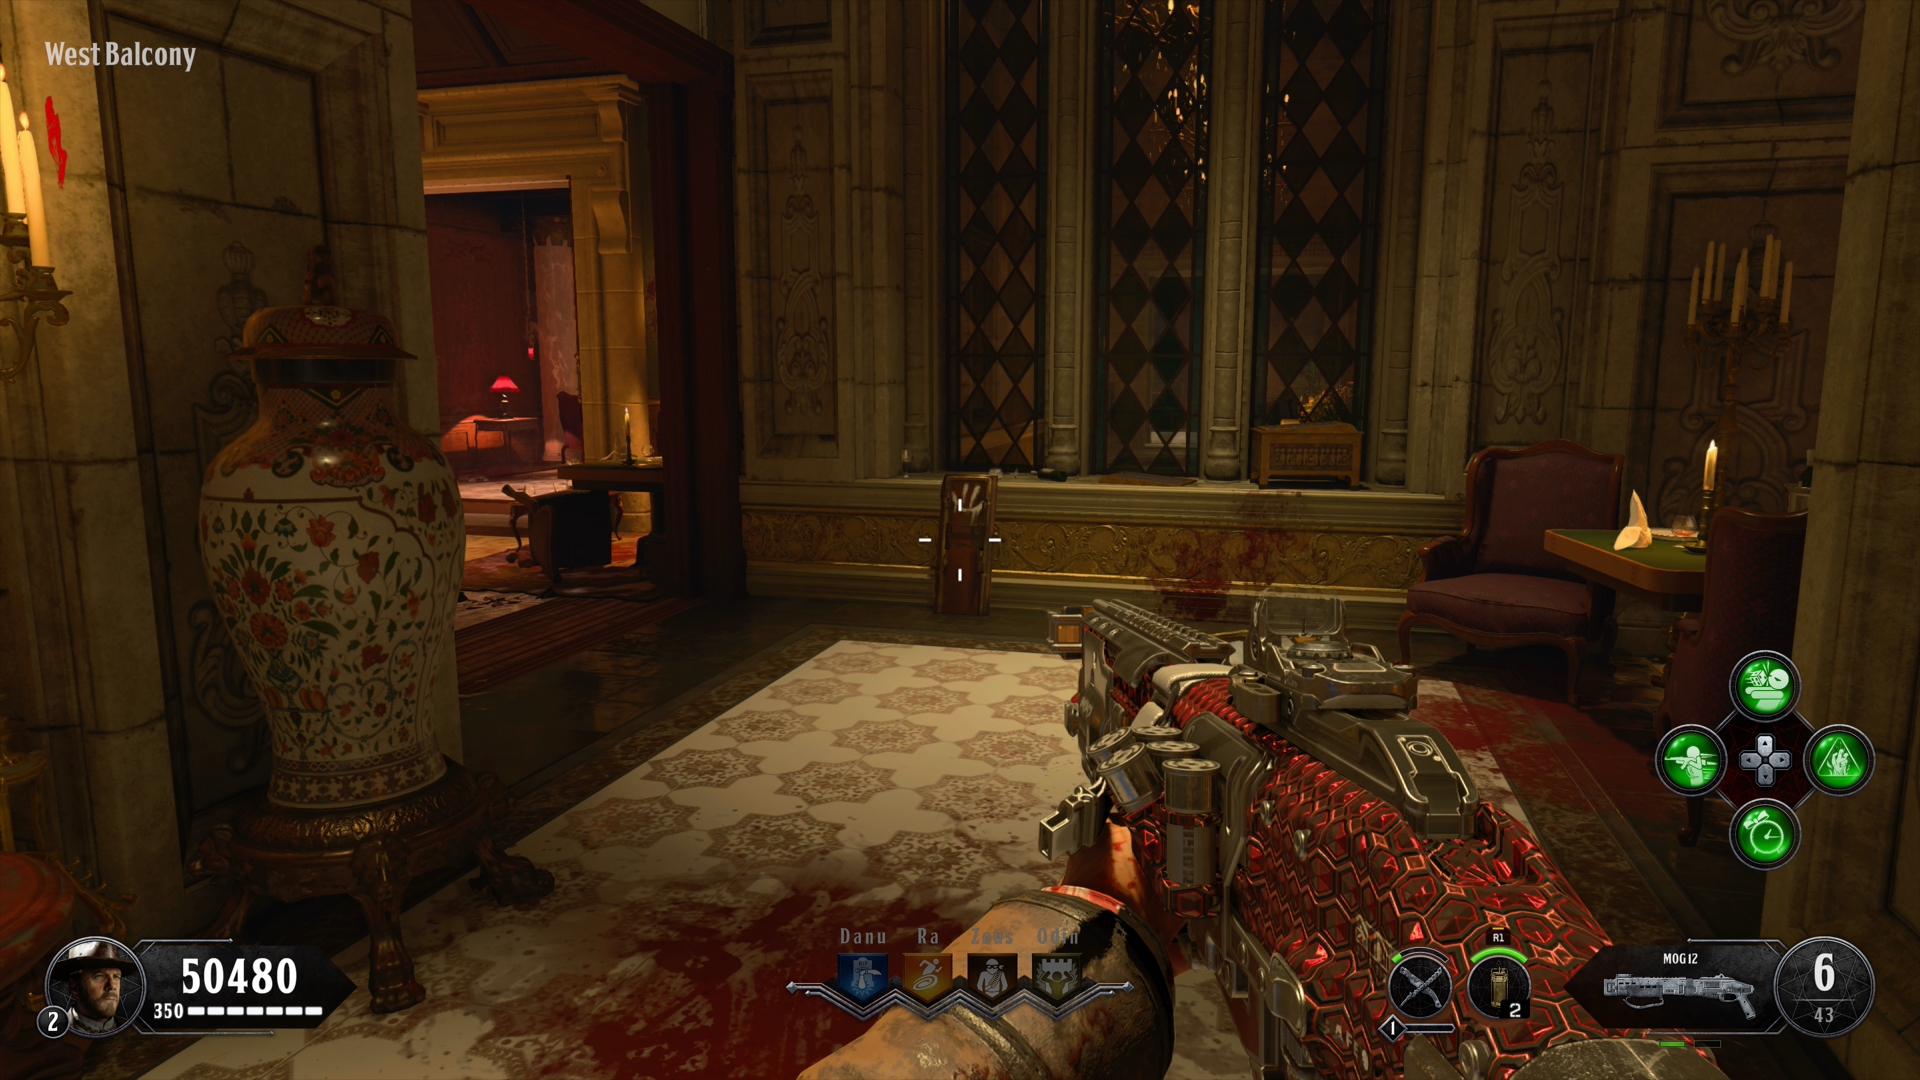 West Balcony, against stained glass.
 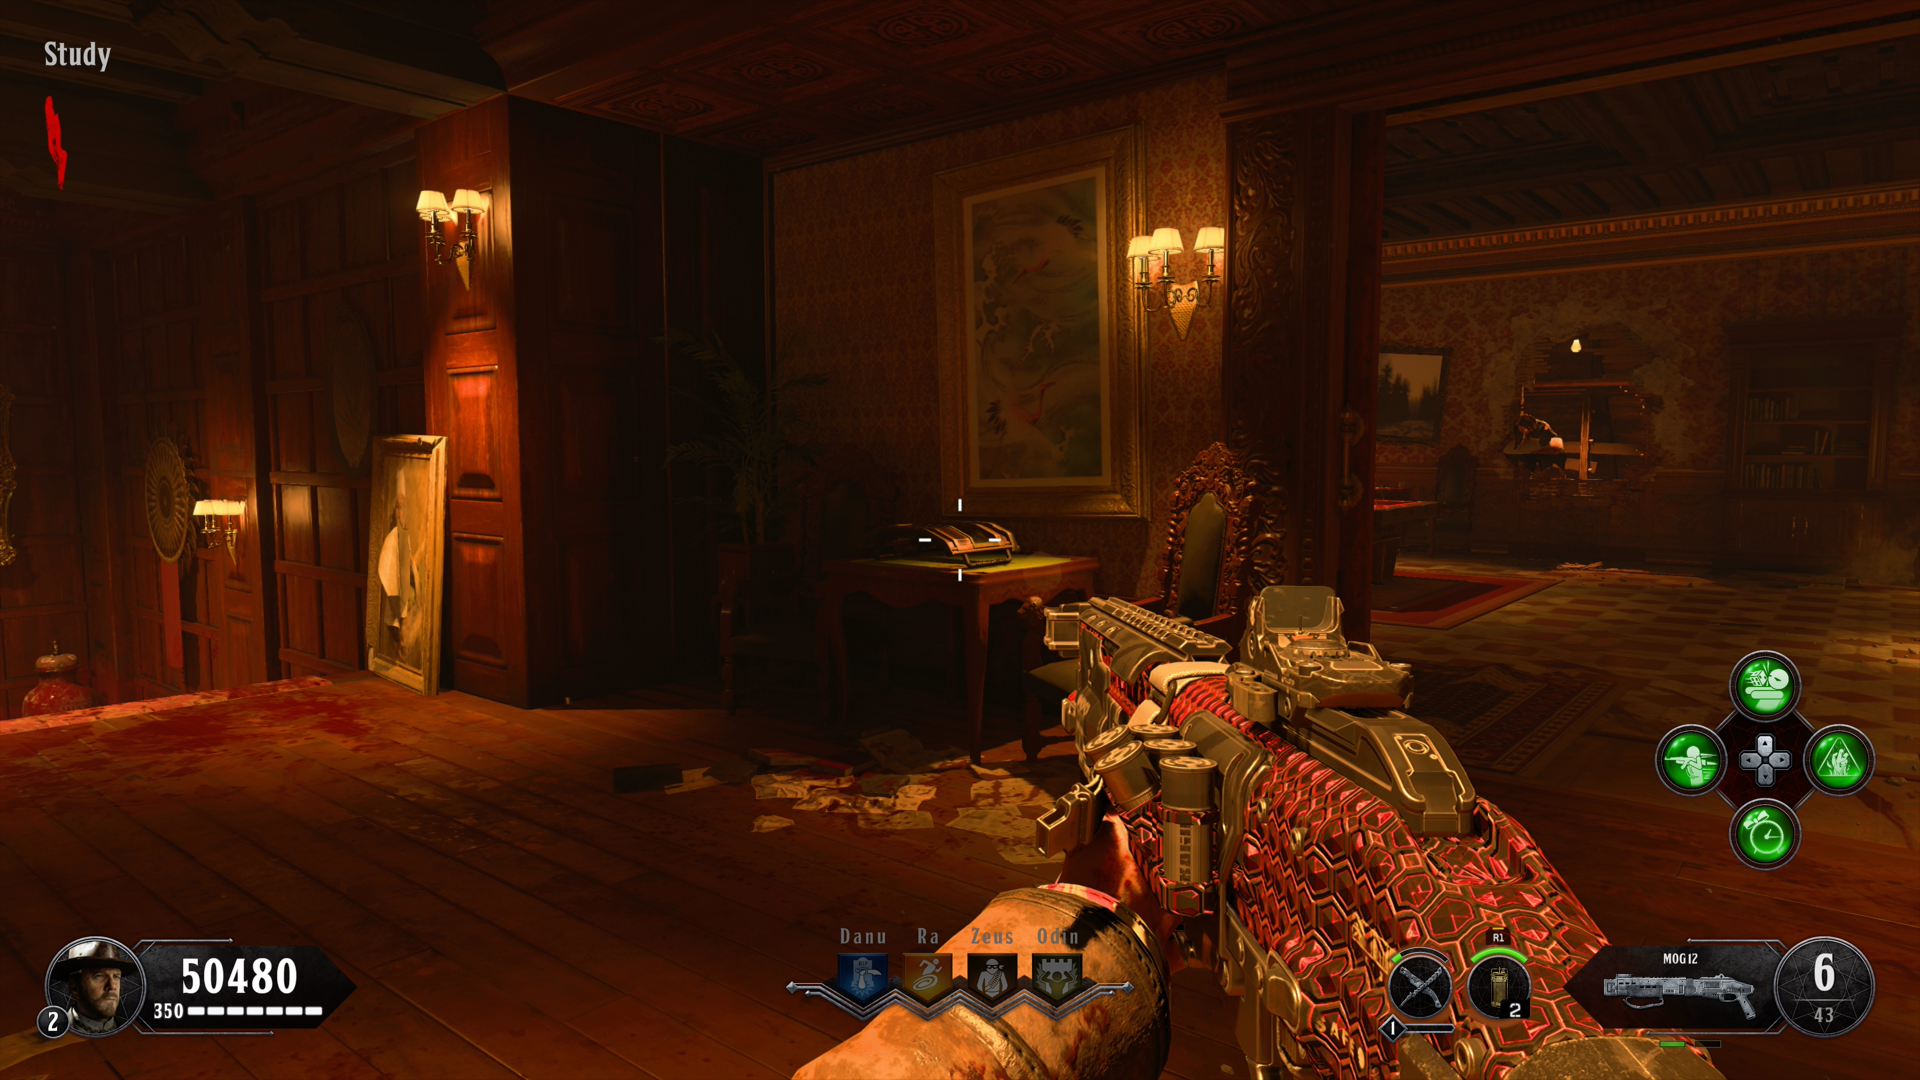 Study, on table.
 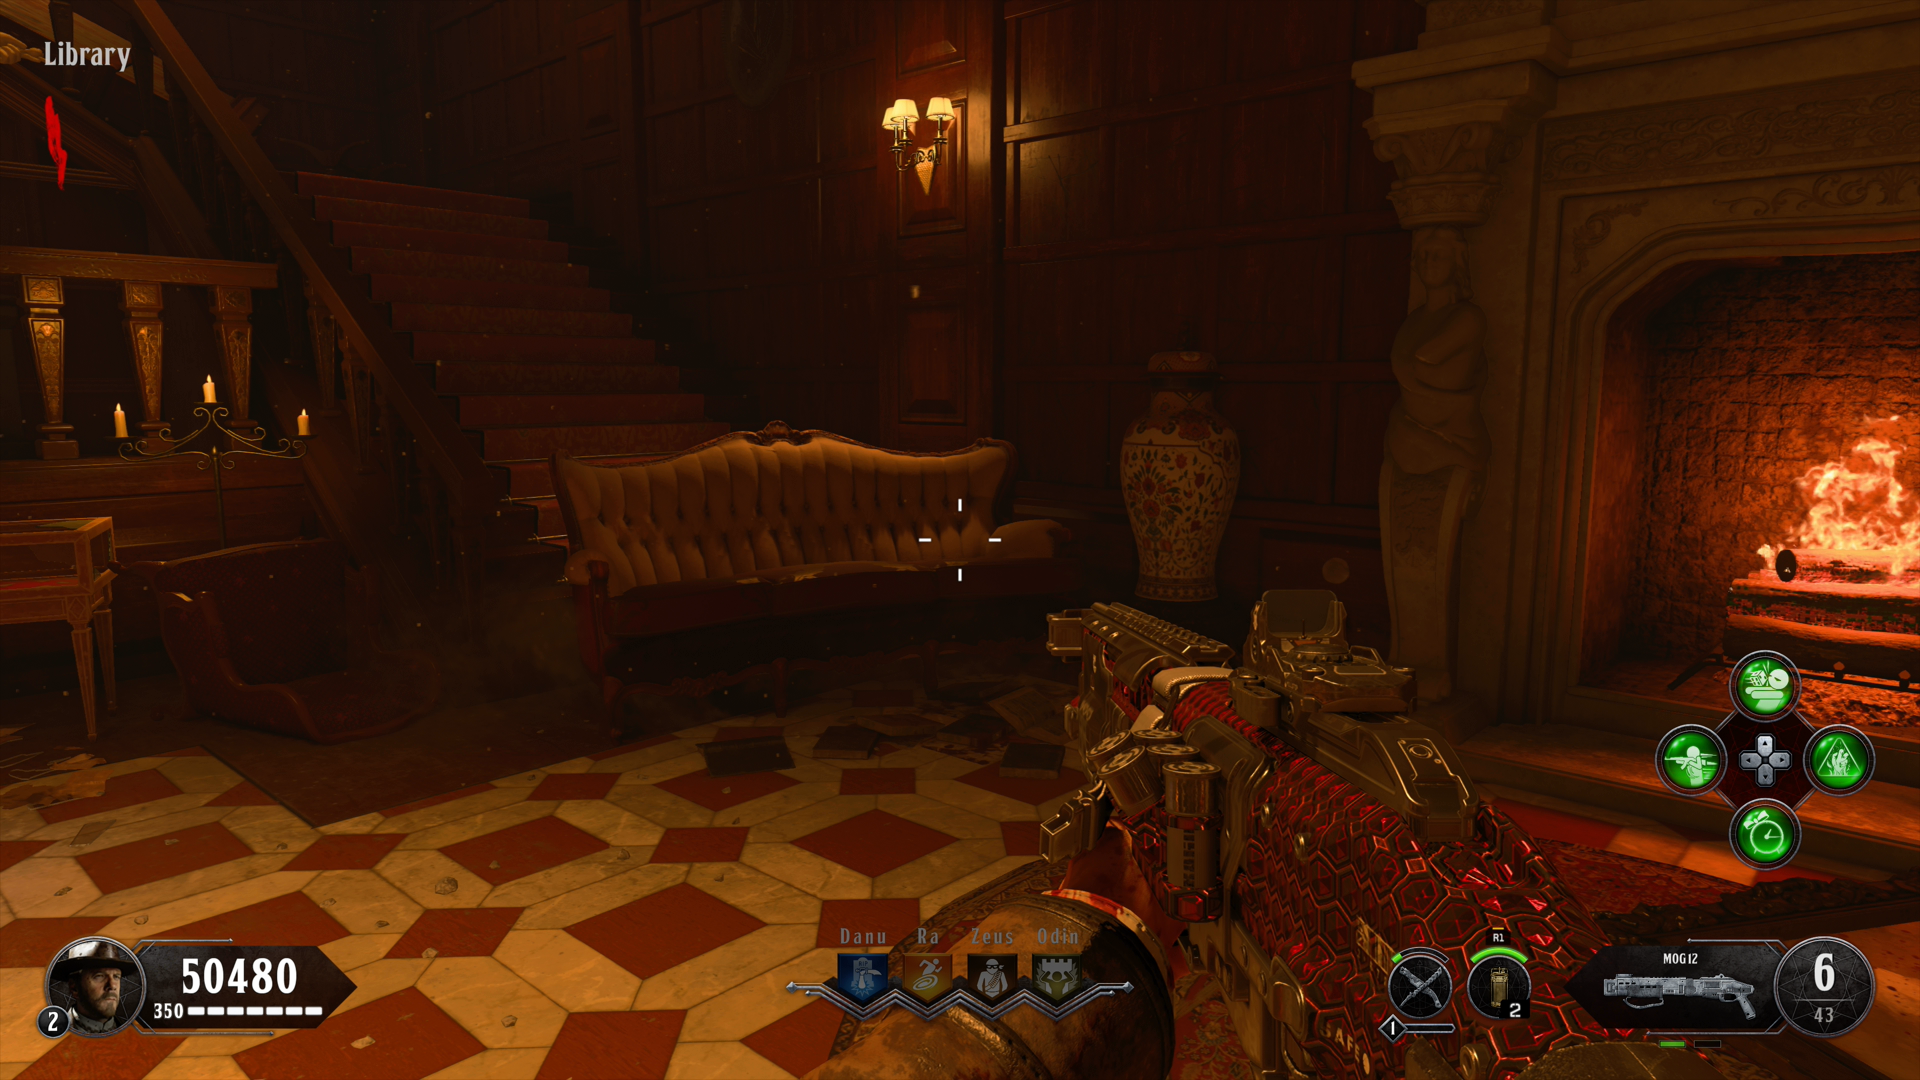 Library, on couch.
 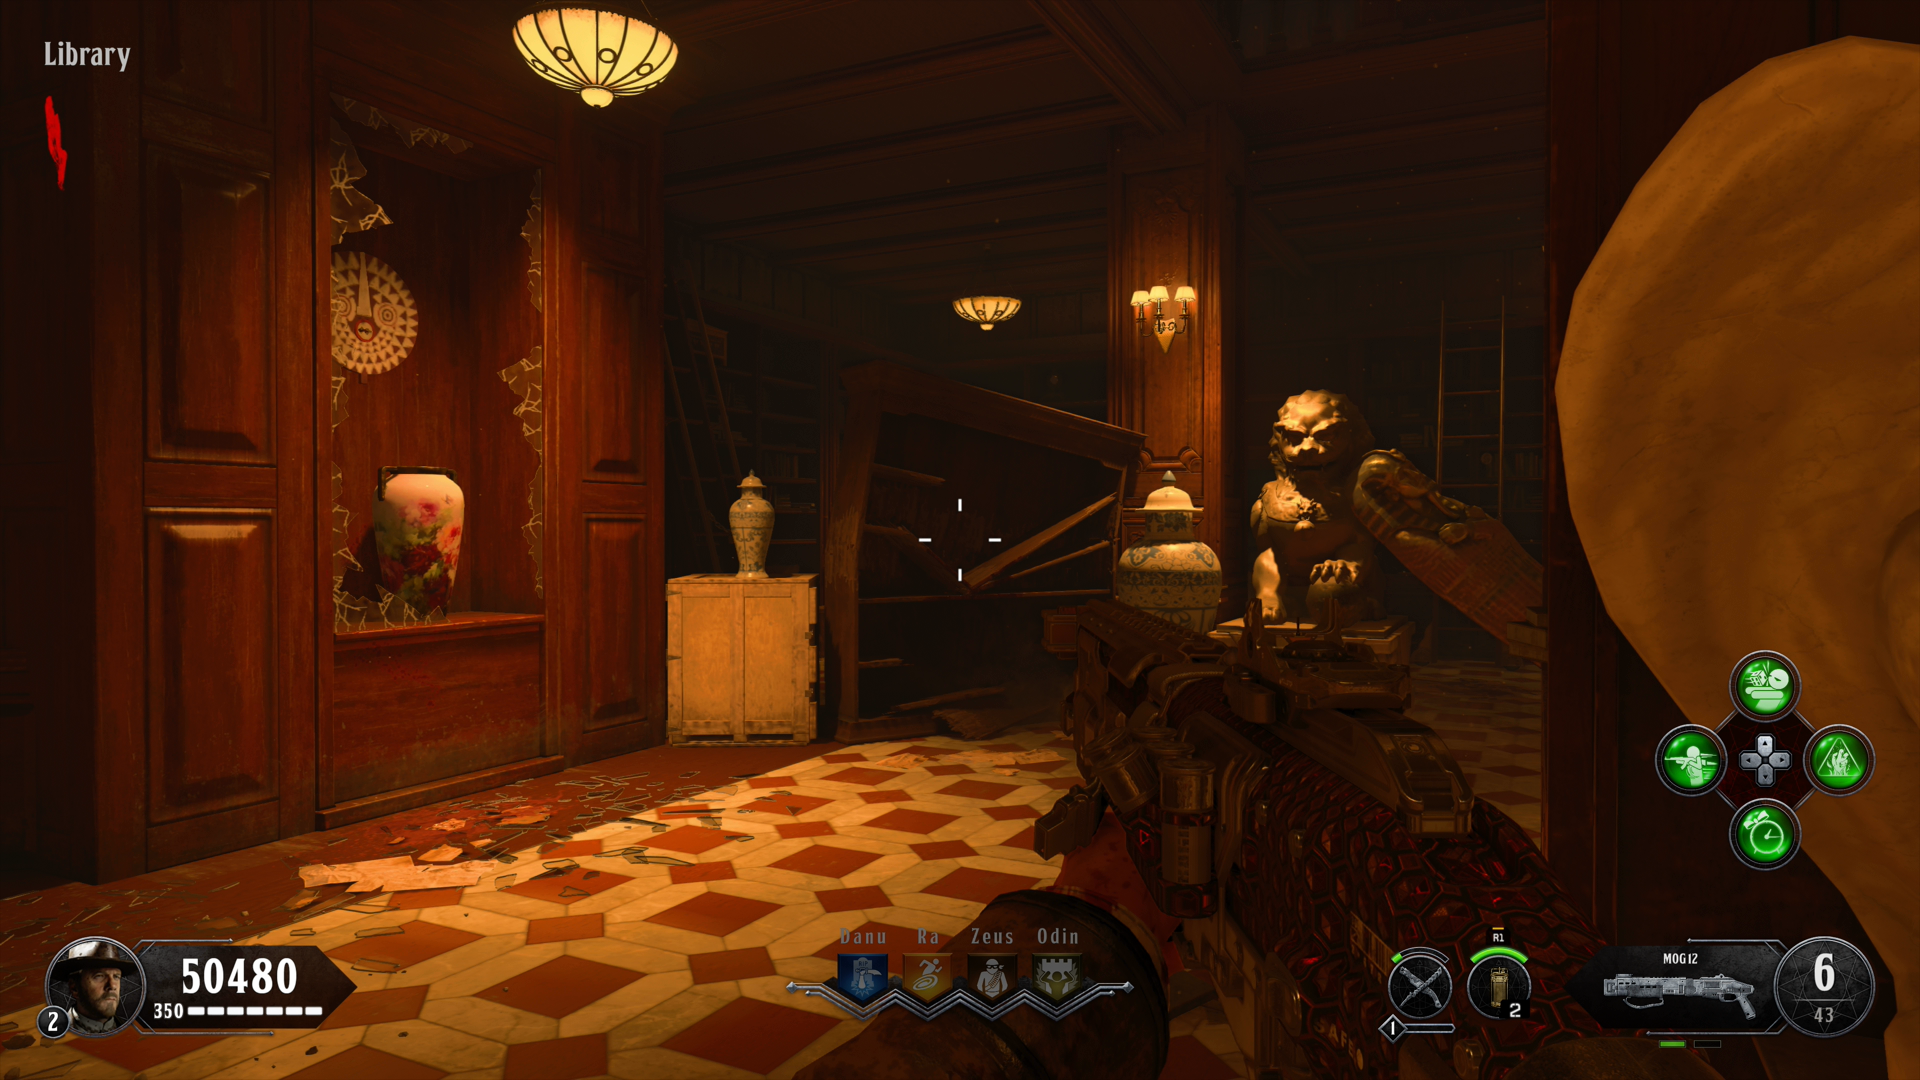 Library, broken shelf.
 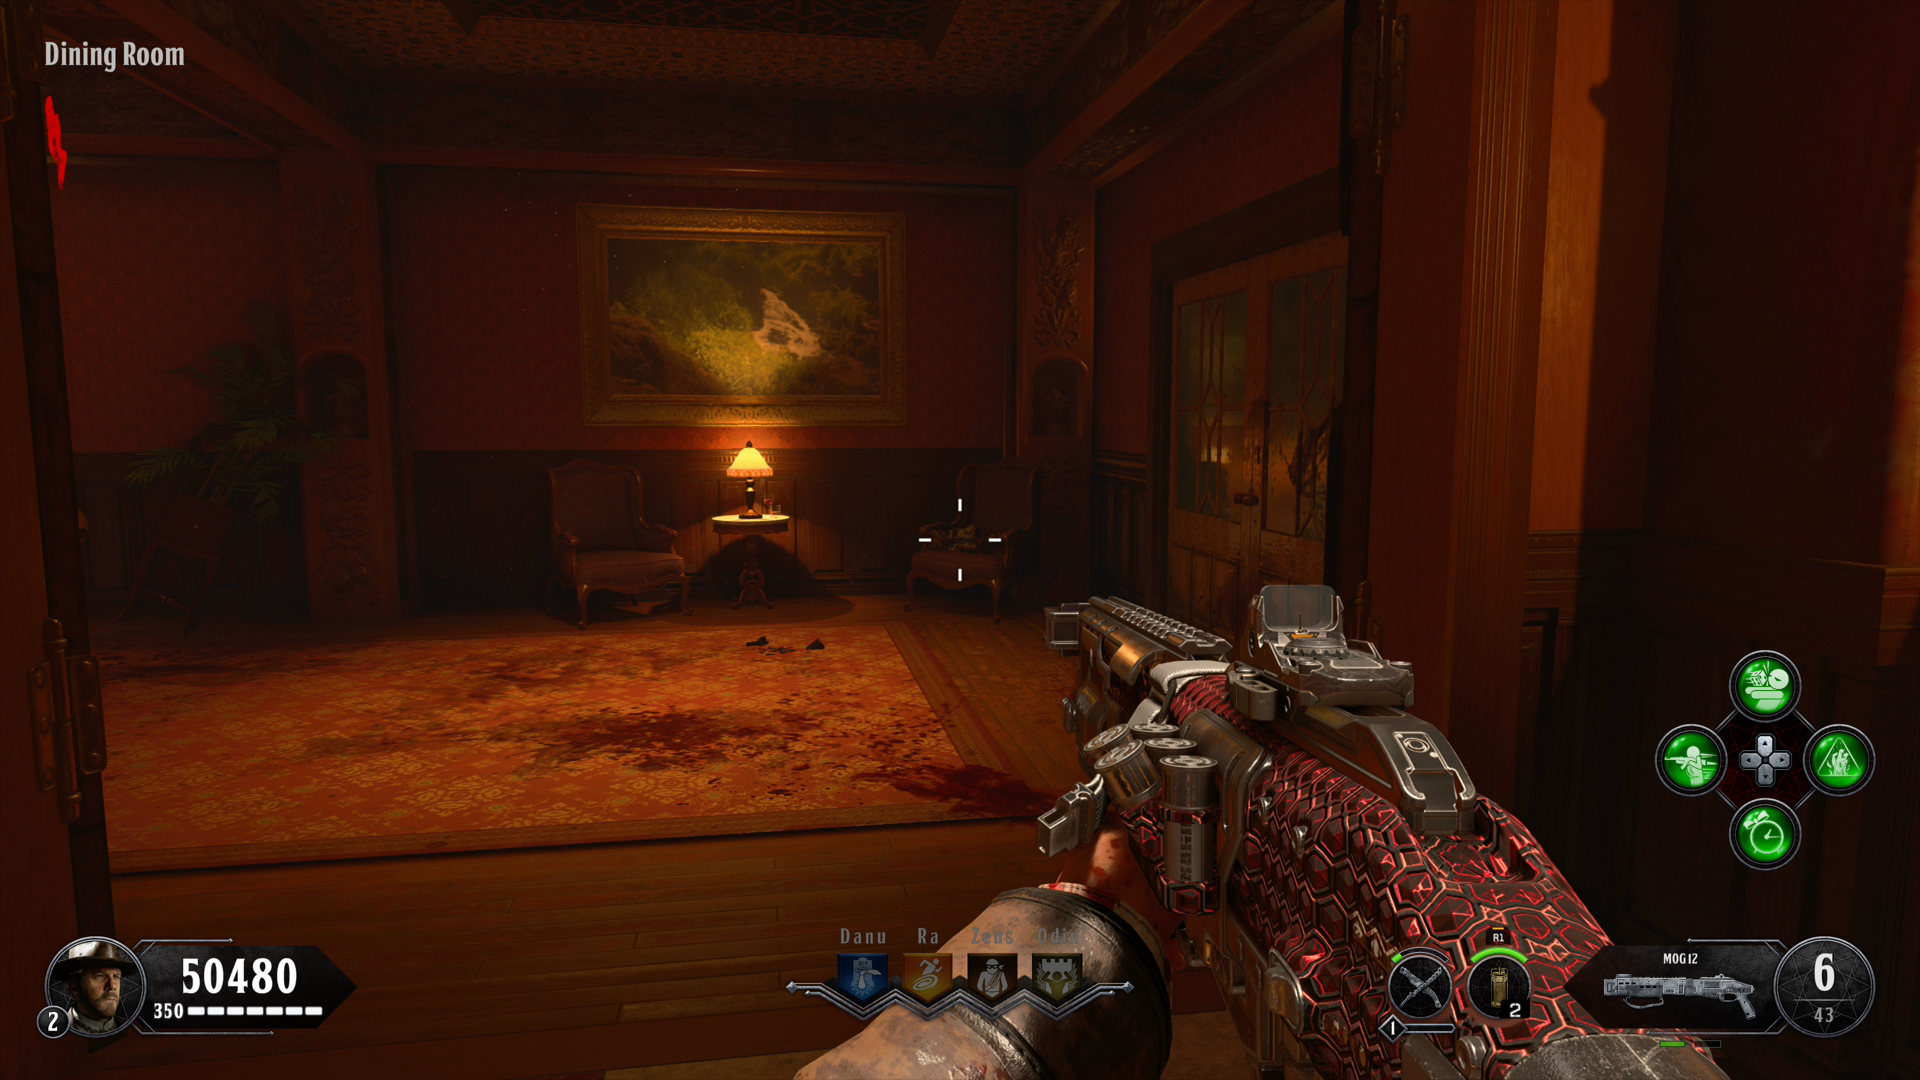 East Hallway, on chair. Dining Room, right of SwordFish wall-buy.
 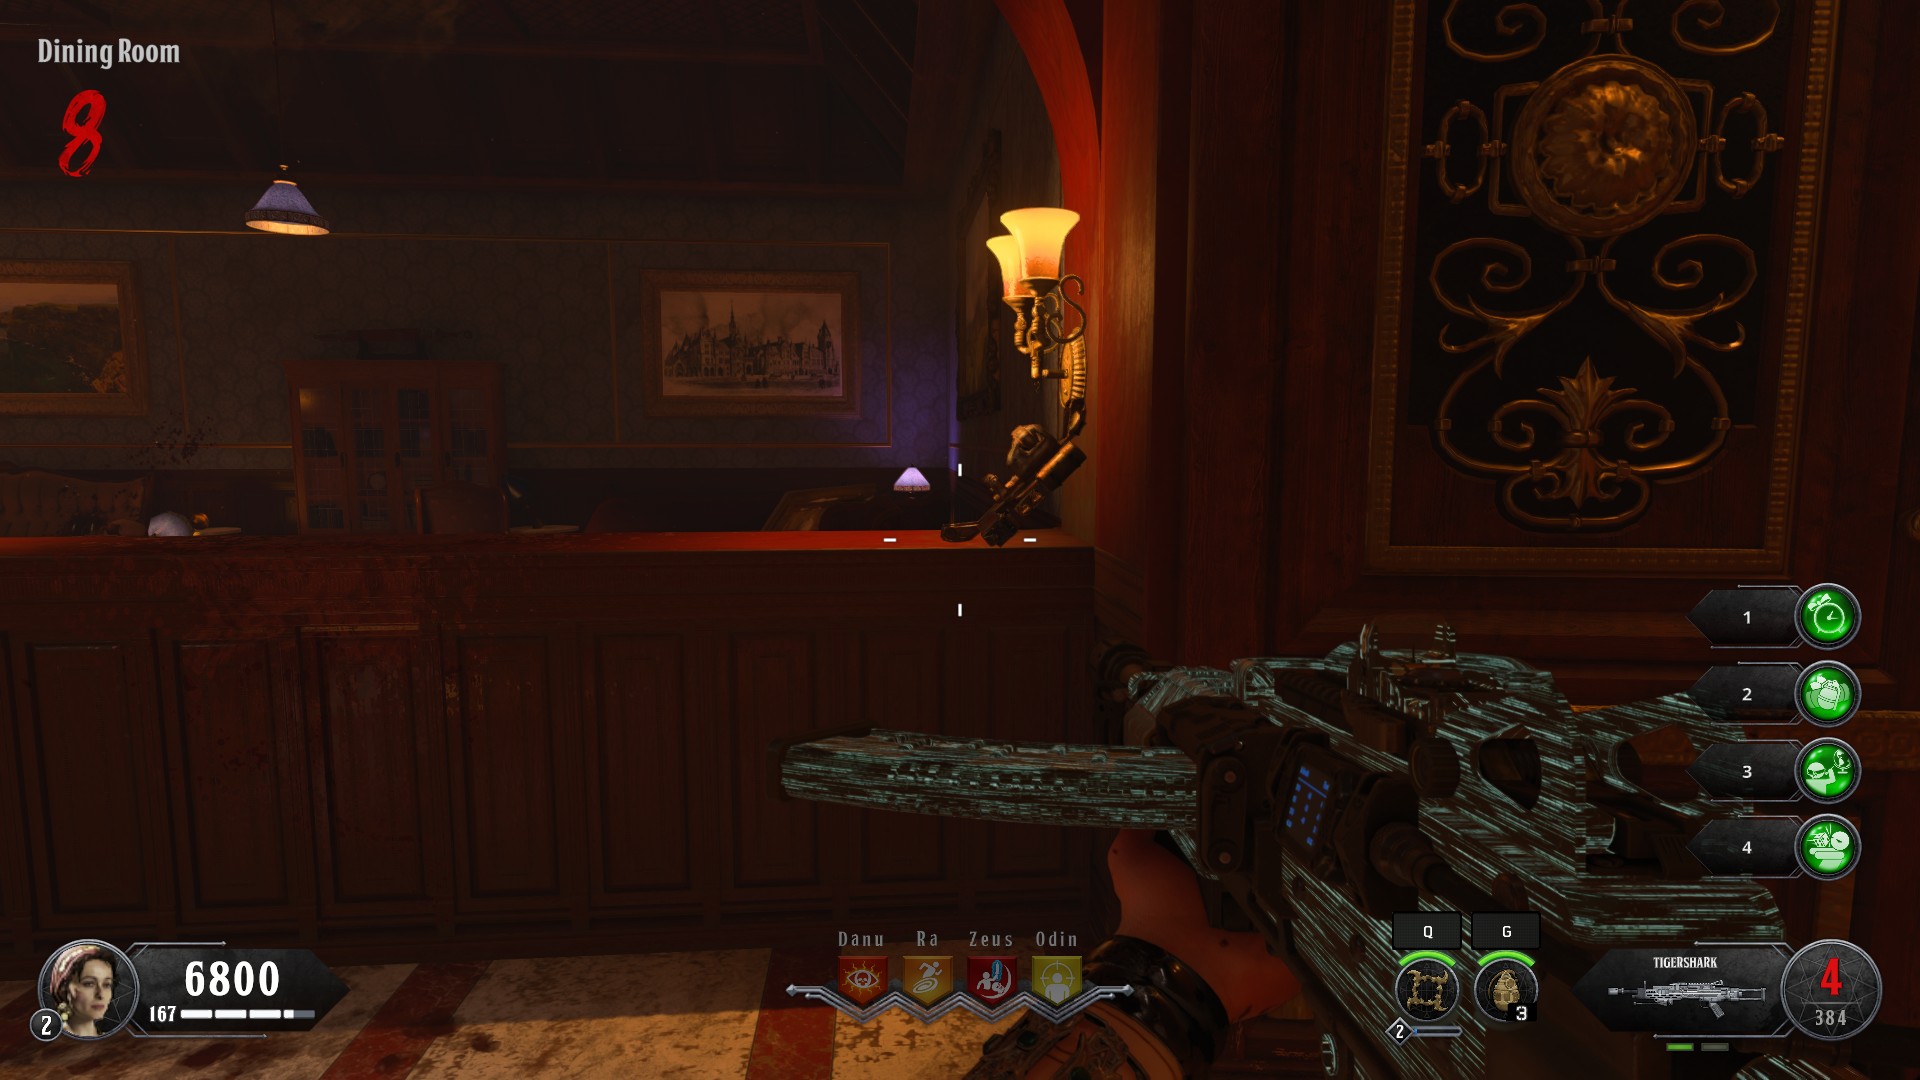 Dining Room, shelf left of staircase.
 Silver Bullets
Multi-part silver crafting chain that hard-counters werewolves and gates several main-quest steps.
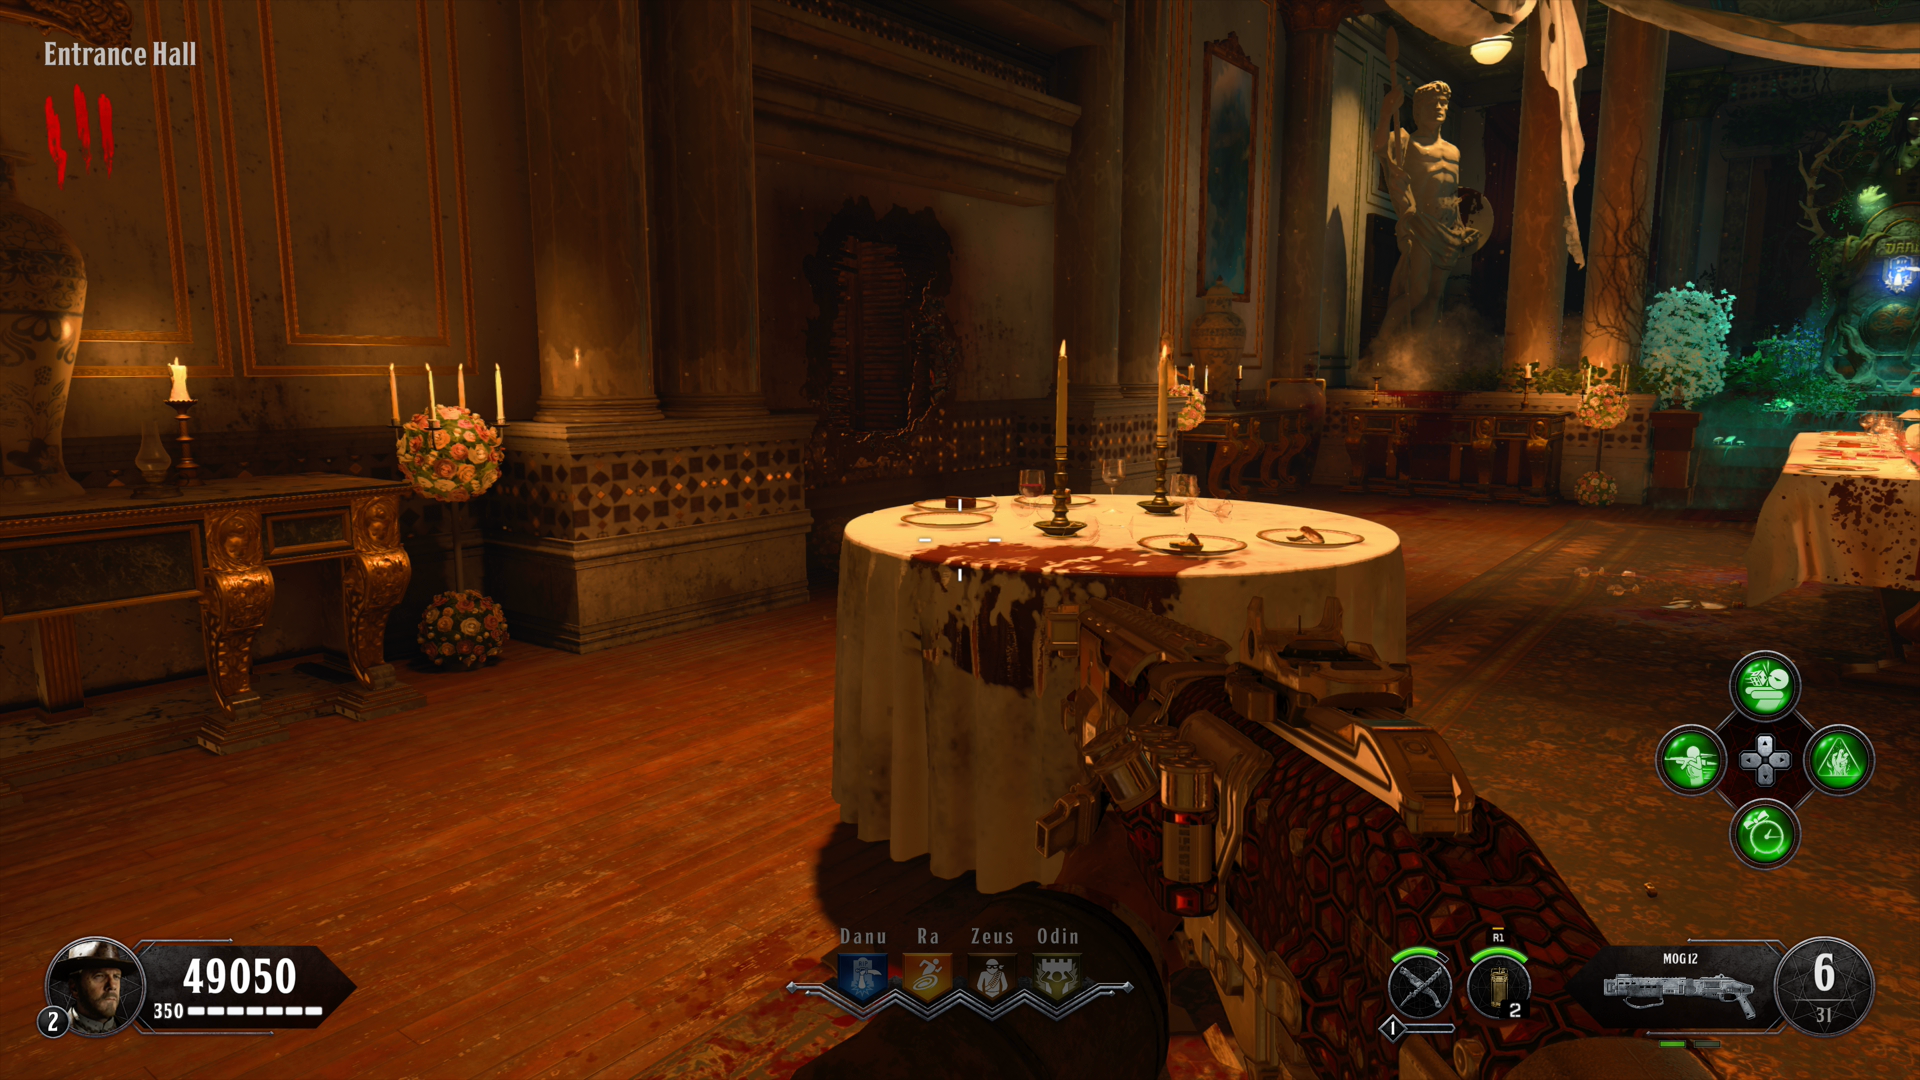 Entrance Hall, round table.
 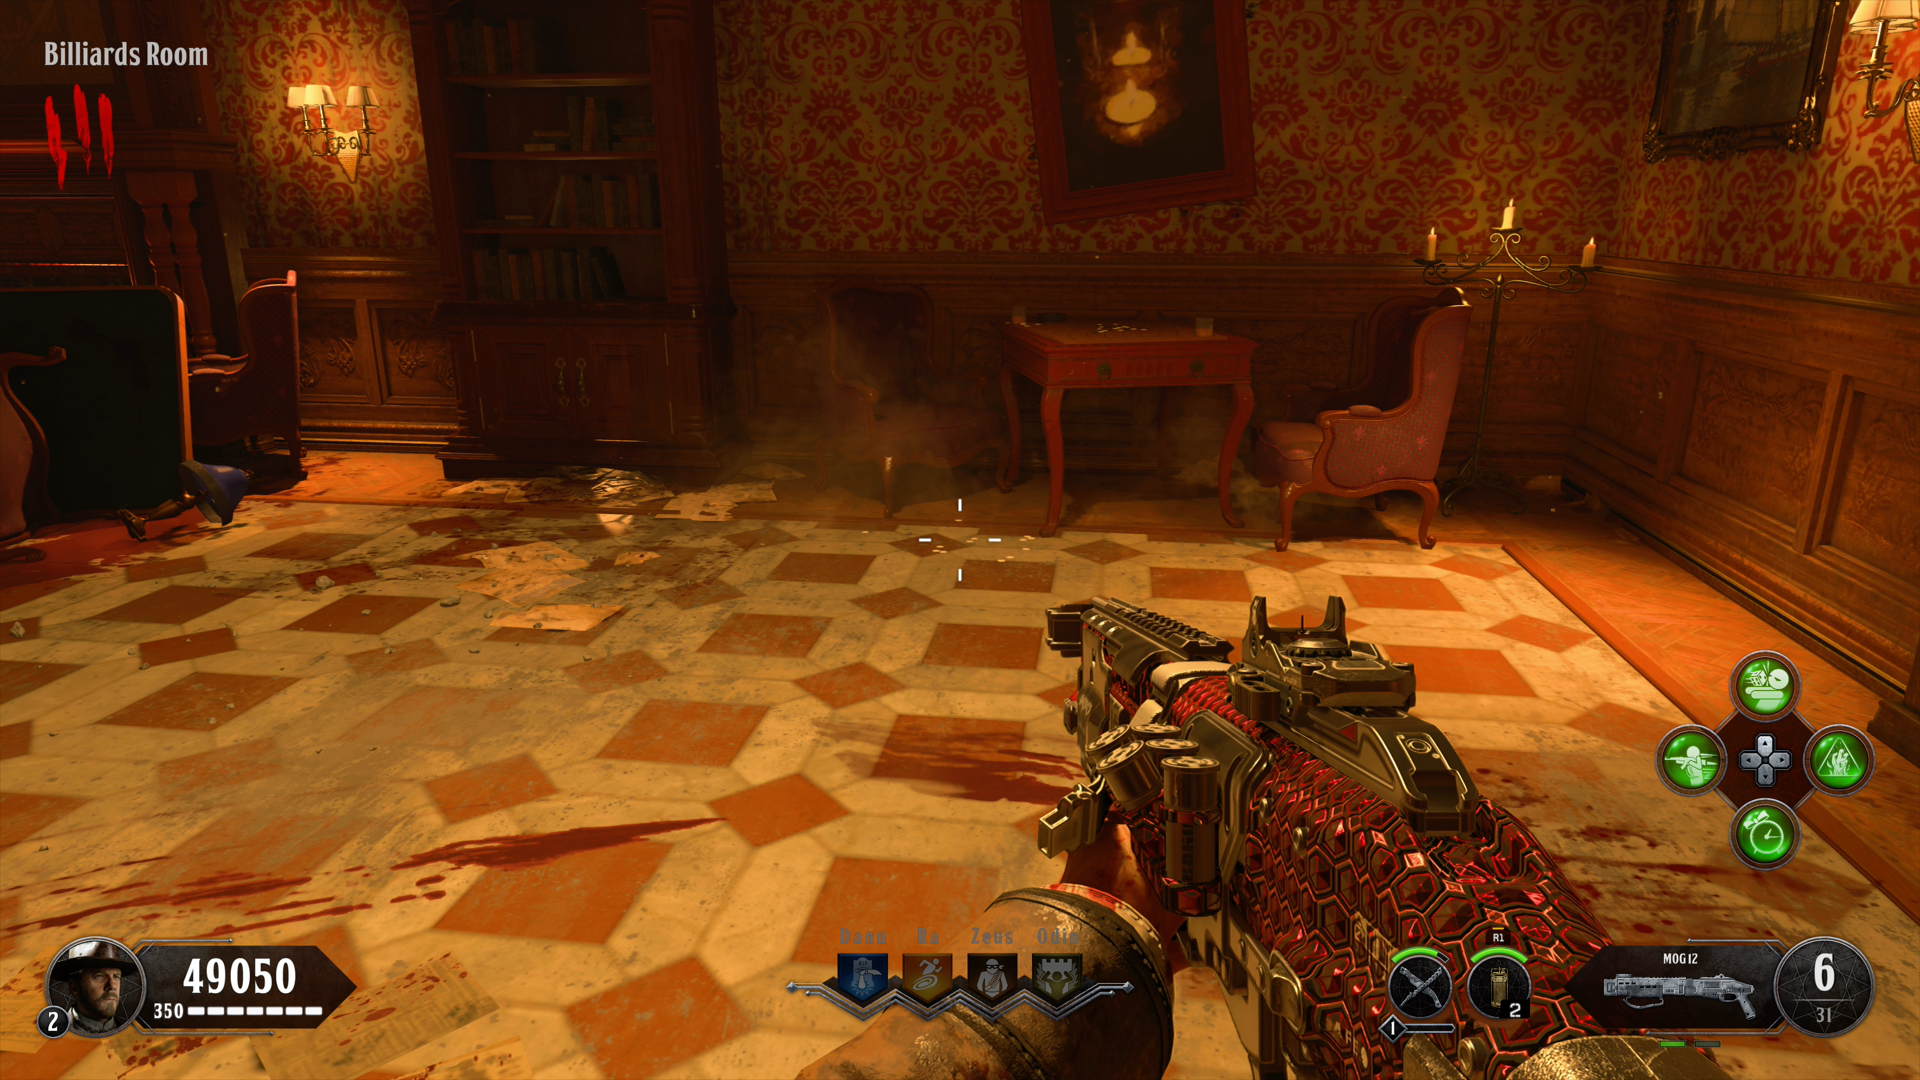 Billiards Room, fireplace floor.
 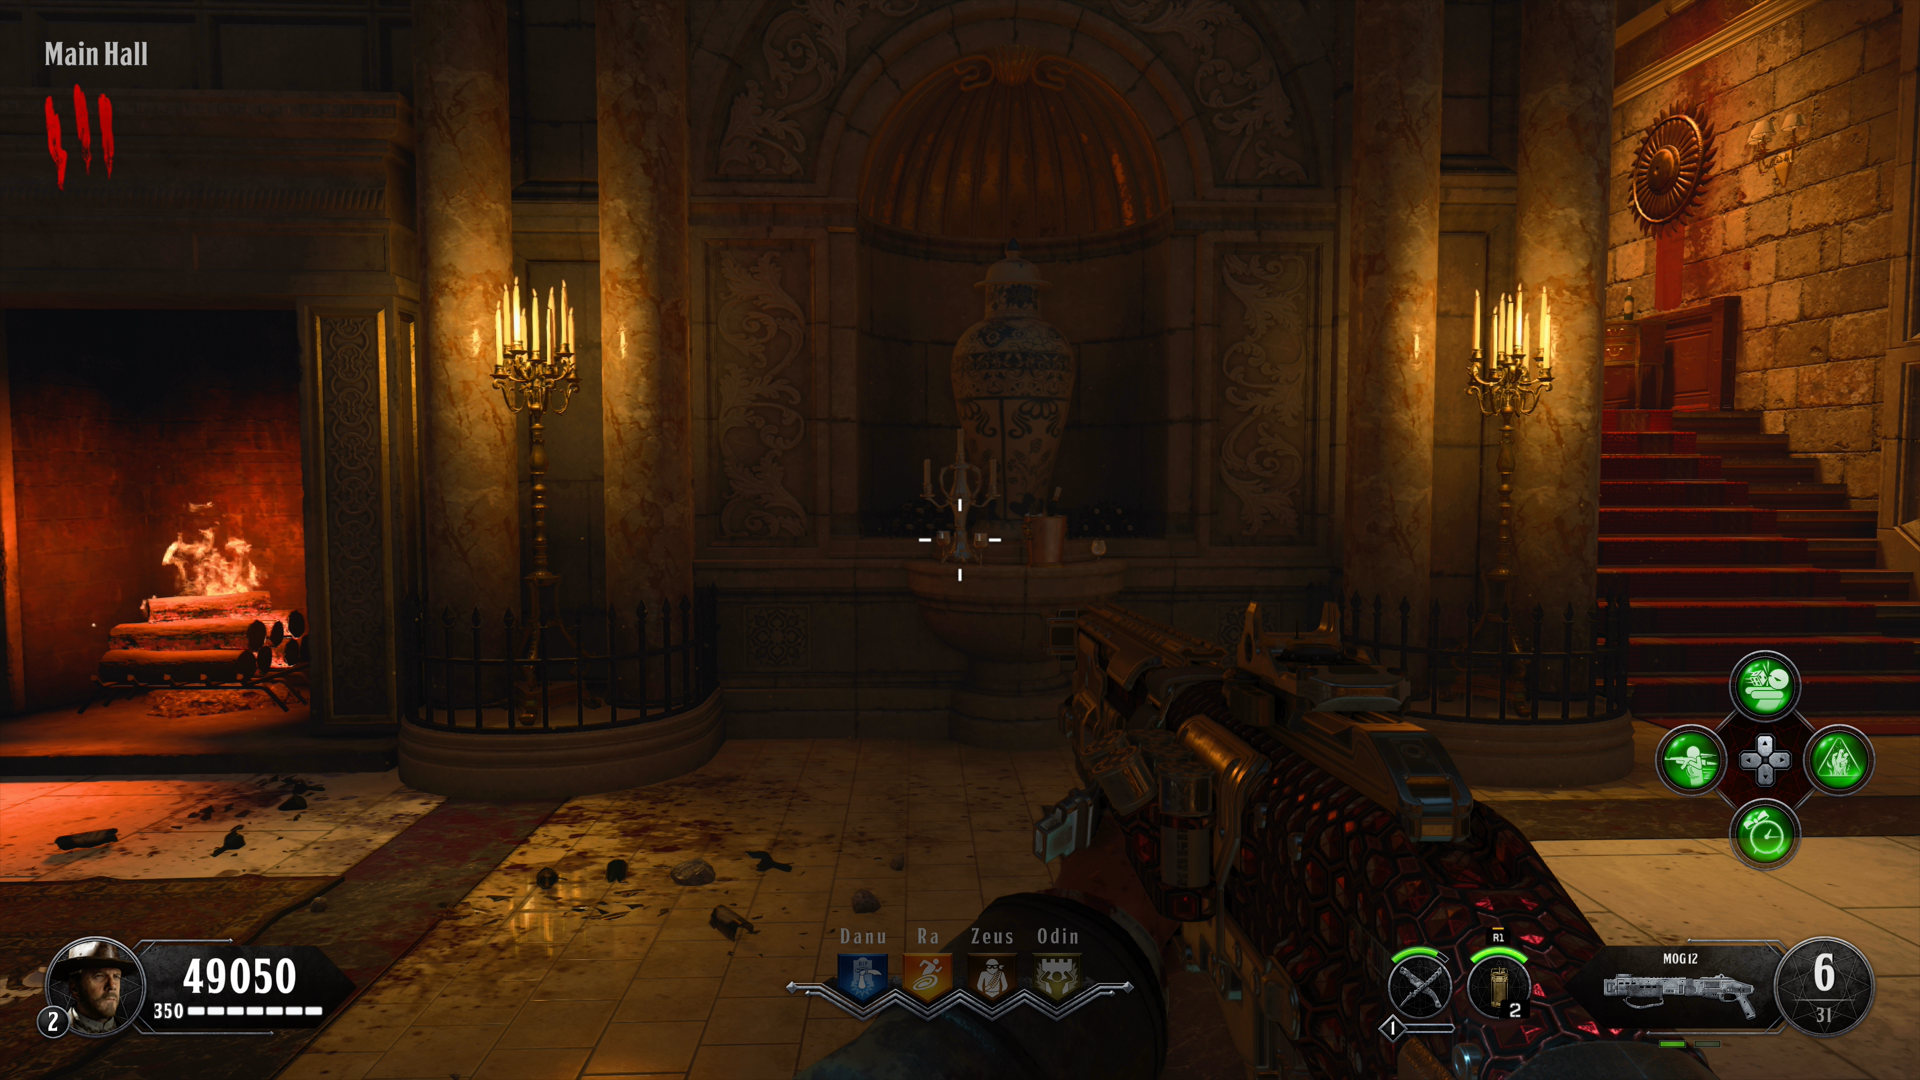 Main Hall, near Mozu wall-buy.
 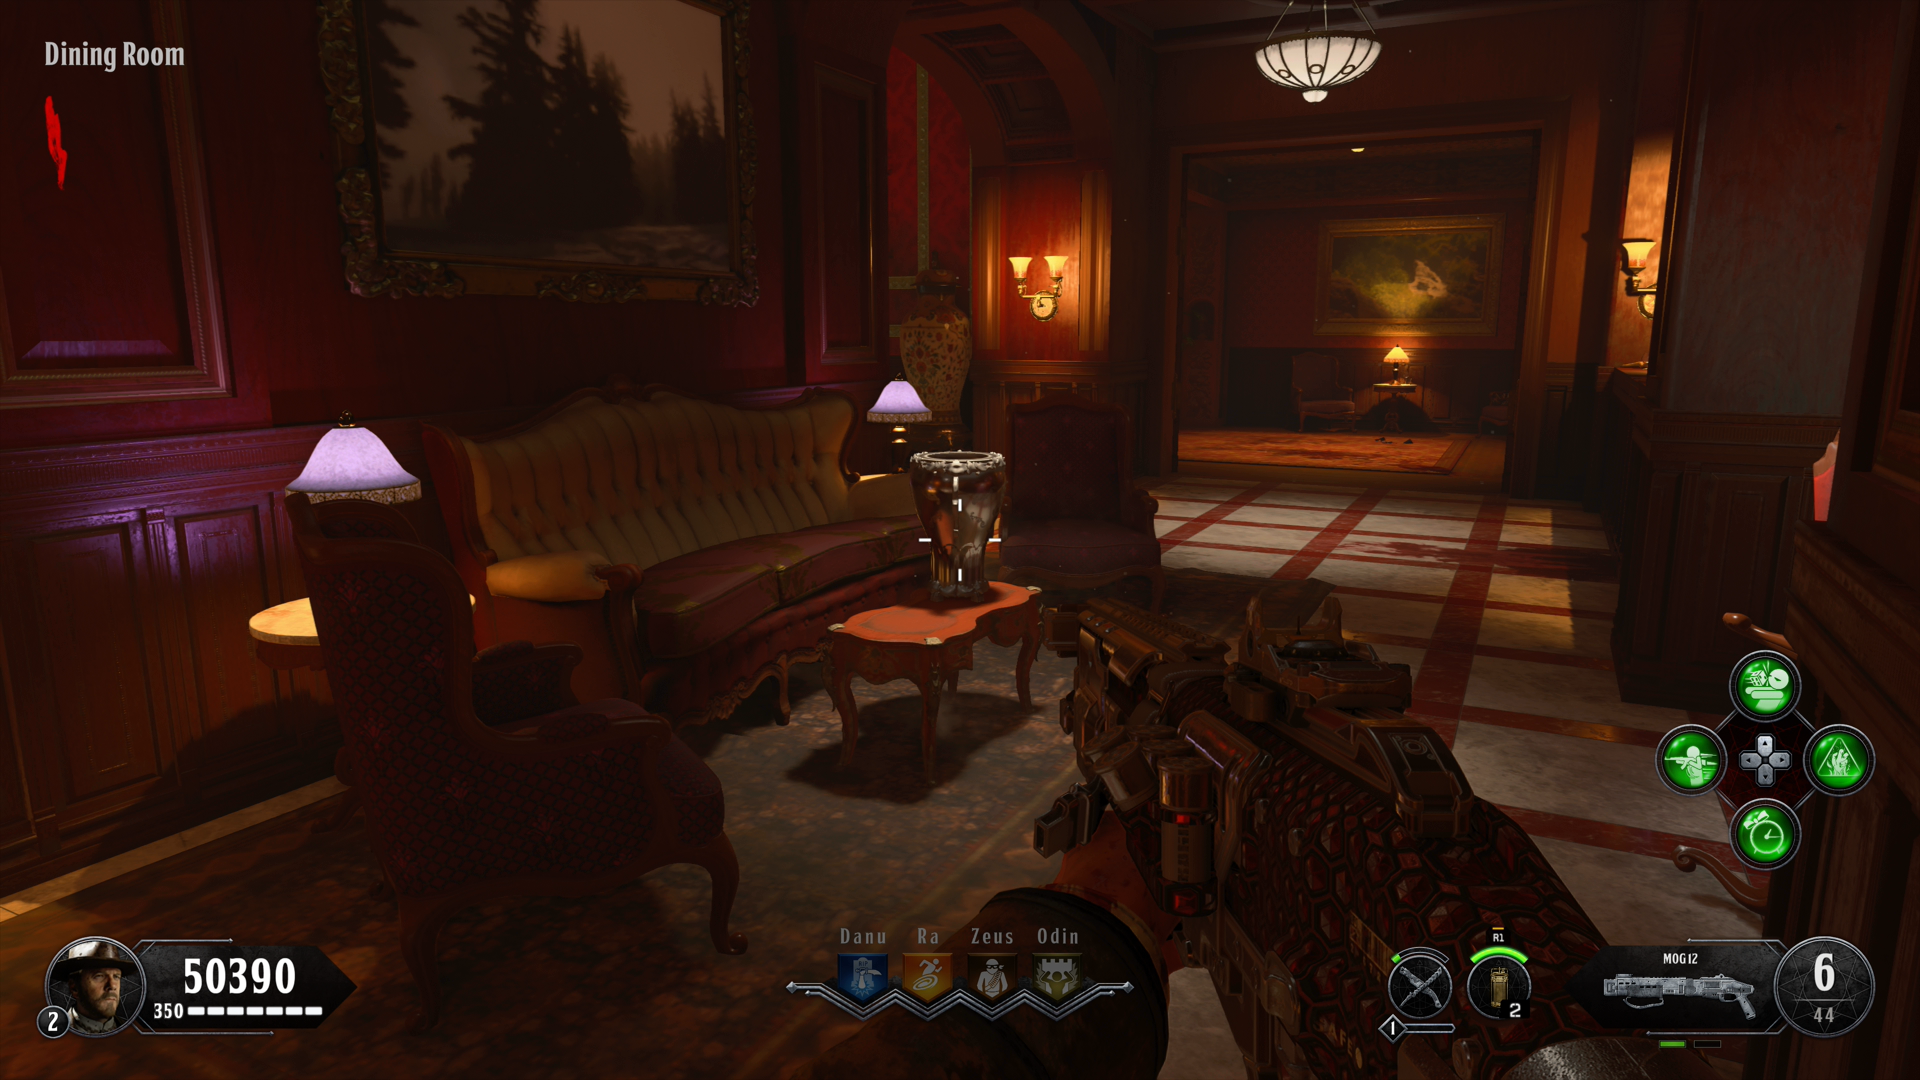 Dining Room, red table opposite clock.
 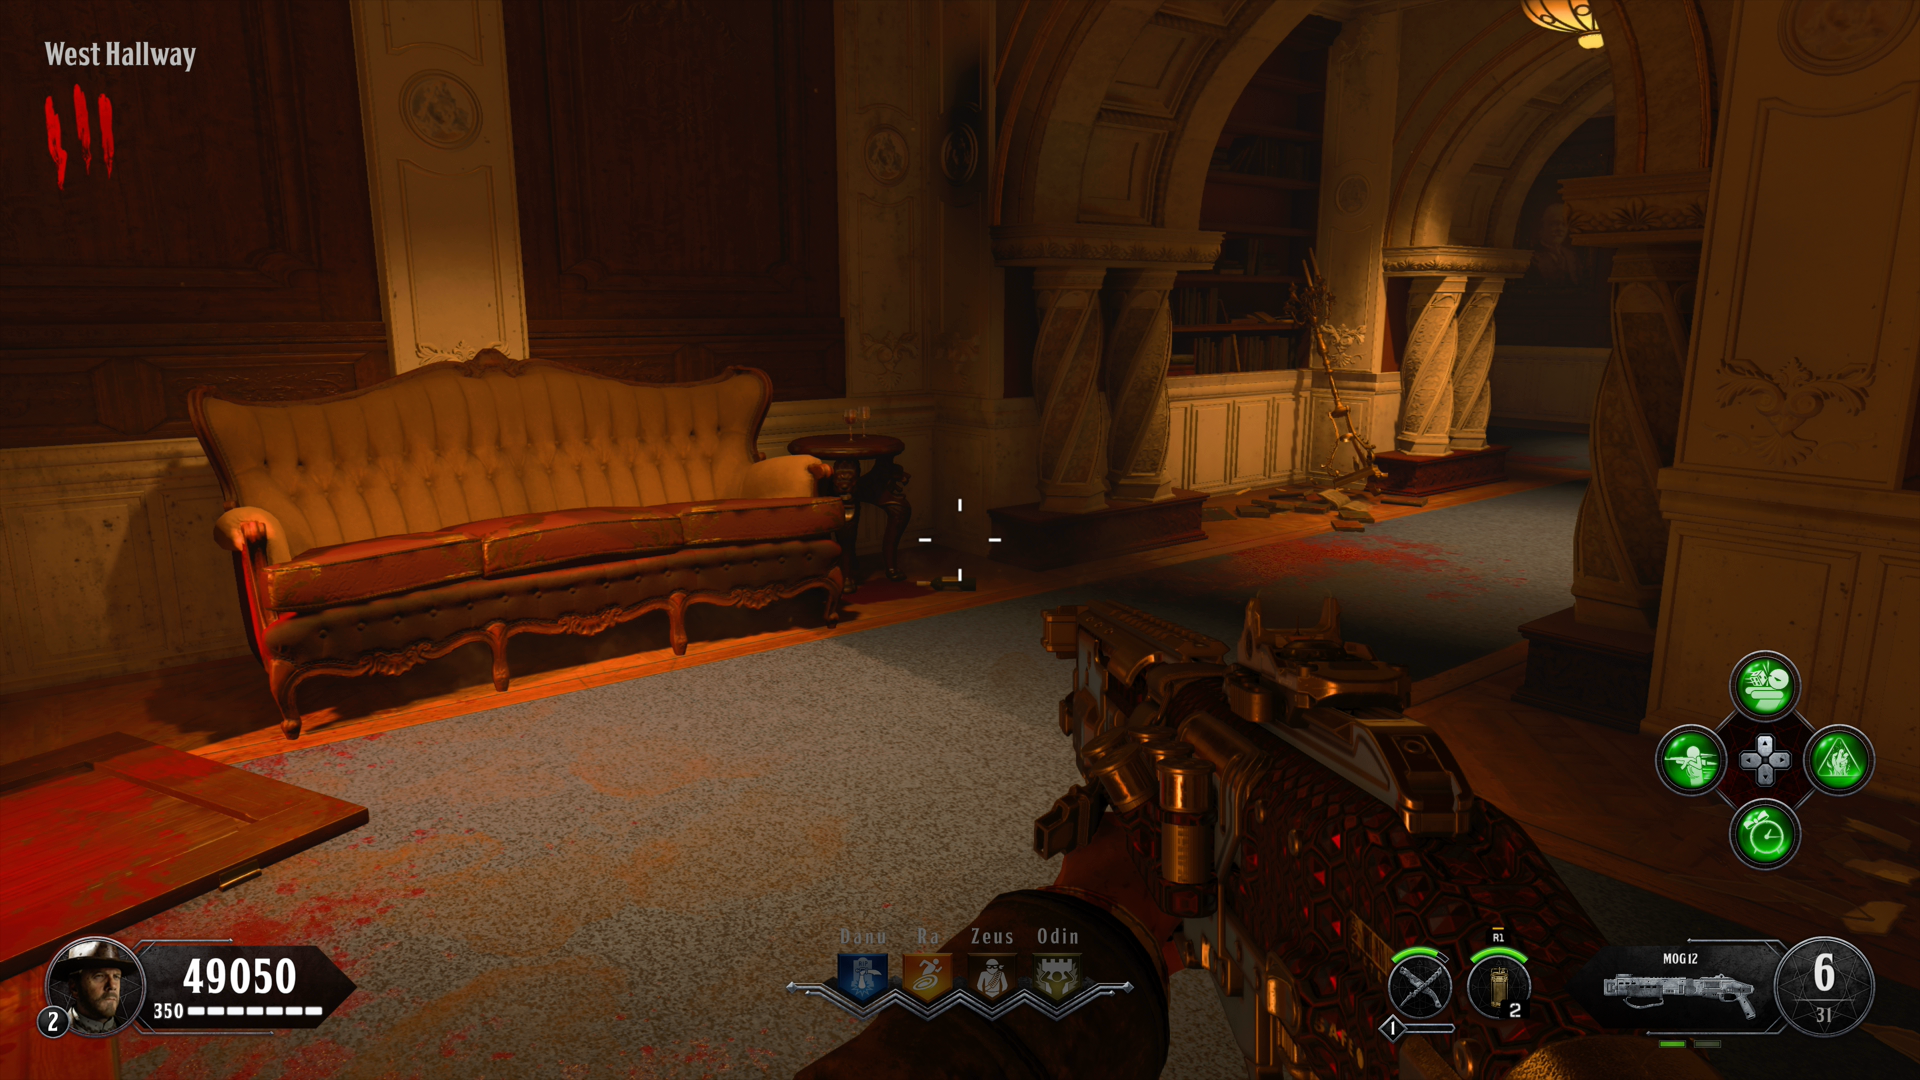 West Hallway, near sofa.
 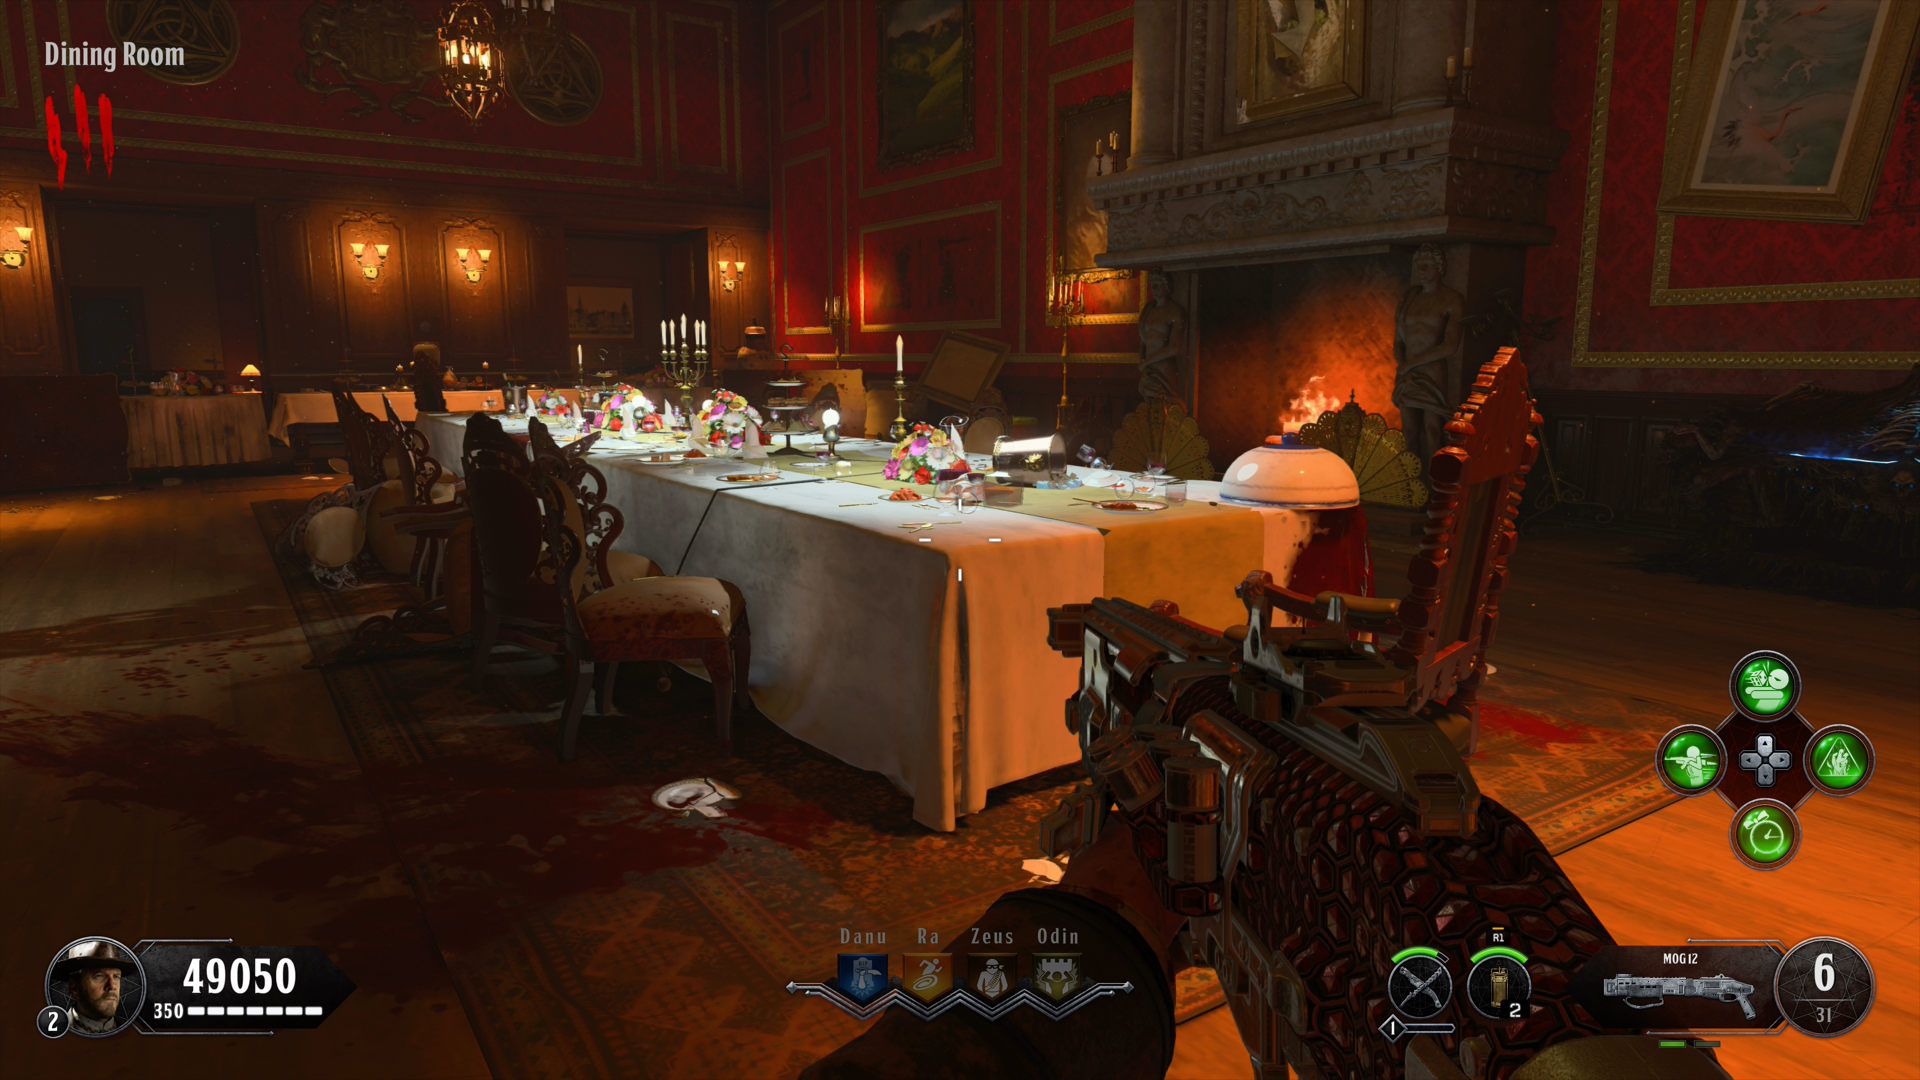 Dining Room, corner of large table.
 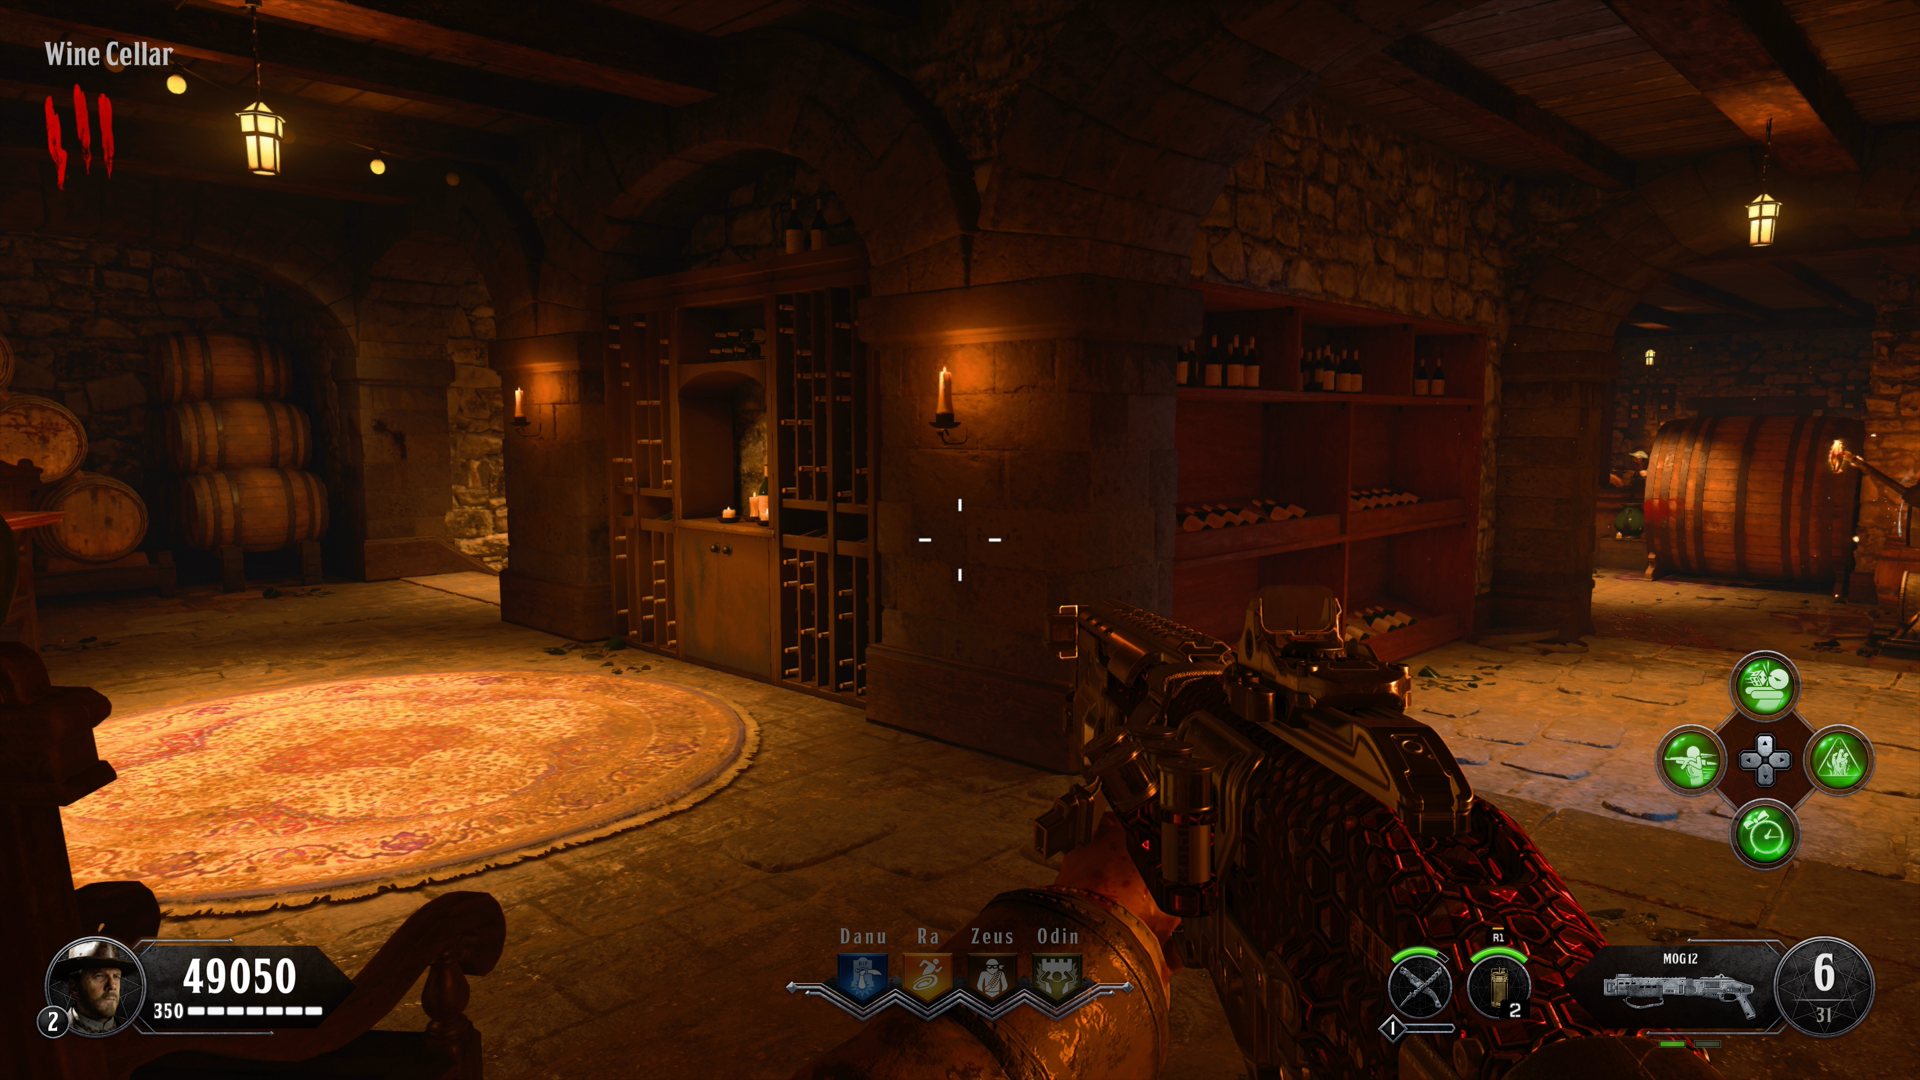 Wine Cellar, wall near vase.
 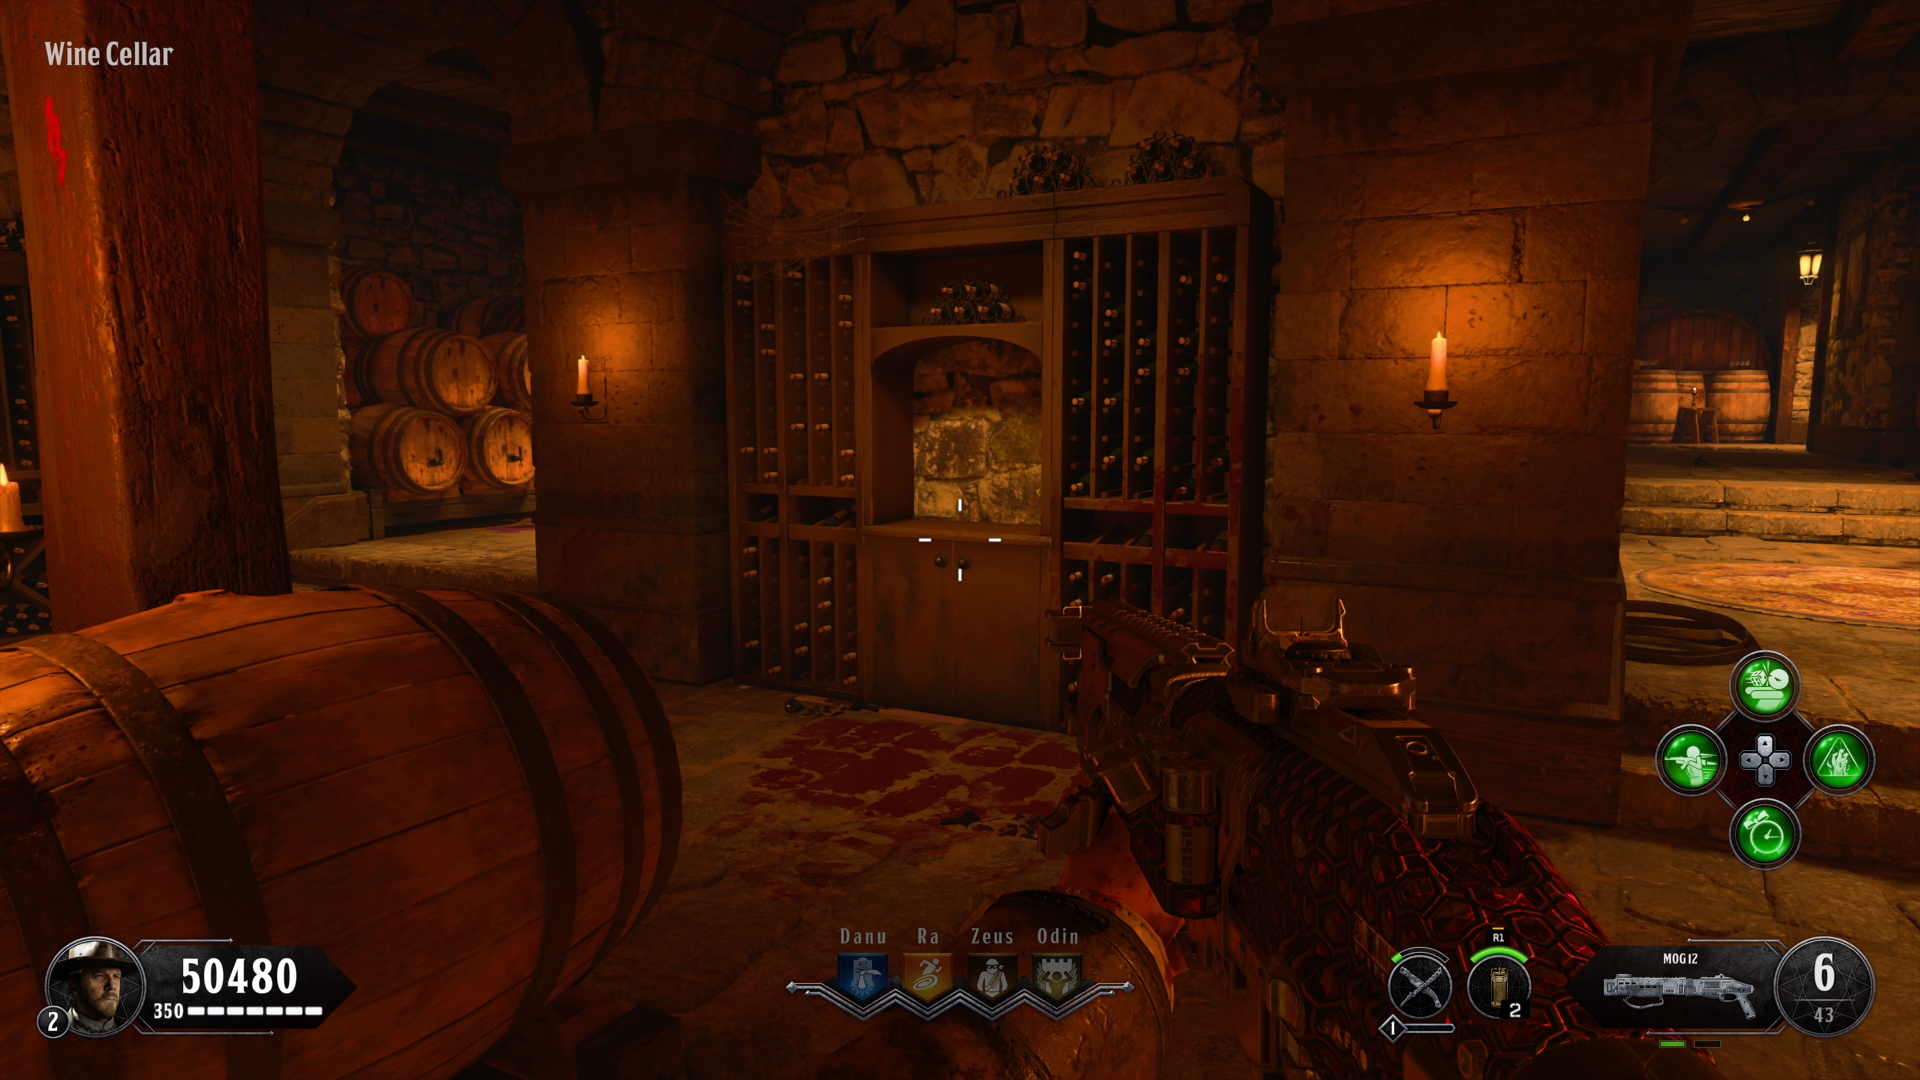 Wine Cellar, shelf opposite workbench.
 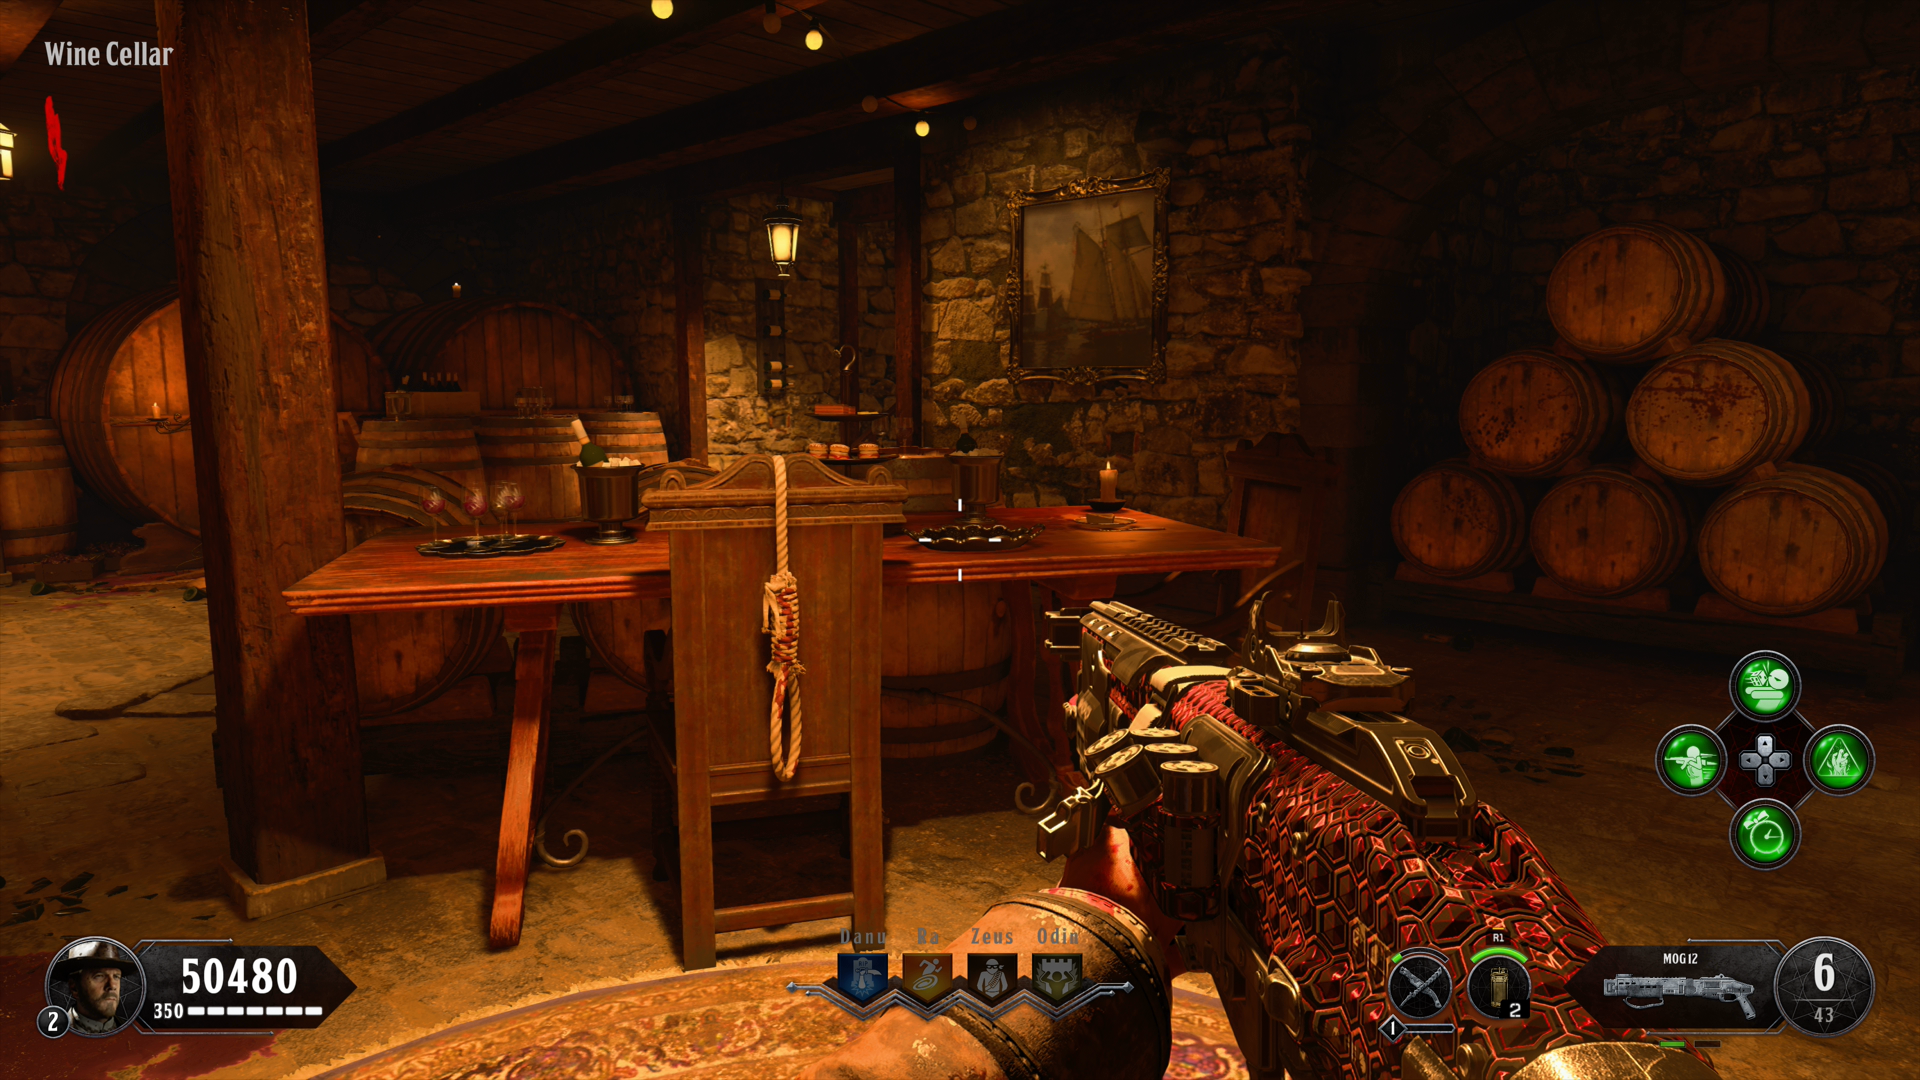 Wine Cellar, wooden table near noose.
 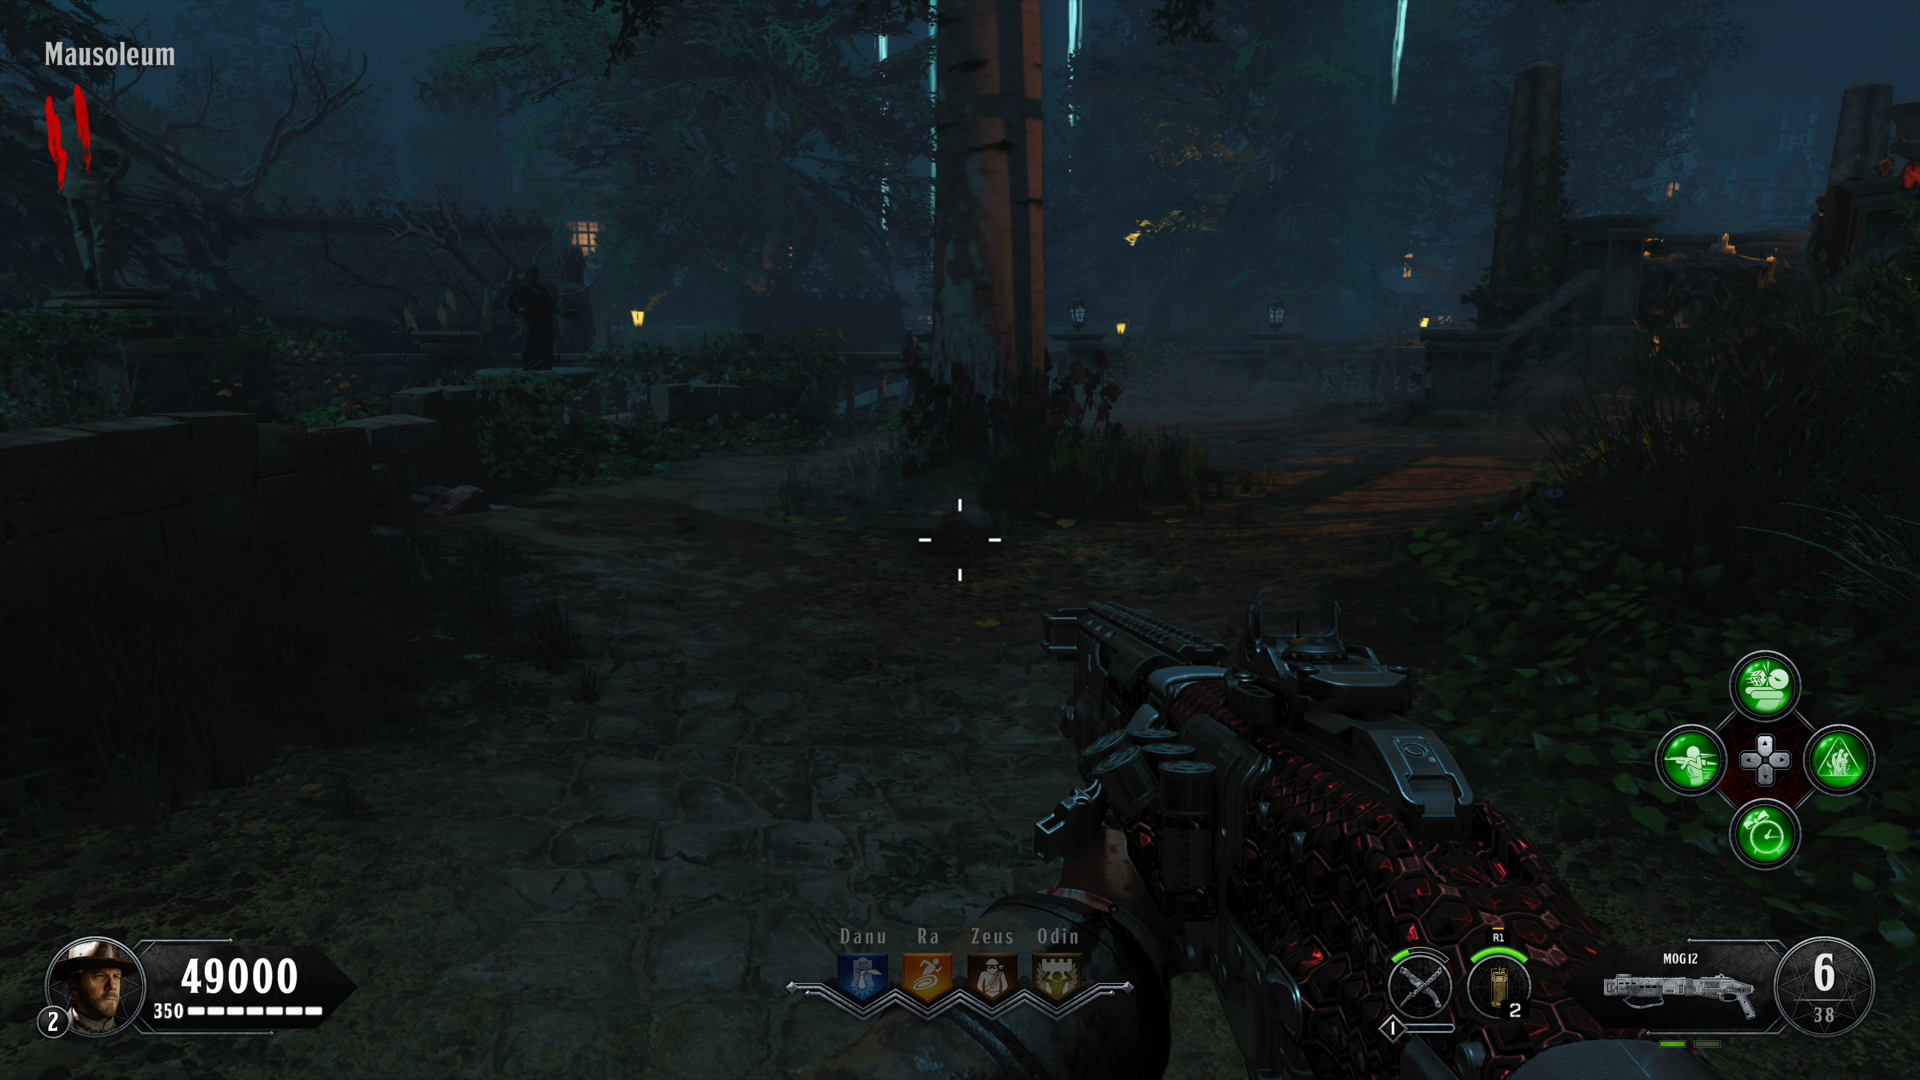 Guano route examples near Mausoleum/Cemetery paths.
 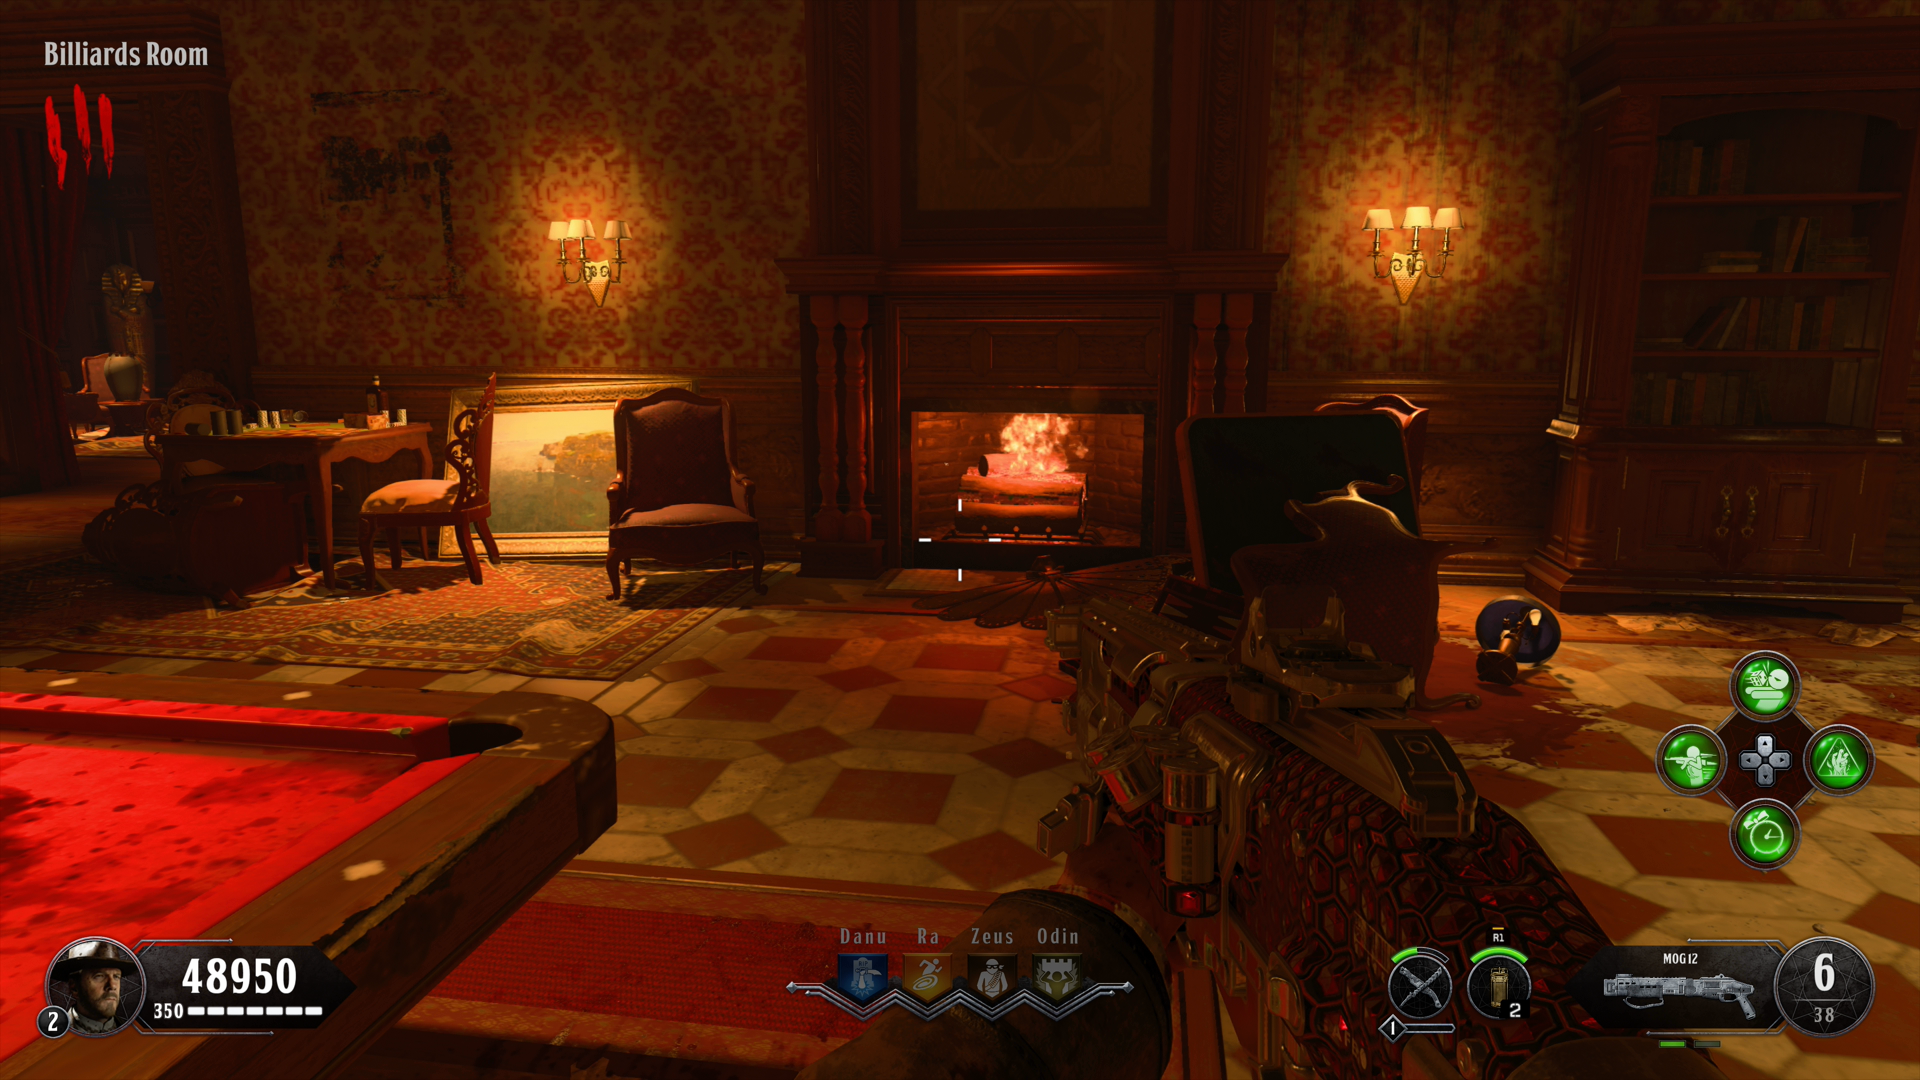 Charcoal route examples in manor fireplaces.
 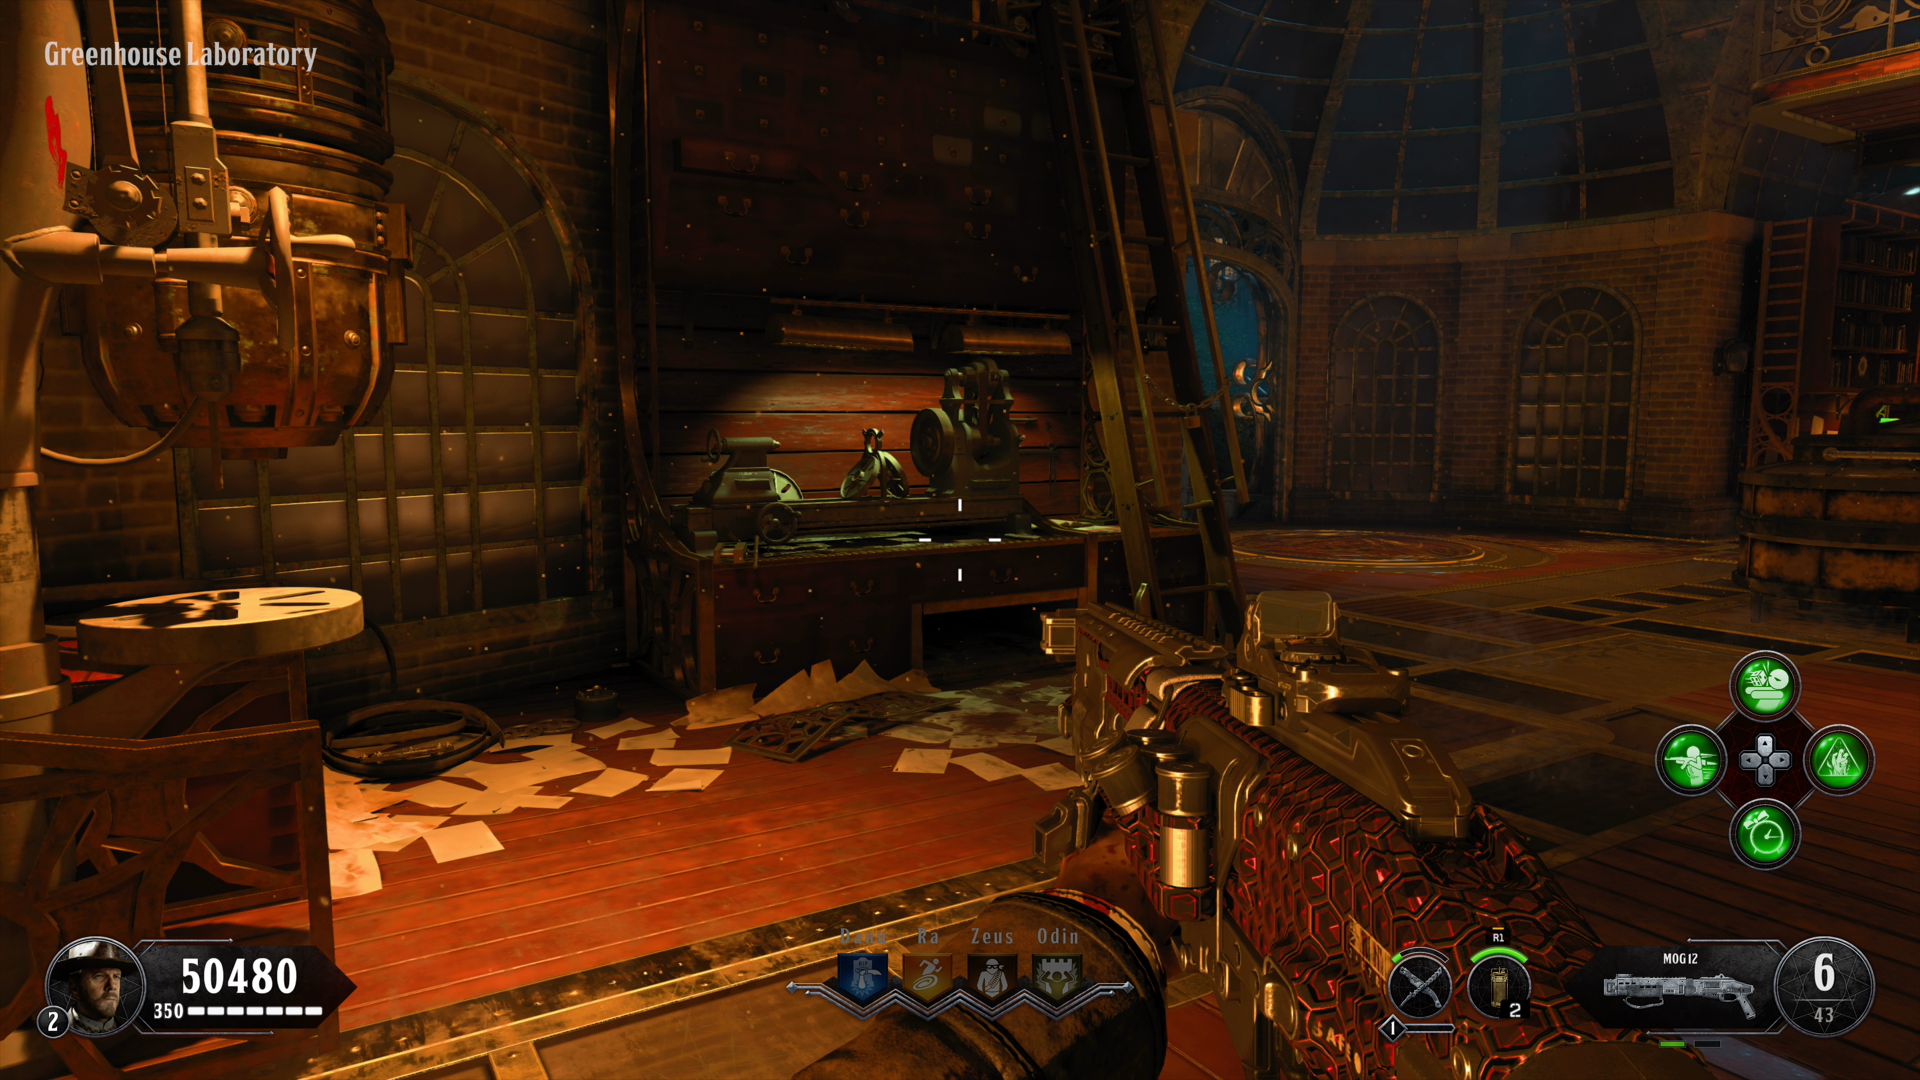 Sulfur route examples near Greenhouse Laboratory.
 Alistair's Folly Lock Input
Free wonder-weapon route: find one symbol of each color, then input all four symbols at the Library lock box.
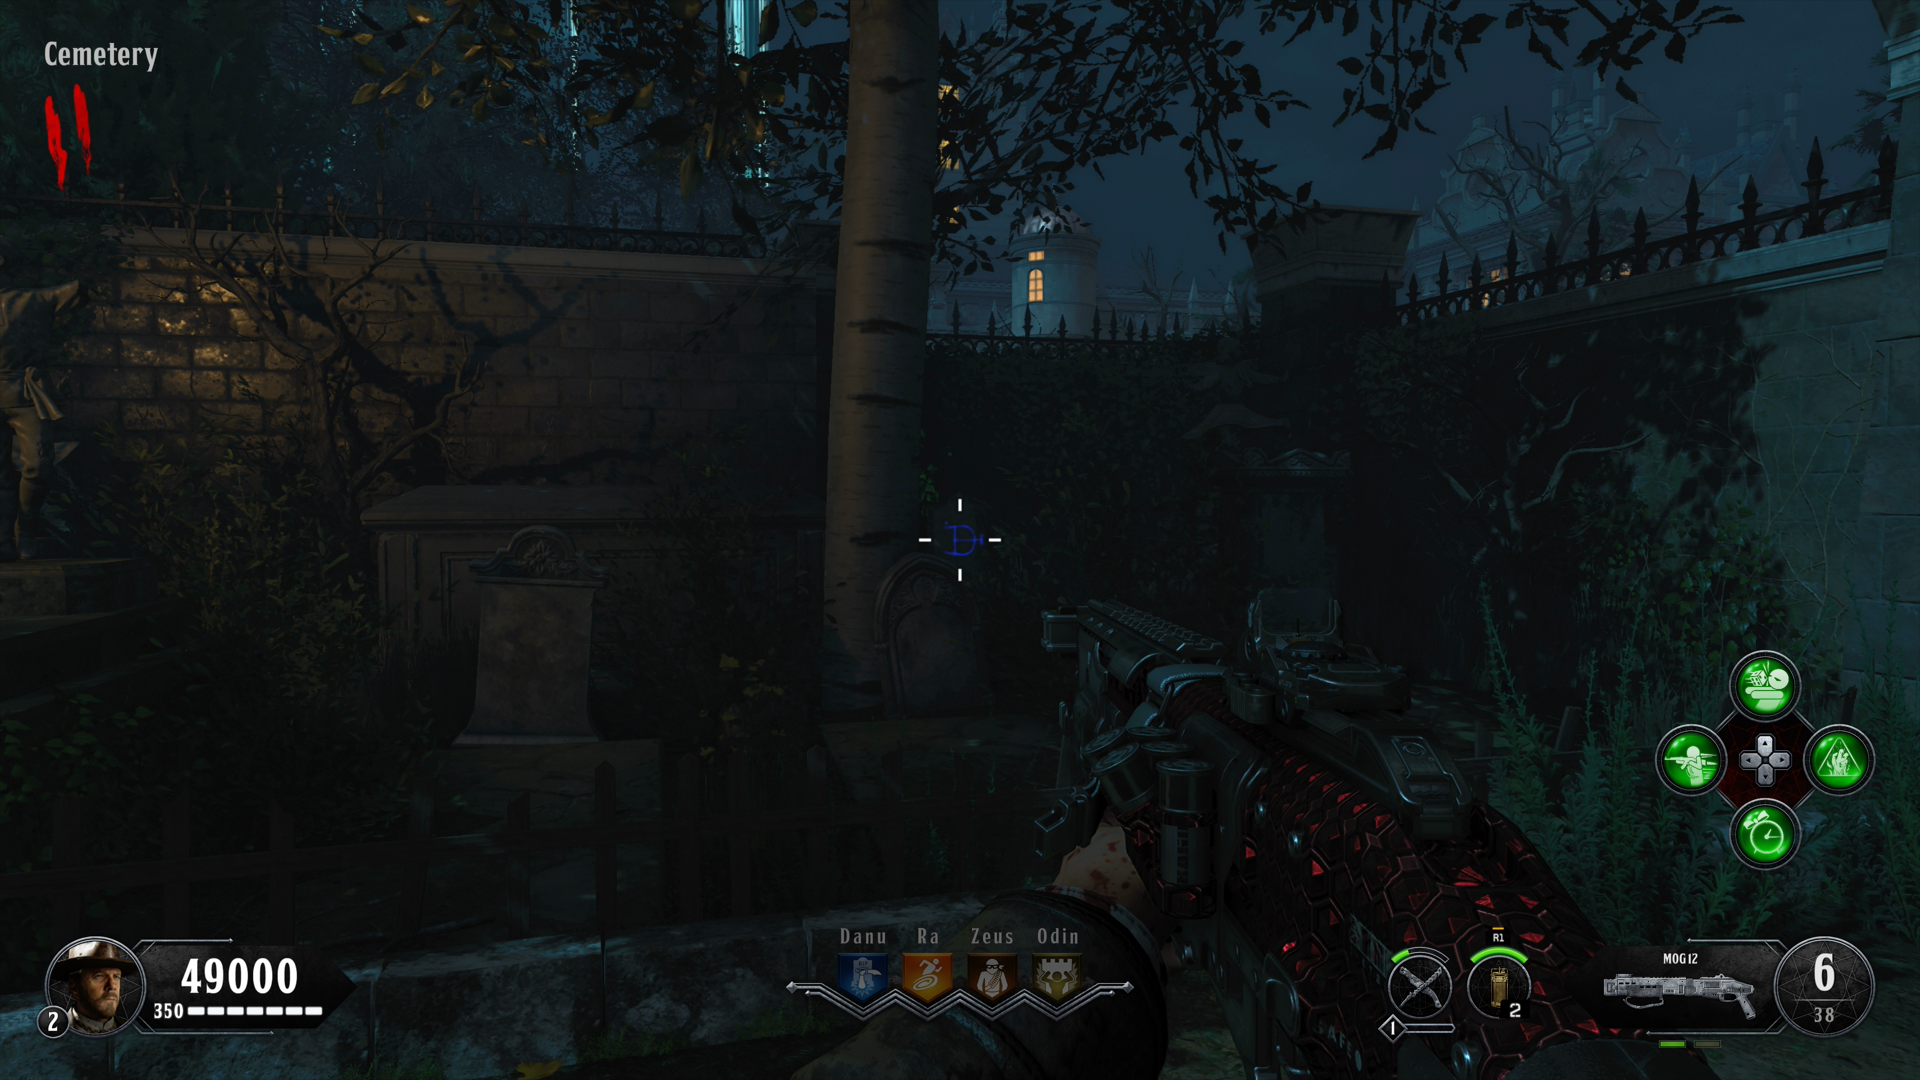 Cemetery gravestone near Stake table.
 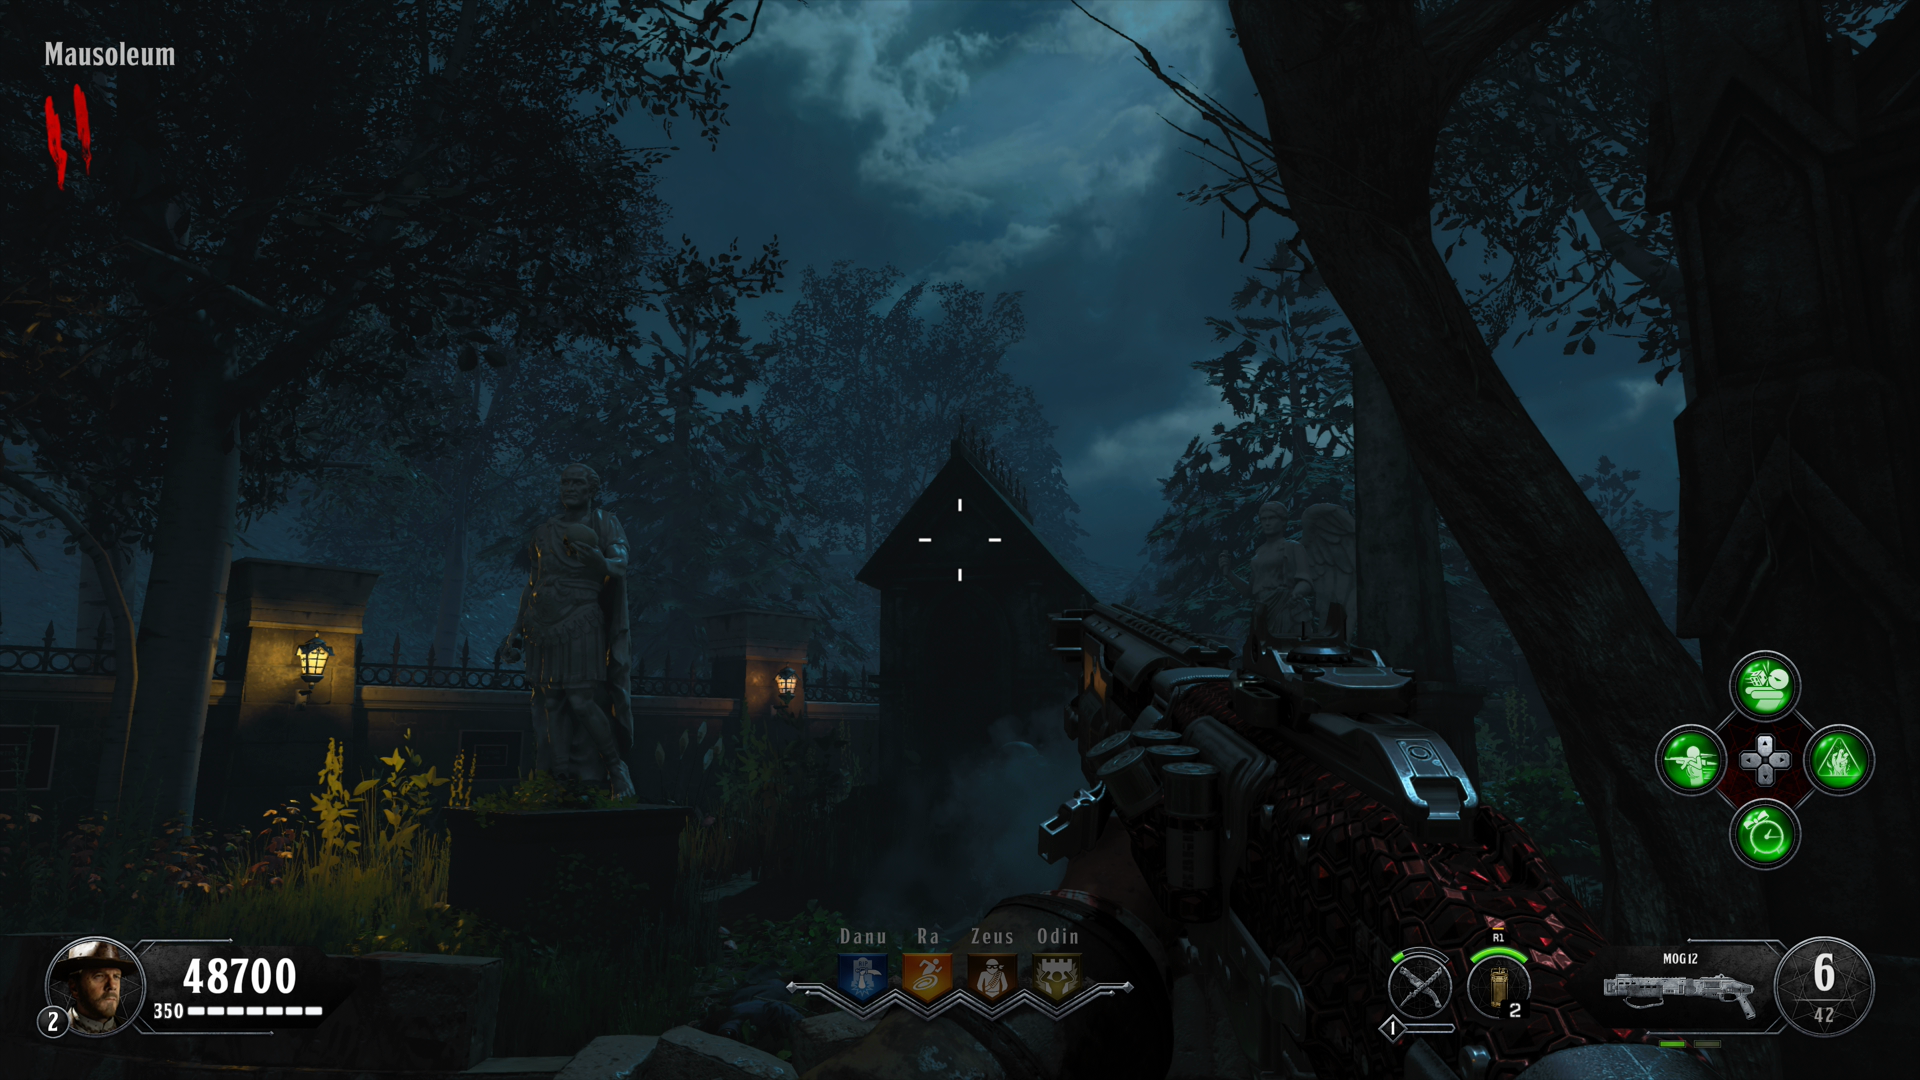 Mausoleum crypt top / lion statue variants.
 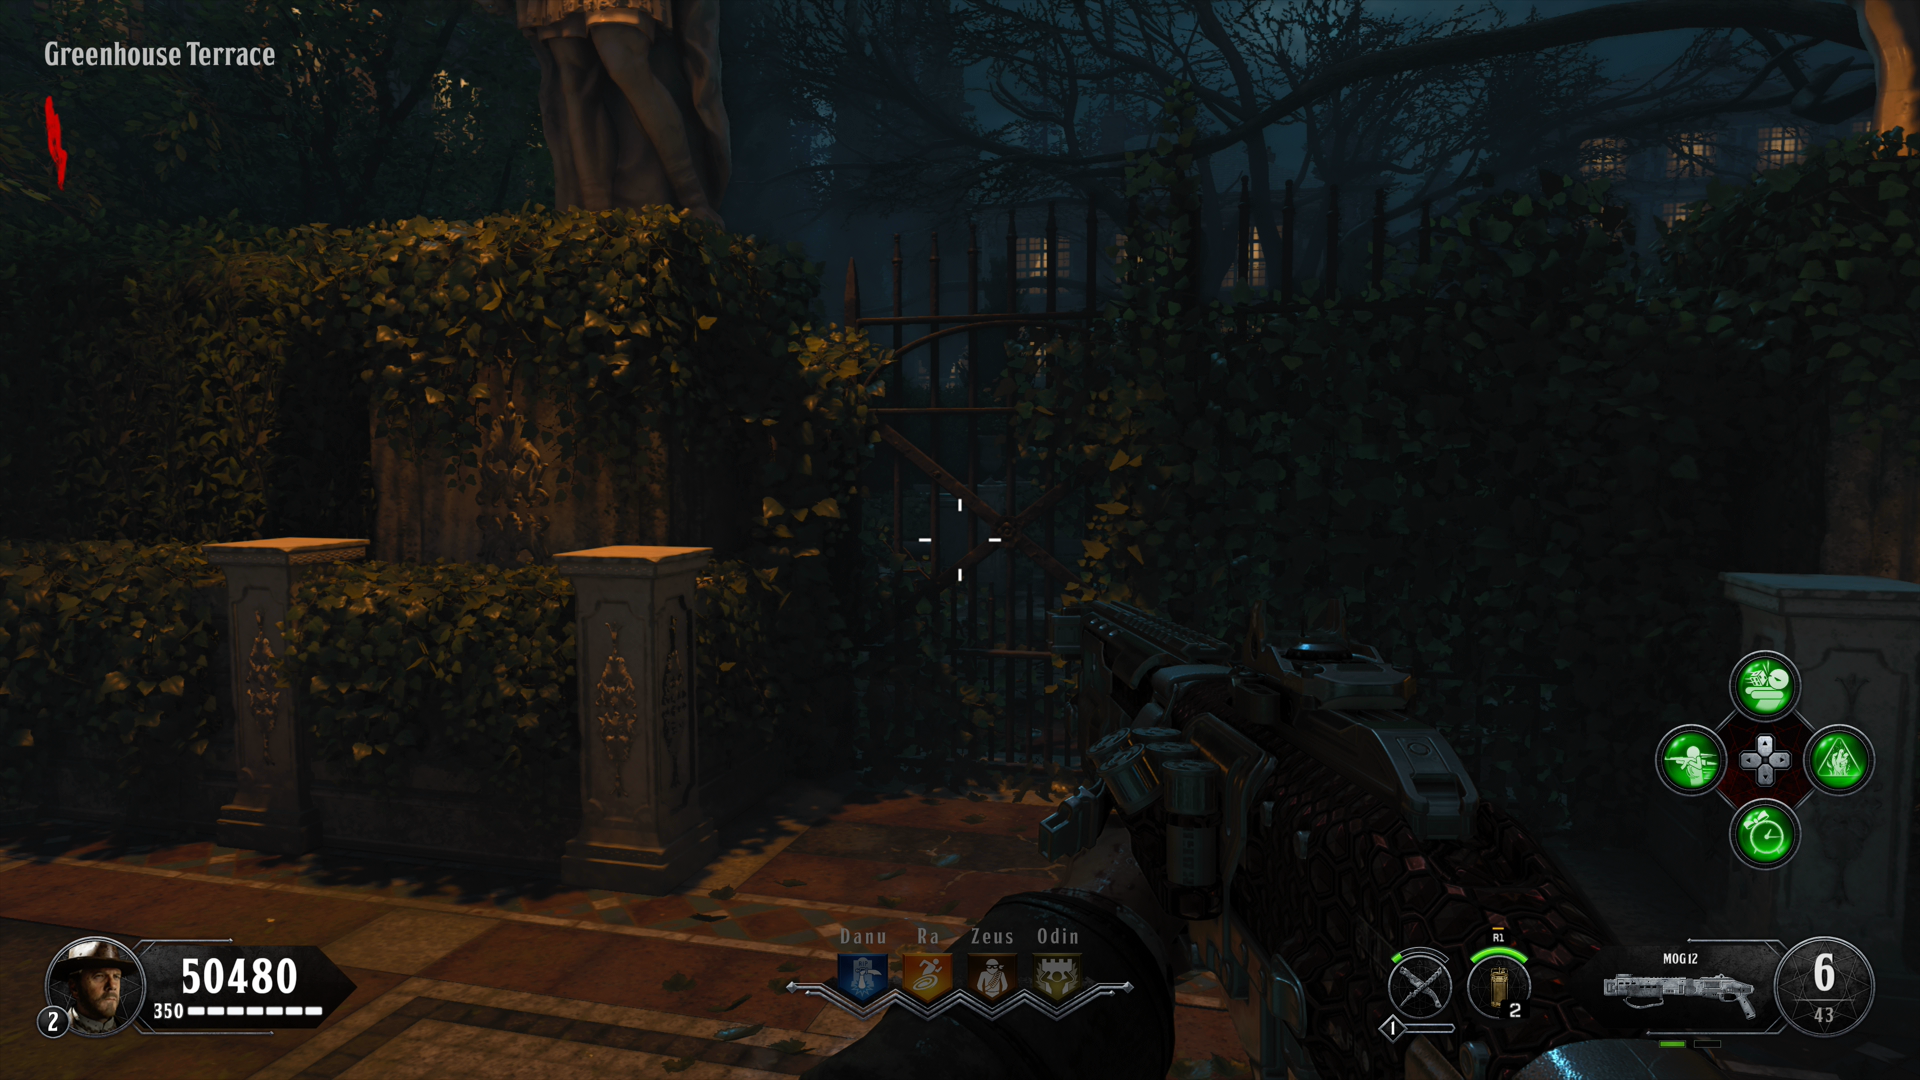 Greenhouse gate-left variant.
 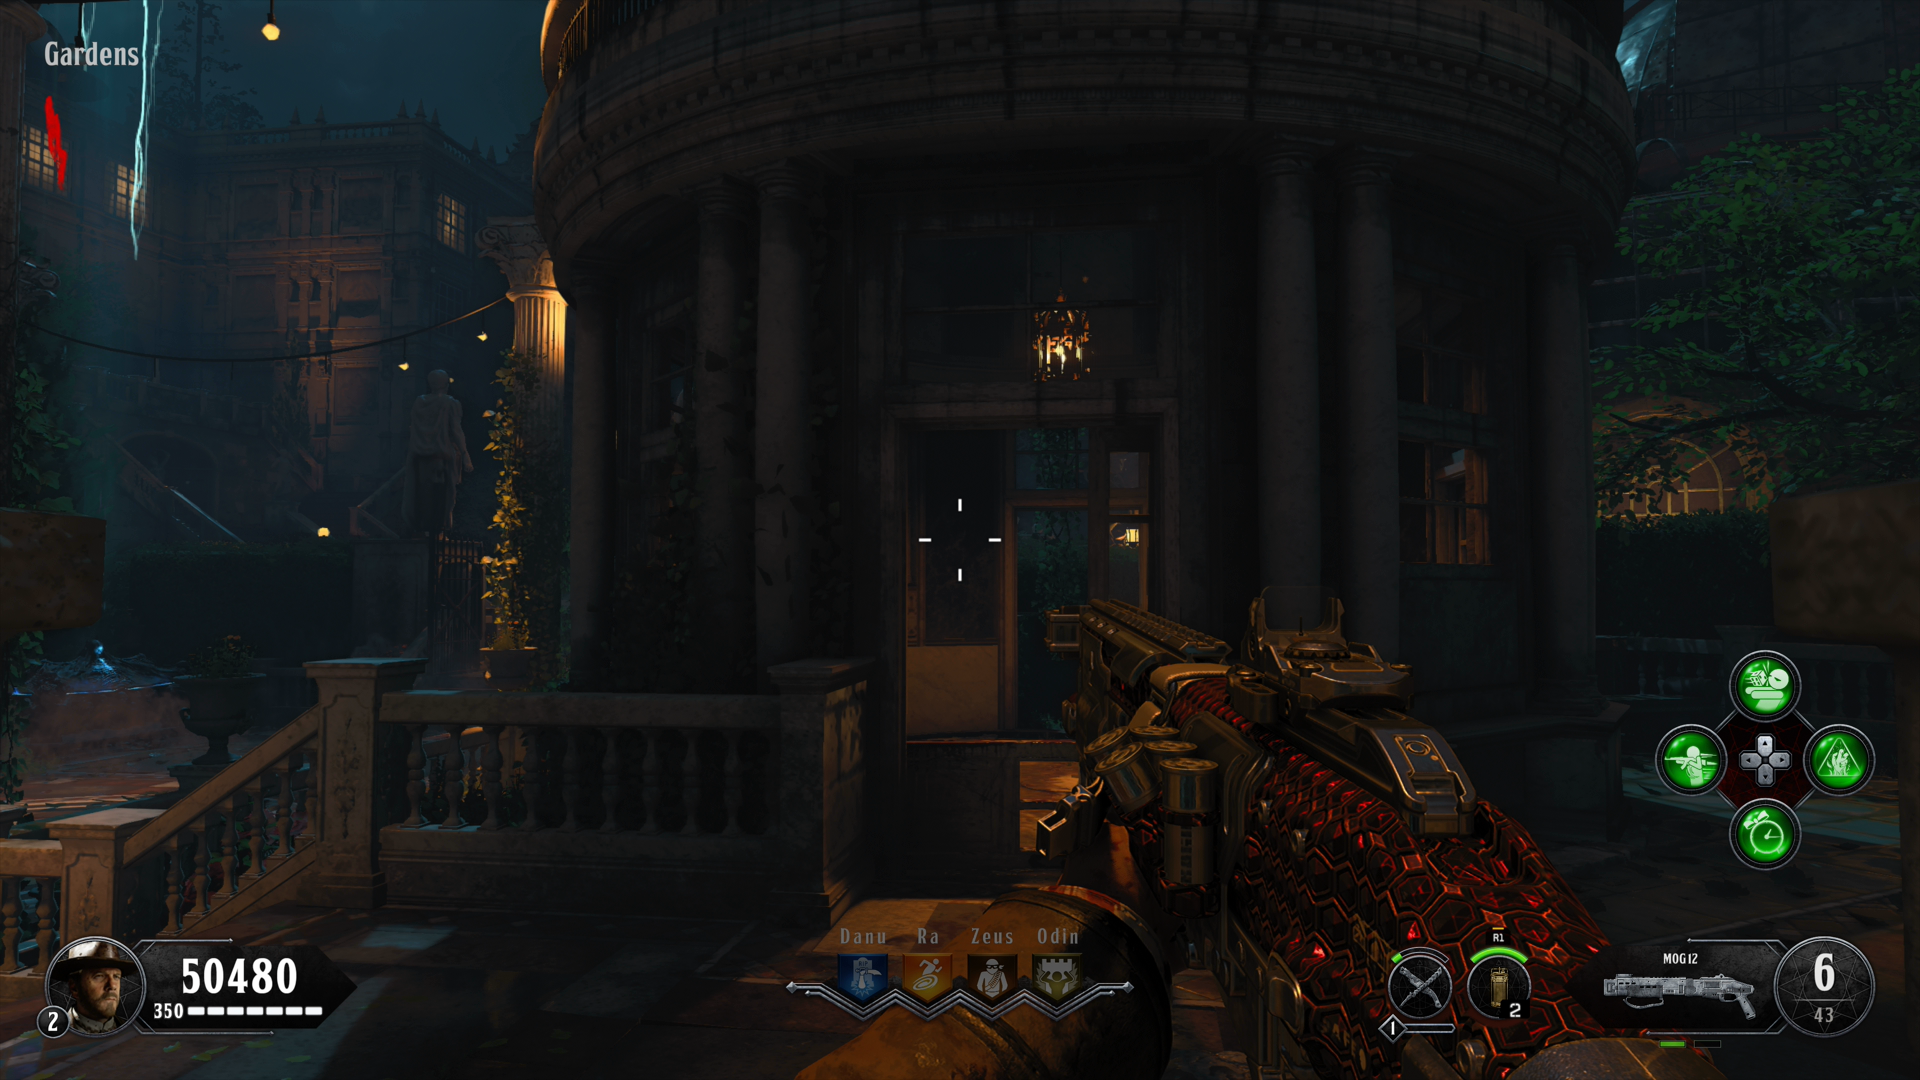 Gardens gazebo and perk-gate variants.
 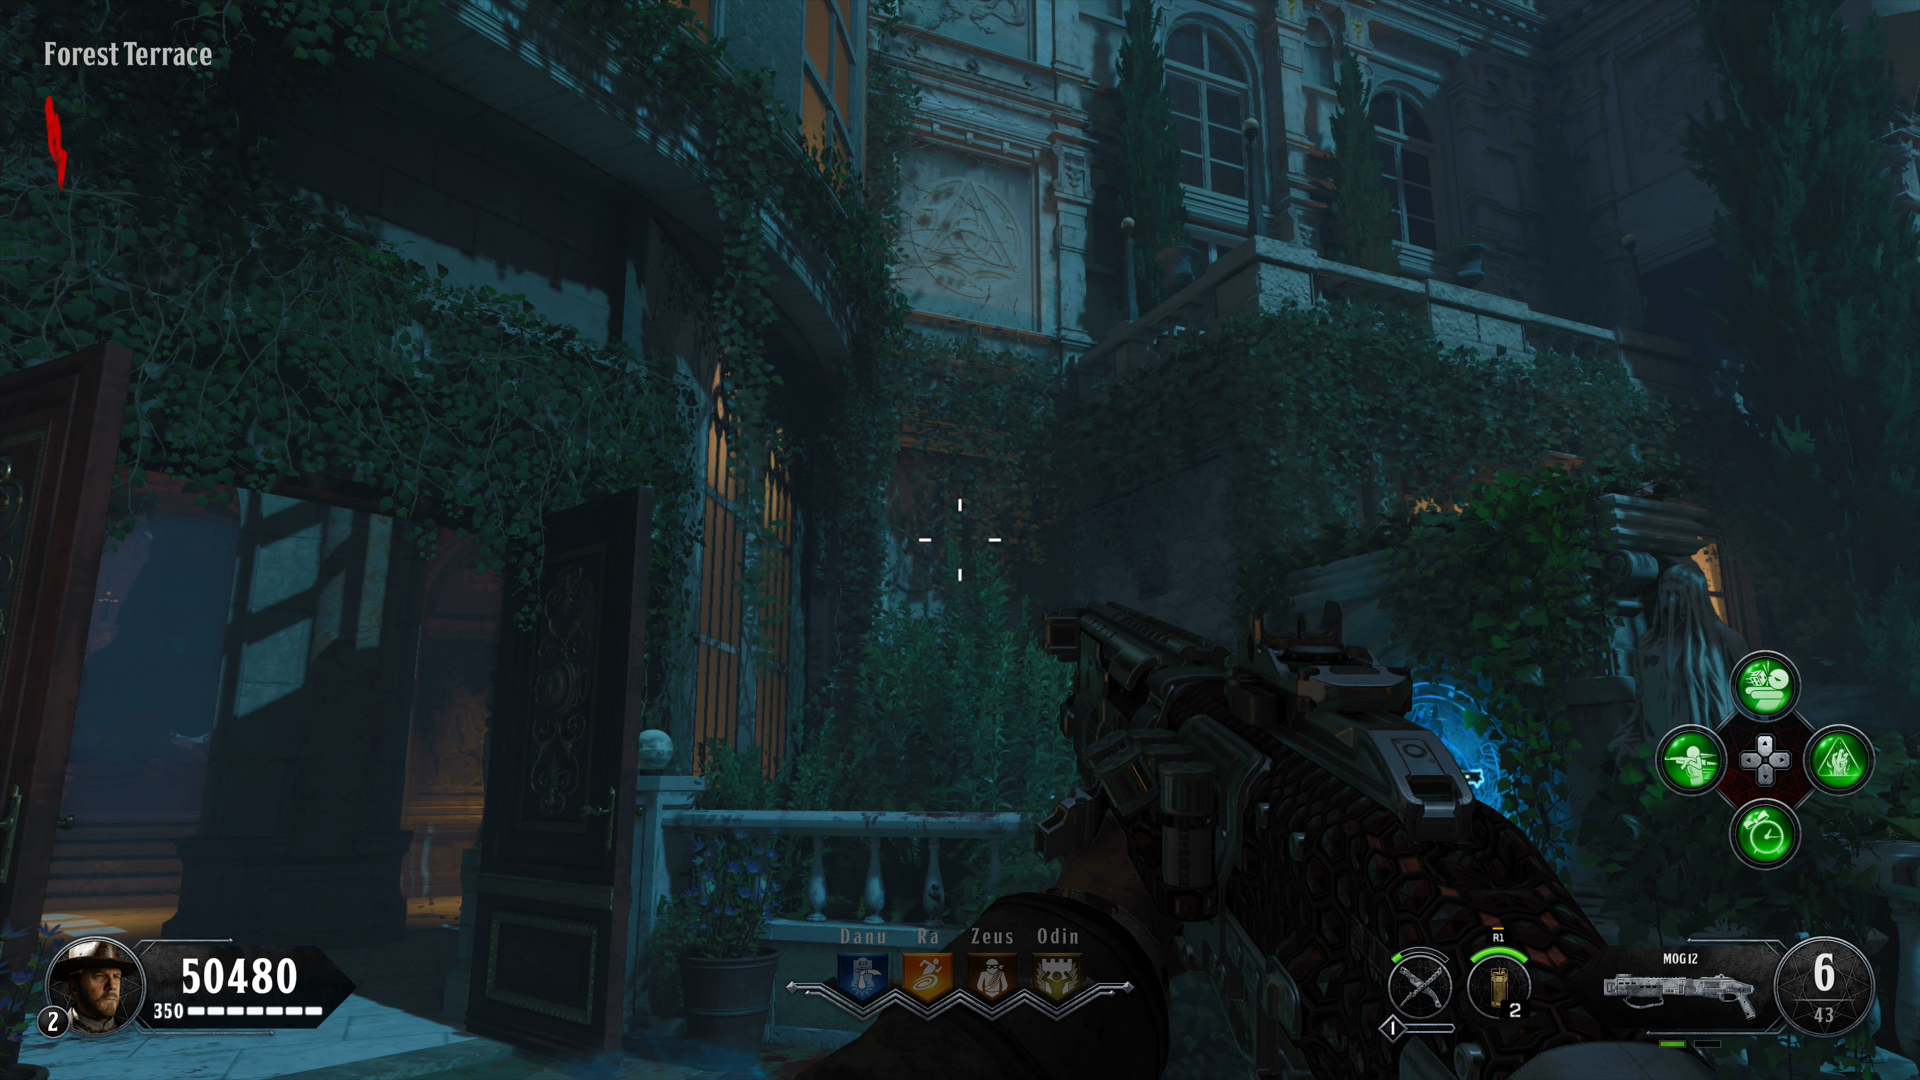 Forest Terrace, left of Bowie wall-buy.
 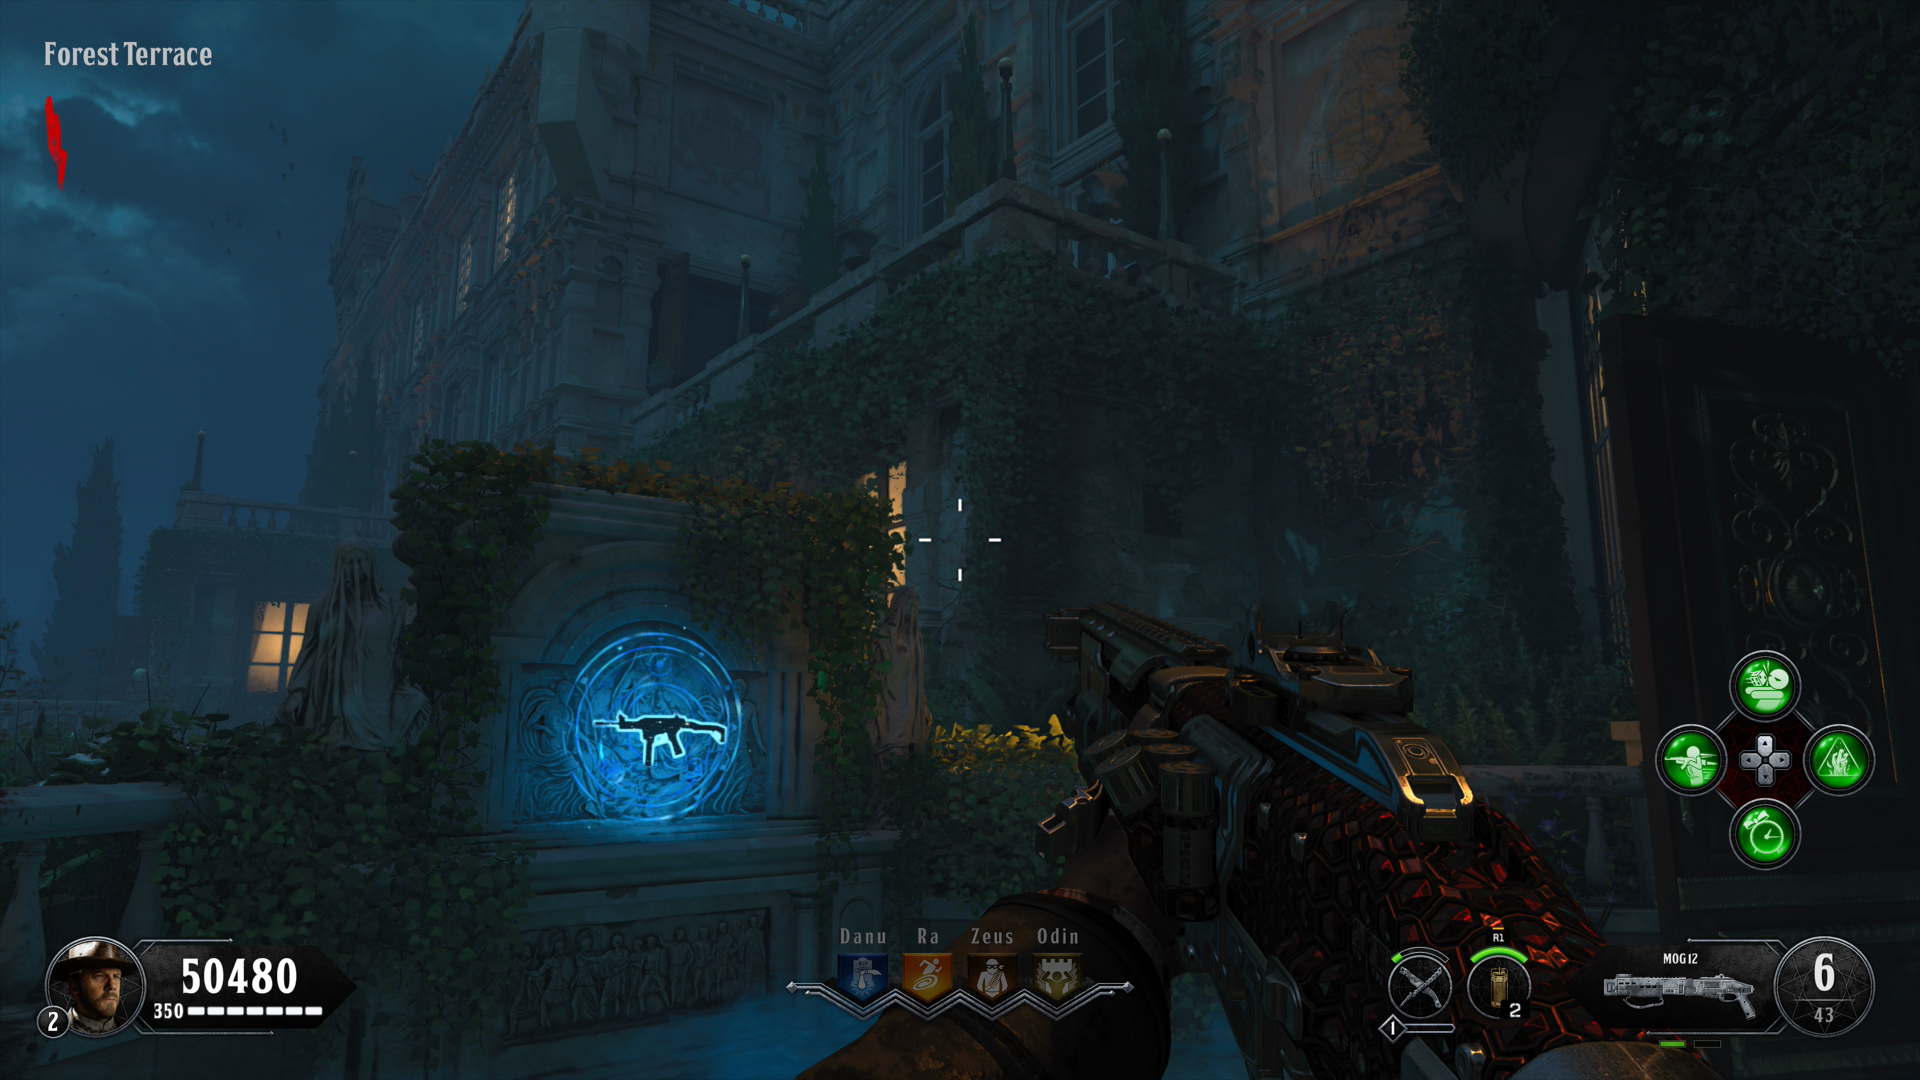 Forest Terrace gate/window variants.
 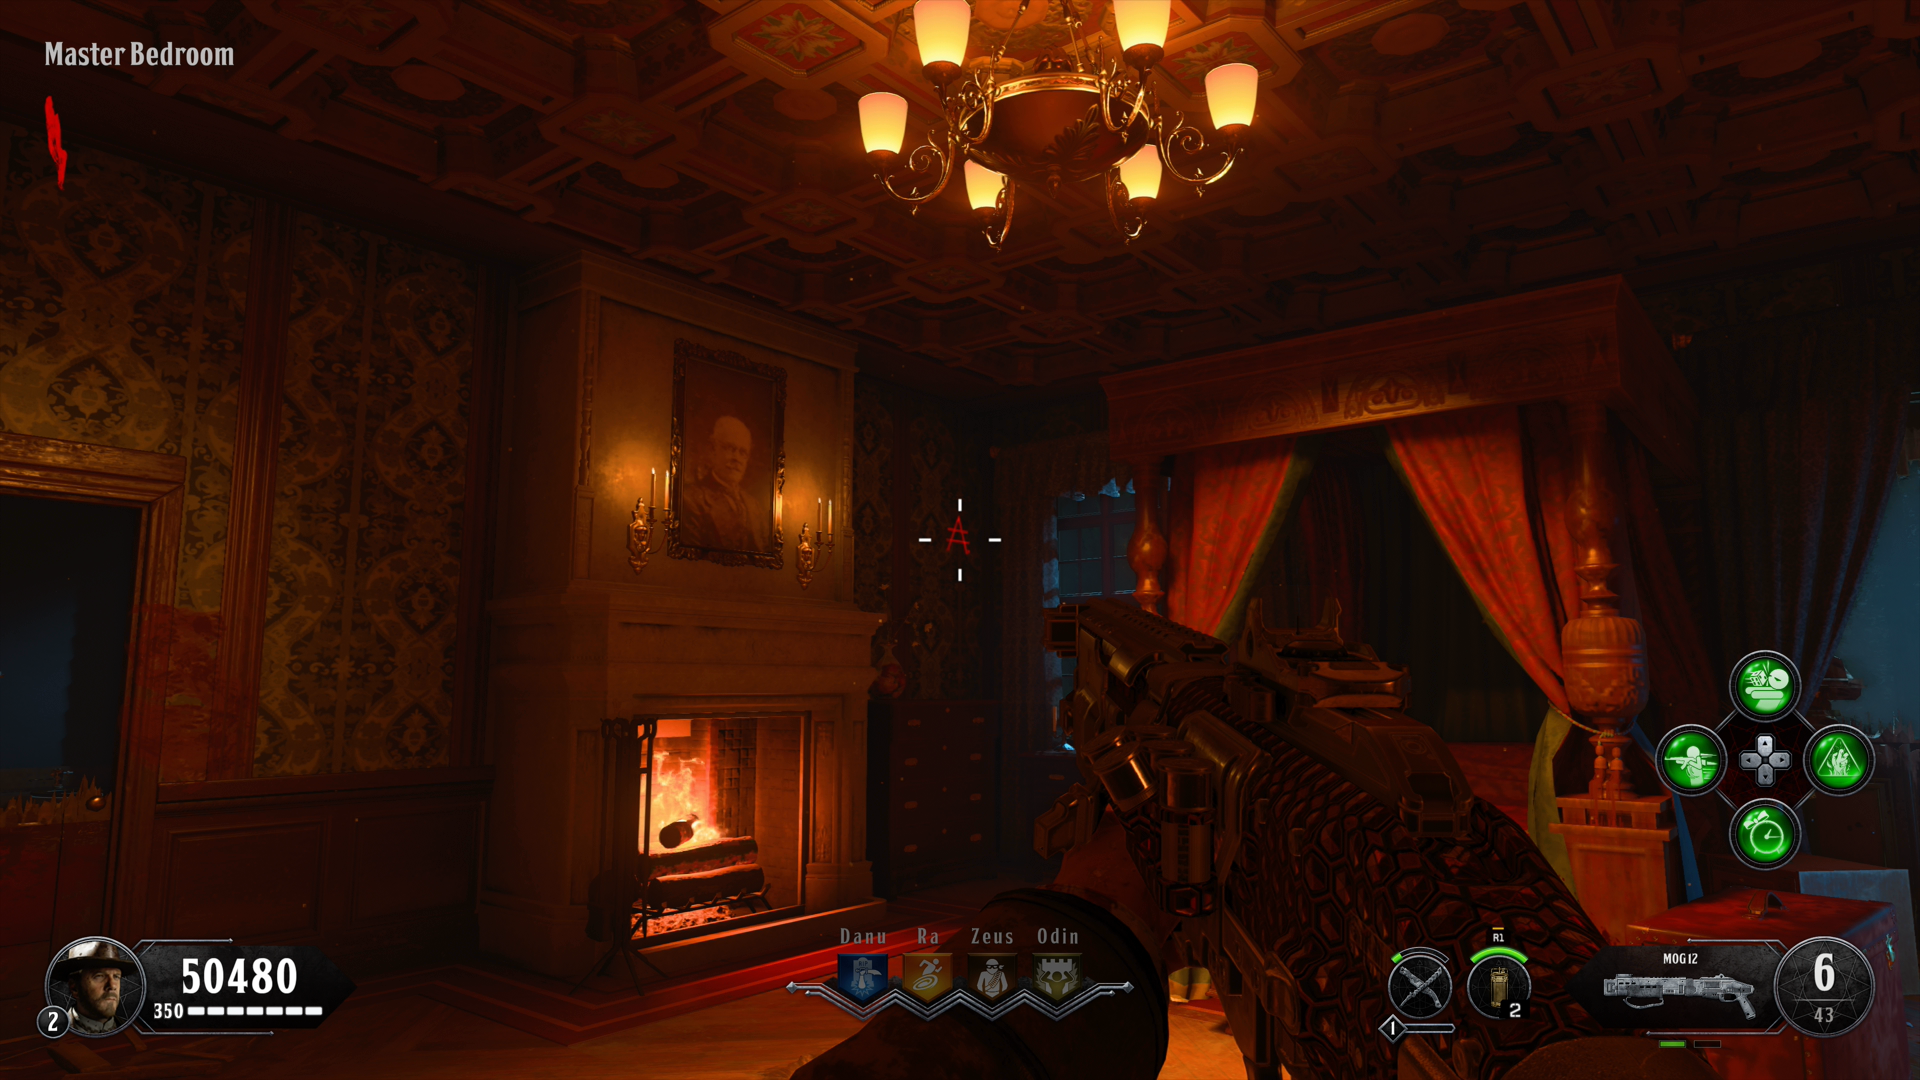 Master Bedroom, right of fireplace.
  East Gallery / Wine Cellar / Dining variants.
 Dead of the Night
PARTIAL SOLOTrial by Ordeal: open Pack-a-Punch, activate three crystal quest lines (Telescope, Knight, Effigy), then clear the Shadow Werewolf boss in the Ruins.
Open major loops, craft Silver Bullets and Shield, and activate Pack-a-Punch through the Tuning Fork flow.
TIP Do not start quest-line activation until each player has a stable loadout and clear route roles.
Return to the three PaP crystals and interact to assign Telescope, Knight, and Effigy lines in any order.
Do silver-bullet rod shot, Atlas ring alignment, zodiac scratch ordering, telescope dome/electric/shield check, and survive slab lockdown.
TIP If zodiac input fails, symbols and scratch counts reroll - re-scout immediately instead of guessing.
Knight: blue-fire fireplace chain and forest knight escort. Effigy: birch branches, spirit-mode escort, and slab lockdown completion.
Use forest door to enter the arena. Trap the invisible werewolf in green-beam squares during phases 1 and 3, then finish add-heavy phase 2.
TIP Arena Max Ammo/Carpenter drops respawn by phase only after prior pickups are collected.
Field Strategies
- Open both mansion side loops early (Library side and Bedroom side) so ghost/objective calls never force dead-end rotates.
- Craft Silver Bullets by mid-game; werewolf pace and several quest checks become dramatically safer.
- Use Shield aggressively for objective windows: zodiac scouting, trap runs, and revive coverage in hallways.
- Assign one player as lookup-caller for symbols/scratch logic while others maintain a controlled zombie tail.
- Use portals (Greenhouse, Mausoleum, Forest) for fast reset to Main Hall when route pressure spikes.
- Do not over-camp Dining/Library interiors in high rounds; rotate toward Main Hall and terrace connectors.
Special Enemies
Fast undead that appear alongside regular zombies. They are significantly faster than standard zombies and can teleport short distances. They take reduced damage from conventional bullets.
TIP The Alistair's Folly revolver deals bonus damage to vampires. Silver Bullet ammo mod is extremely effective. Keep moving - they chase aggressively.
Large, heavily built undead that appear in later rounds. They charge and swipe with wide-arc attacks and have high health.
TIP The Alistair's Folly and upgraded shotguns handle werewolves efficiently. Avoid fighting in narrow corridors where their swipe hitbox is widest.
Map Flow and Portals
Treat Main Hall as the central reset point and route all objective detours back through it.
Greenhouse, Mausoleum, and Forest each portal back to Main Hall for 500 points.
Because spawn is split, coordinate first-door spending so both halves reach the Artifact without delay.
Silver Bullets Full Chain
Melt silver at the Wine Cellar table, then craft usable Silver Bullets at the Library station.
Silver rounds massively improve werewolf time-to-kill and reduce wipe risk during objective locks.
Prioritize Candlestick and Plate first so your team can start silver processing while powder parts are finished.
Alistair Weapon Line (Folly -> Chaos Theory -> Annihilator)
Collect one symbol of each color and input the exact set in the Library lock box for a free Folly.
Requires werewolf material + Prima Materia machine sequence in Greenhouse before crafting.
Complete lamp/bat and materia chain, then craft in Greenhouse for quest-critical charged shots.
Save charged shots for quest gates, werewolf control, and boss vulnerability windows.
Trap and Core Management
Fire traps require collectible Fire Cores; only three cores can be installed per match.
Greenhouse electric trap is both a kill tool and a Telescope-line progression step.
Trigger traps to protect objective players during long interactions, not for random point burn.
Side Quest — Savage Impaler
The Savage Impaler chain requires Silver Bullets. Process silver at the Wine Cellar melter, then craft at the Library station before starting.
Nosferatu spawn near the Mausoleum and Cemetery from mid-game. Hit them with Silver Bullets — eventually one drops a Bloodrush pickup (glowing red orb on the ground). Collect it immediately.
Three unlit candles are scattered around the Cemetery and Mausoleum exterior walls. Interact with each to light it. All three must be lit in the same life.
After all candles are lit, a ghost apparition spawns in the Cemetery and begins moving toward the Crypt. Follow closely and keep zombies off you — breaking the escort resets the step.
When the ghost reaches the Crypt entrance, interact with the central pedestal. A timed defense wave begins — the pedestal glows until the timer ends.
After surviving the defense, the Savage Impaler appears on the pedestal. Pick it up. Once one player has collected it, others in the lobby can obtain it from the Mystery Box.
Side Quest — Stake Knife
Three glowing symbols appear at fixed locations each game: one near the Master Bedroom fireplace, one in the East Gallery by the armour display, and one inside the Mausoleum alcove. They glow faintly — look for small rune icons on walls or floors.
Kill zombies in very close proximity to each symbol (within ~3 metres). After roughly 6–10 kills per symbol, it pulses bright and locks charged. All three must be charged.
With all three symbols charged, head to the Mausoleum crafting table. The interaction prompt will now be available.
Interact with the table to assemble the Stake Knife. Each player must repeat the charging process to get their own — the crafting is per-player, not shared.
Throw the Stake Knife at any Nosferatu to one-shot it regardless of round. The knife must be physically walked over and retrieved after each throw. It does not auto-return.
Shadow Werewolf Boss Notes
Phase 1 and 3 are trap phases using statue beam alignment; phase 2 is sustained survival pressure.
Hellion Salvo, Alistair's Annihilator, and fast-close shotgun backup are the most consistent setup.
Collect existing Max Ammo and Carpenter drops promptly so new phase drops can spawn in.
Wiki Intel
https://www.reddit.com/r/CODZombies/wiki/dead-of-the-night/
https://www.ign.com/wikis/call-of-duty-black-ops-4/Dead_of_the_Night_Walkthrough
https://callofduty.fandom.com/wiki/Dead_of_the_Night
Sentinel Artifact opener, Silver Bullet economy, Alistair upgrade chain, and multi-line quest logic define this map.