Mob of the Dead
Intel Brief
Four prisoners trapped in a purgatorial Alcatraz are caught in an endless loop. Their only hope for escape may be each other's deaths — but only one can be redeemed.
The four prisoners exist in a purgatorial loop with no natural end. Weasel has lived and died countless times, always betrayed by his crew. The question at the heart of the Easter Egg is whether redemption is possible when the loop itself is built on betrayal — and whether only one man can ever truly leave.
Setup Guide
Power
- Mob of the Dead has no single global power switch; power is routed through Afterlife voltmeters.
- Enter Afterlife (via an Afterlife box or by being downed), then zap voltmeters to energize nearby systems.
- Use Afterlife-only wall tunnels to reach hidden switches for doors, gondola access, key drops, and utility circuits.
- Plan your route around limited Afterlife charges so progression steps do not stall mid-round.
Pack-a-Punch Location
Golden Gate Bridge — at the far end, accessed by flying the plane.
Accessing Pack-a-Punch
- Acquire the Warden's Key by zapping the hidden key-drop voltmeter in Afterlife (spawns above Warden's Office or near the Cafeteria entrance).
- Use the key in the showers to start the Uniforms step: power the laundry switch in Afterlife, survive the incoming wave, then collect Uniforms.
- Use the key to open the Valves case in the Infirmary and collect them.
- Collect the Engine by overloading the Docks generators (one generator is only reachable in Afterlife).
- Collect the Rigging in Citadel Tunnels by inputting the shock code in the spiral stairwell; pick it up before the timer expires.
- Collect the Propane Tank in the Docks by opening the keyed gate and the Afterlife-powered gate behind it.
- Build/refuel the plane on the Roof, zap its power points in Afterlife, then fly to the Golden Gate Bridge to access Pack-a-Punch.
Icarus Plane Access Set
These six quest items are needed to complete the Alcatraz setup path to the Roof plane and Golden Gate Bridge Pack-a-Punch.
Shield
Protects your back while stowed and can be used as a melee/distraction tool when equipped. The wiki notes it breaks after roughly 15 hits.
 Near Generator Room, rested on a wall.
 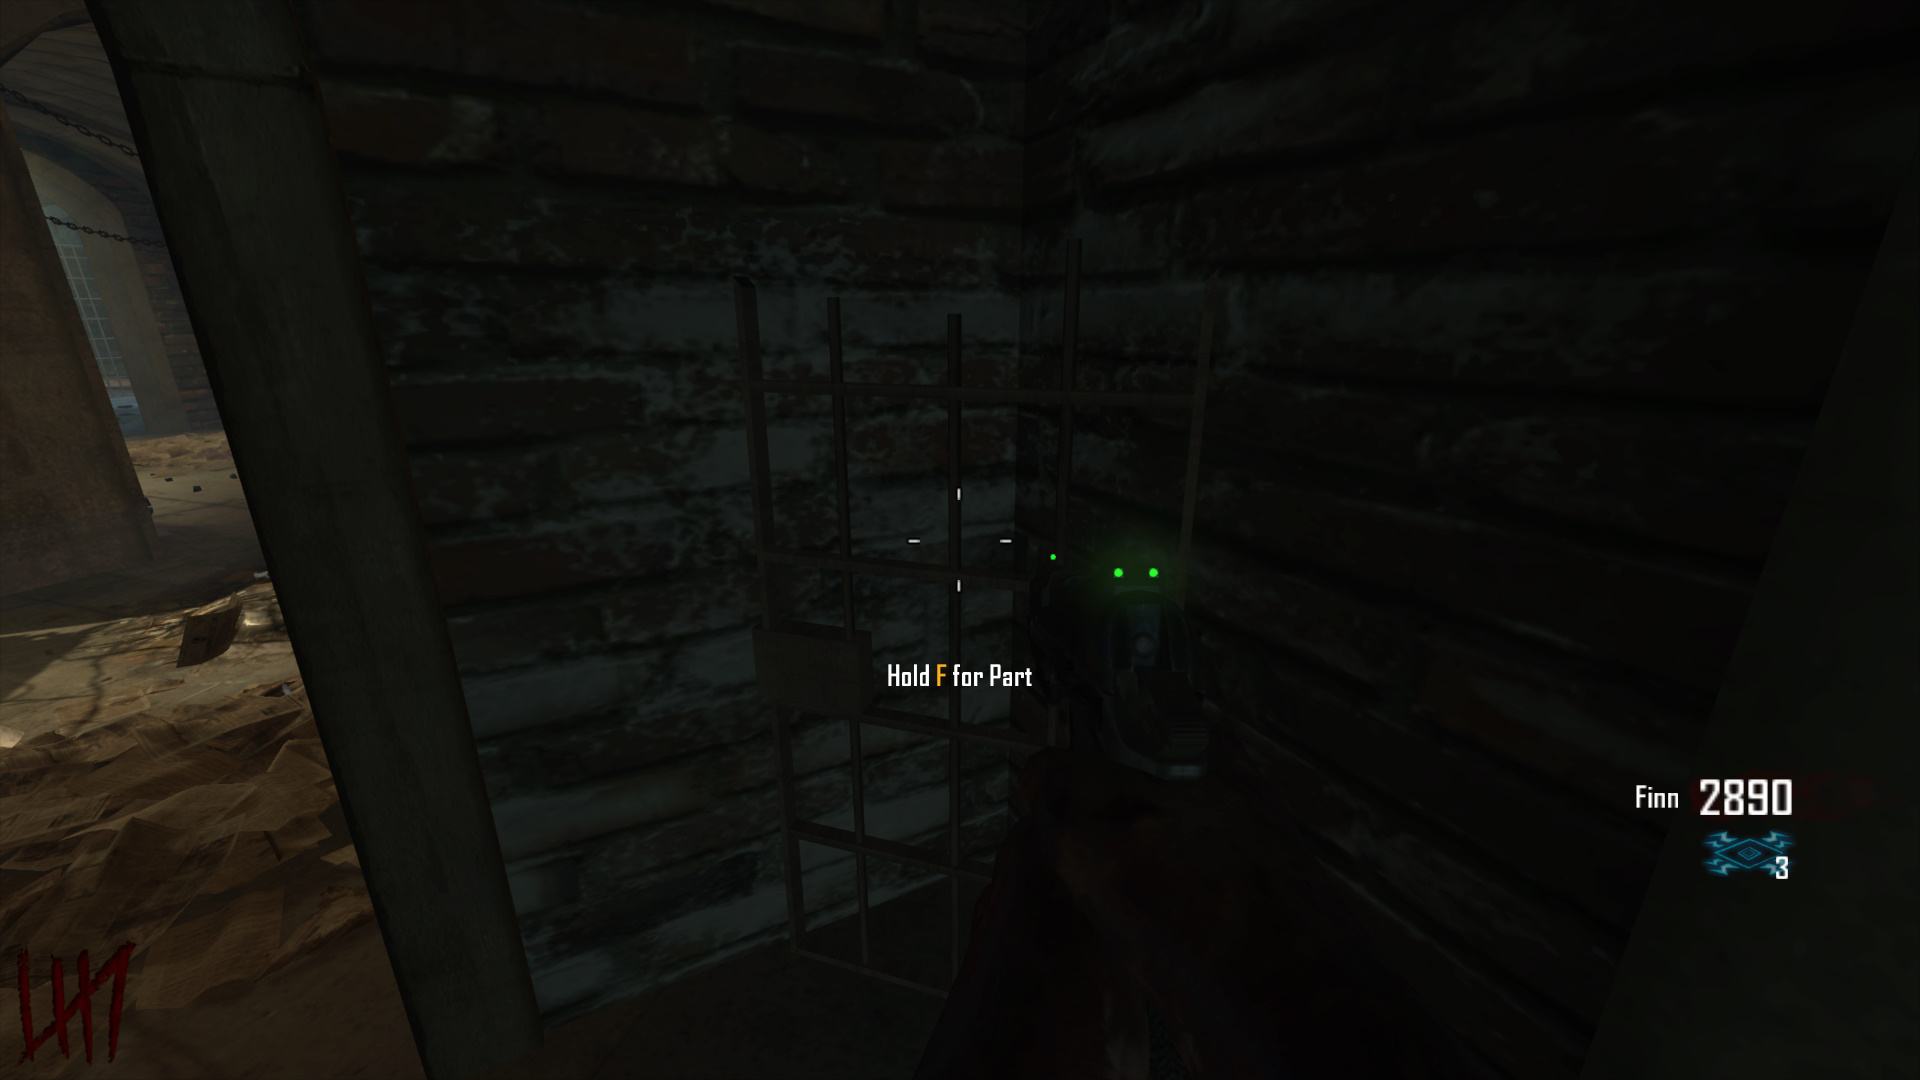 Citadel Tunnels, near the elevator on the bottom floor.
 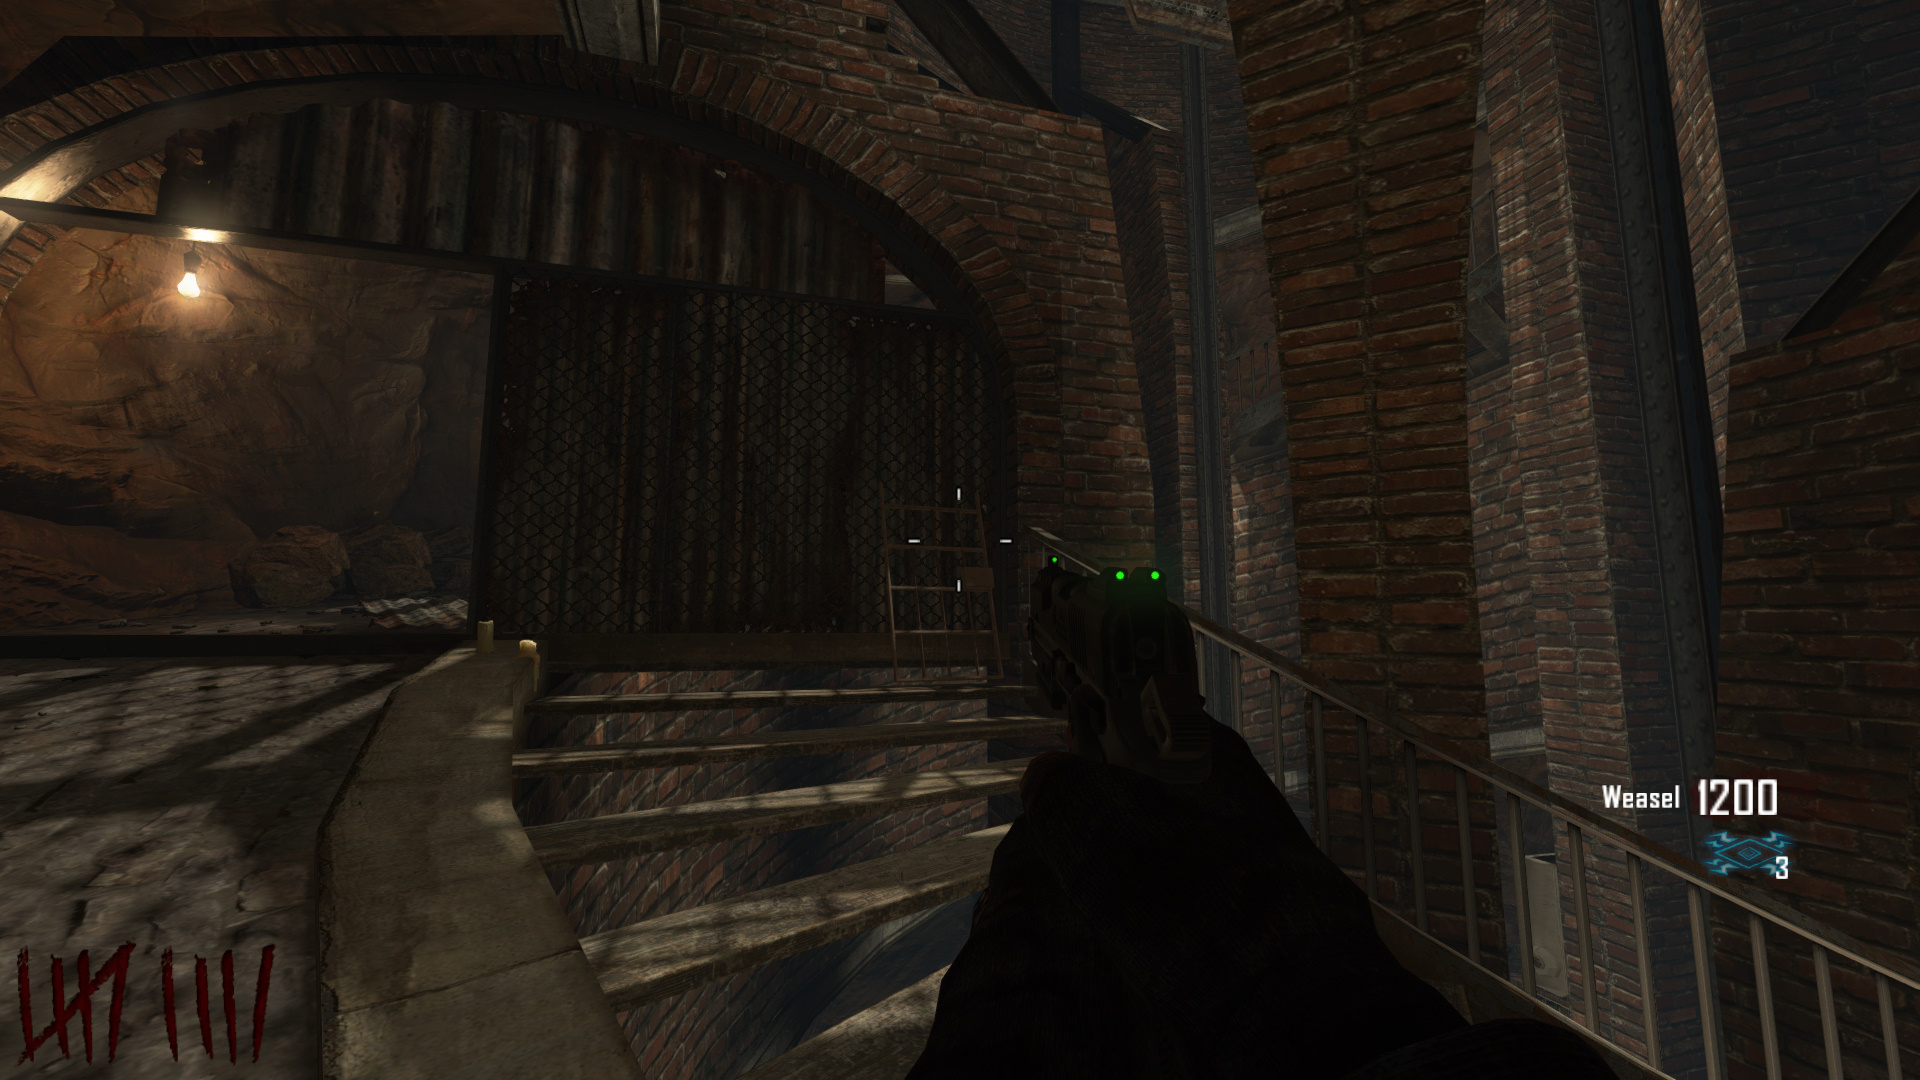 Citadel Tunnels, leaning on one of the walls on the staircase.
 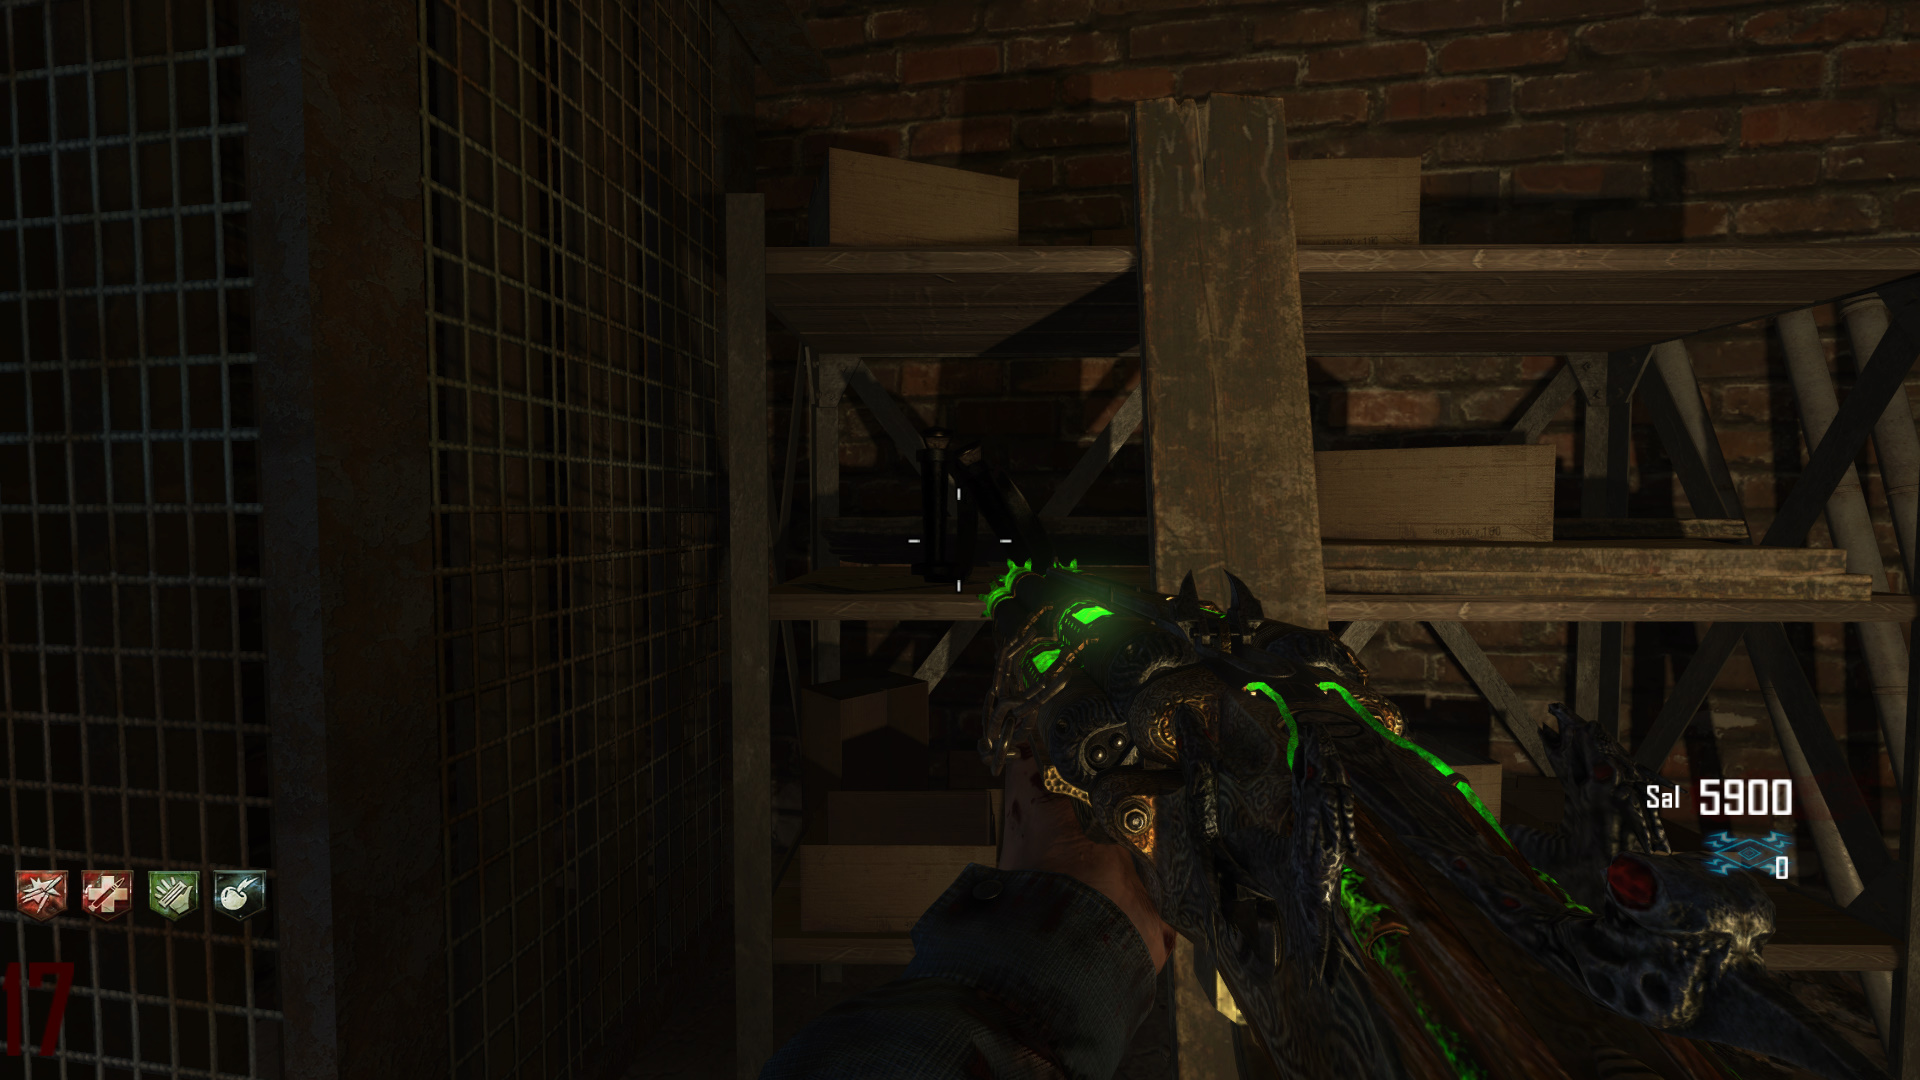 Generator Room, on the Shelf to the Left.
 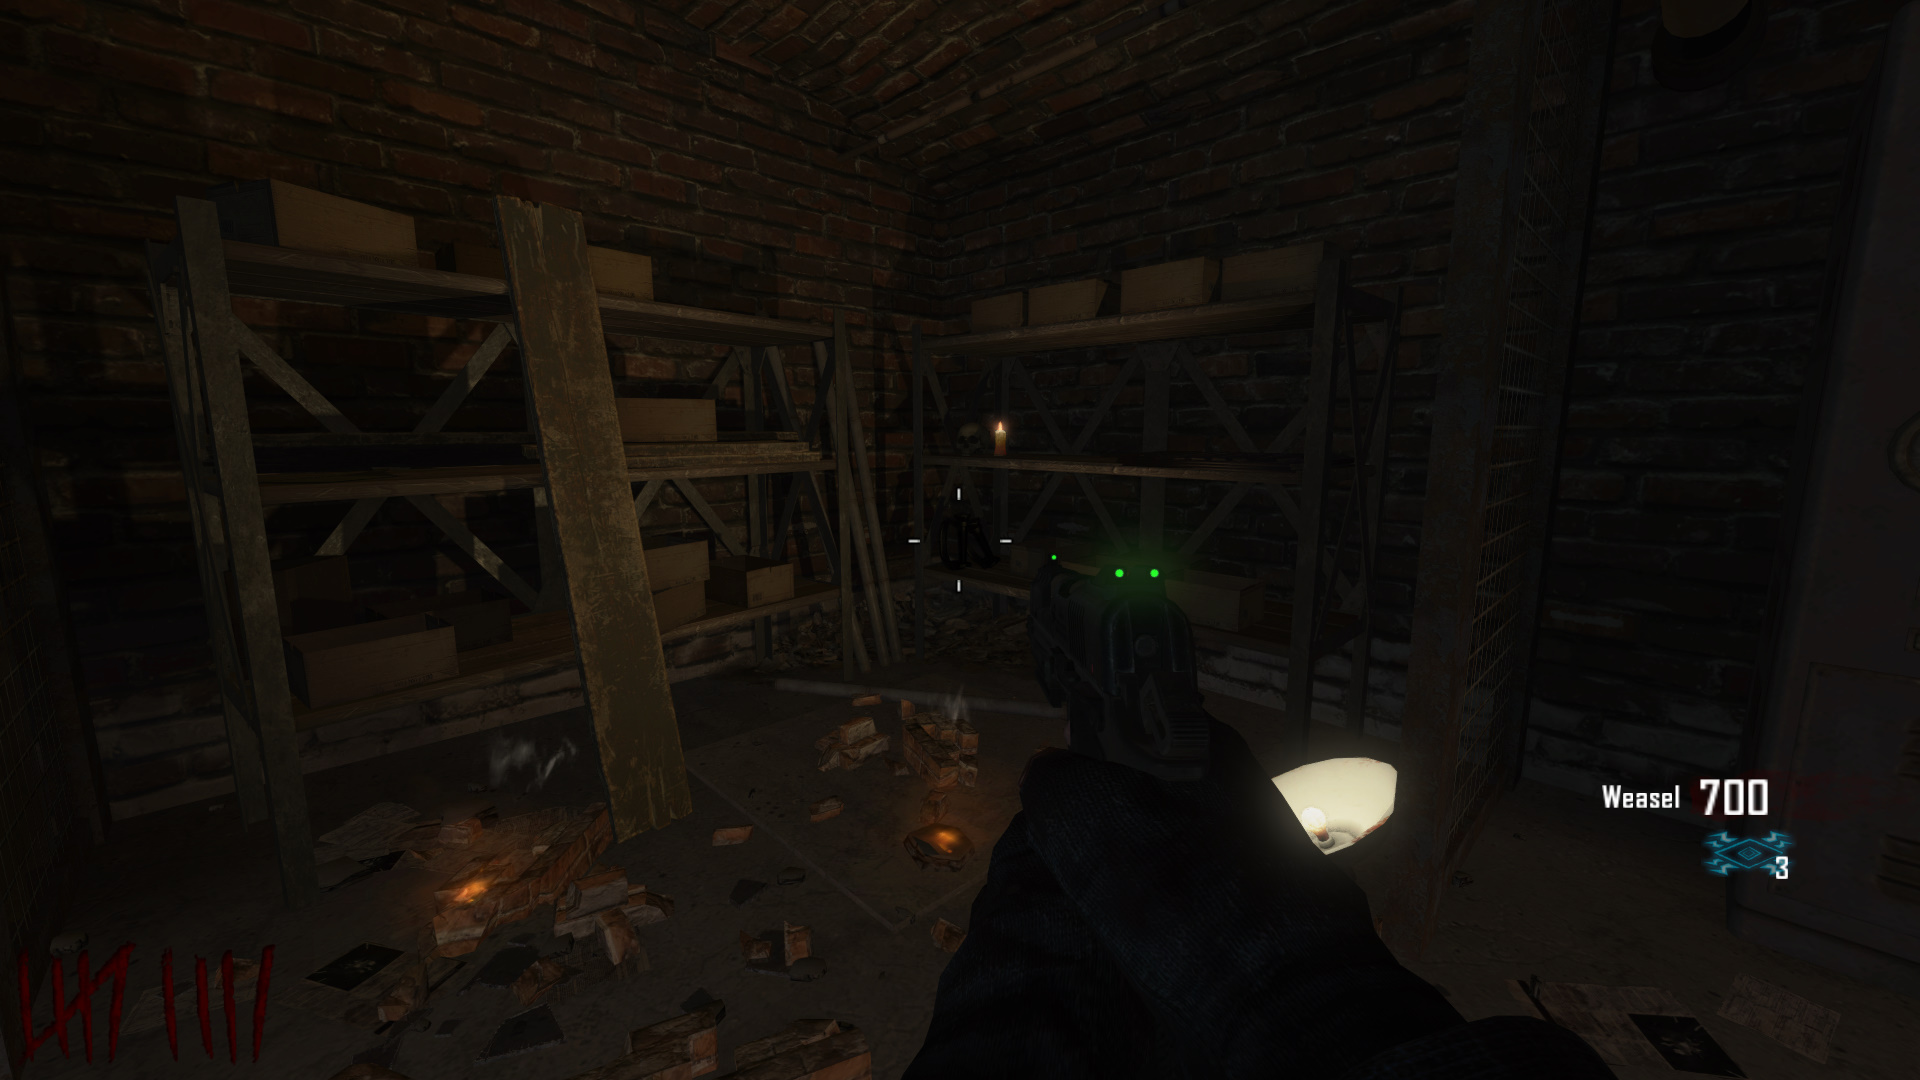 Generator Room, on the Shelf to the Right.
 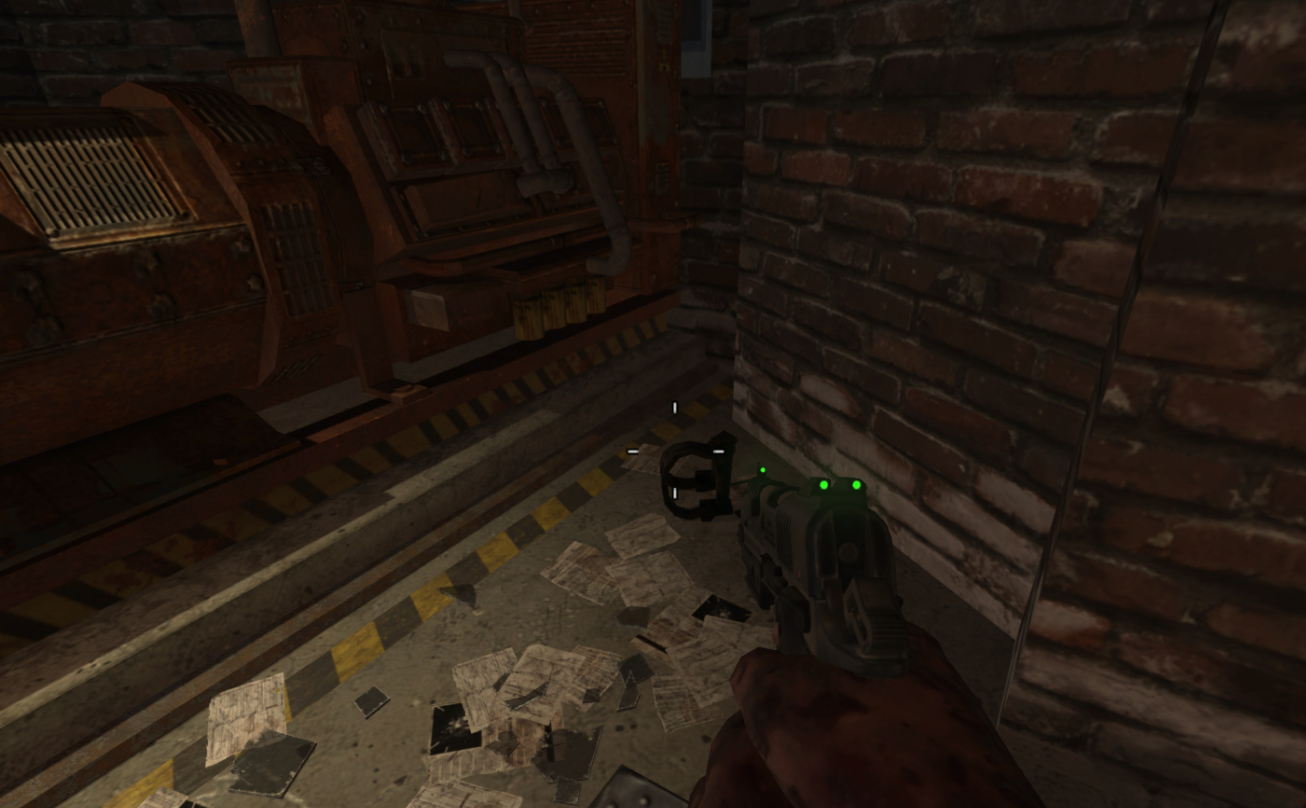 Generator Room, on the floor next to a generator.
 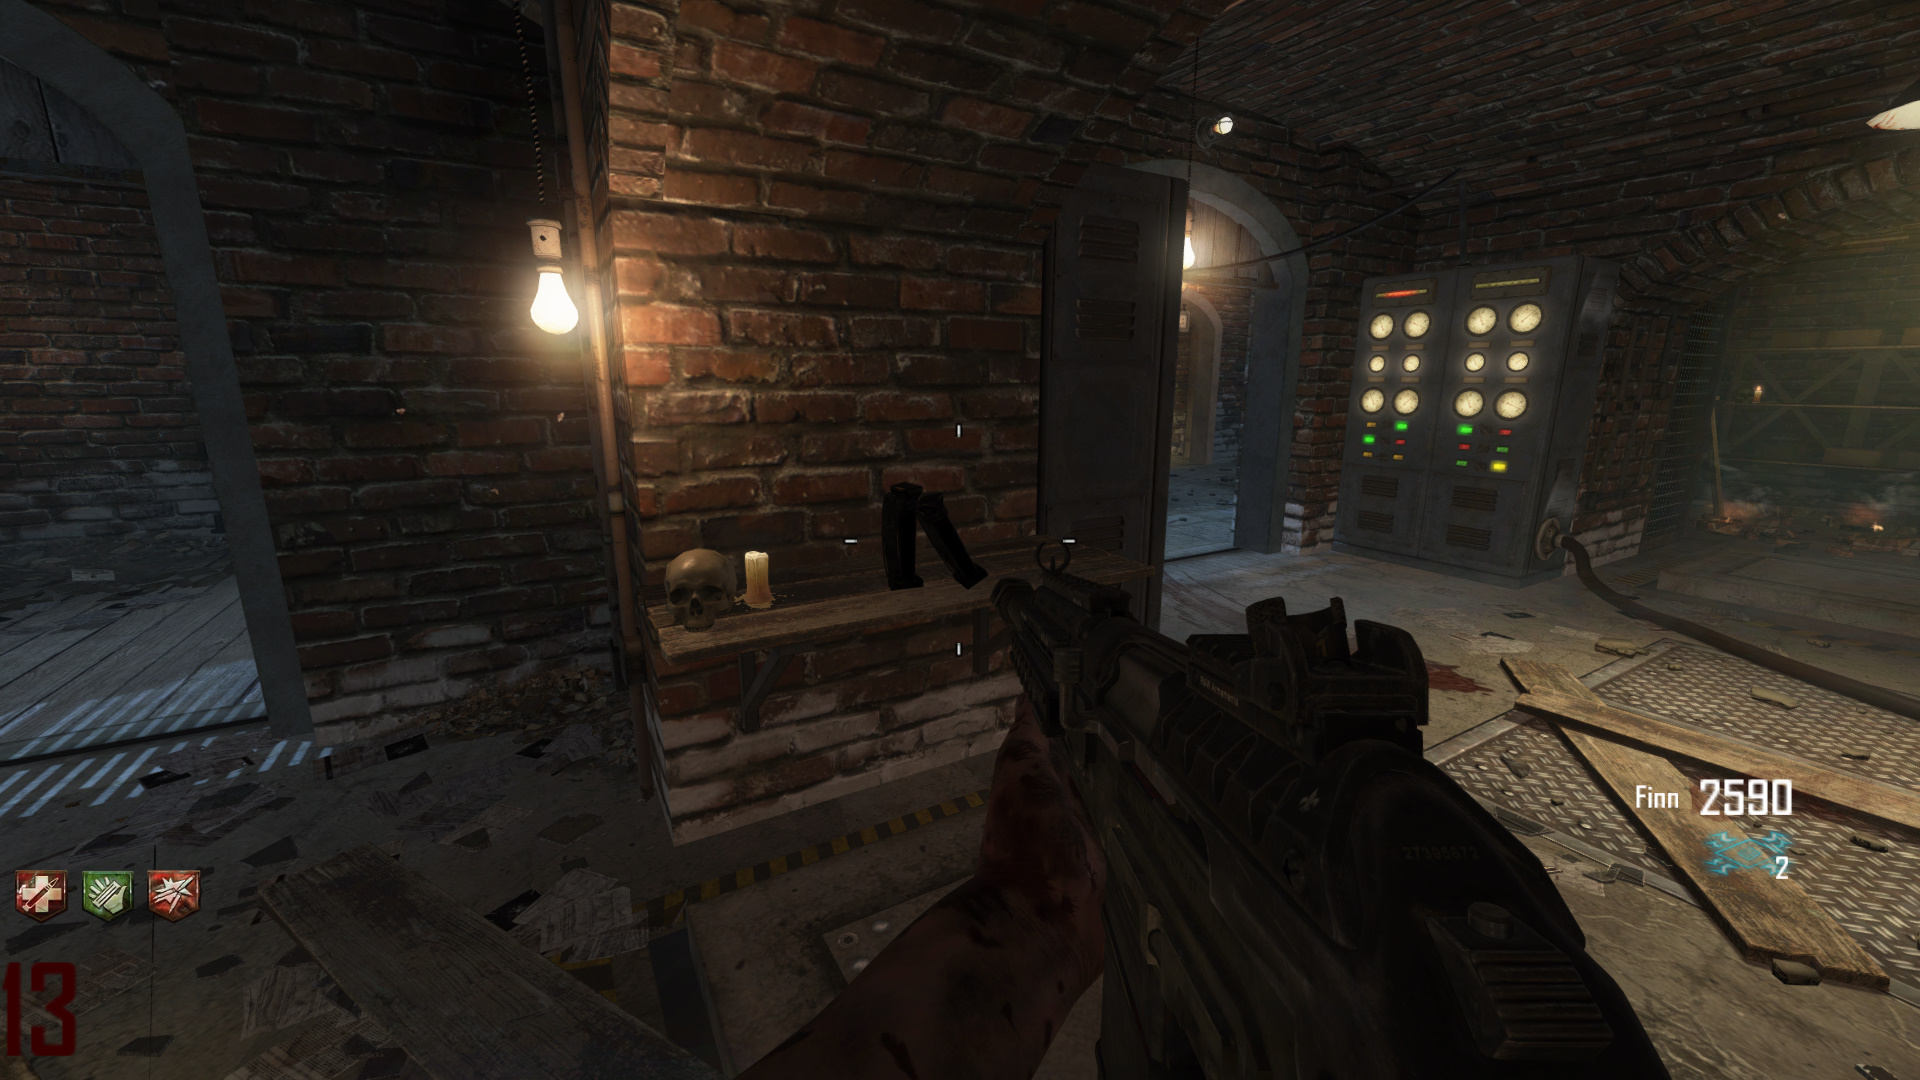 Generator Room, on a table.
 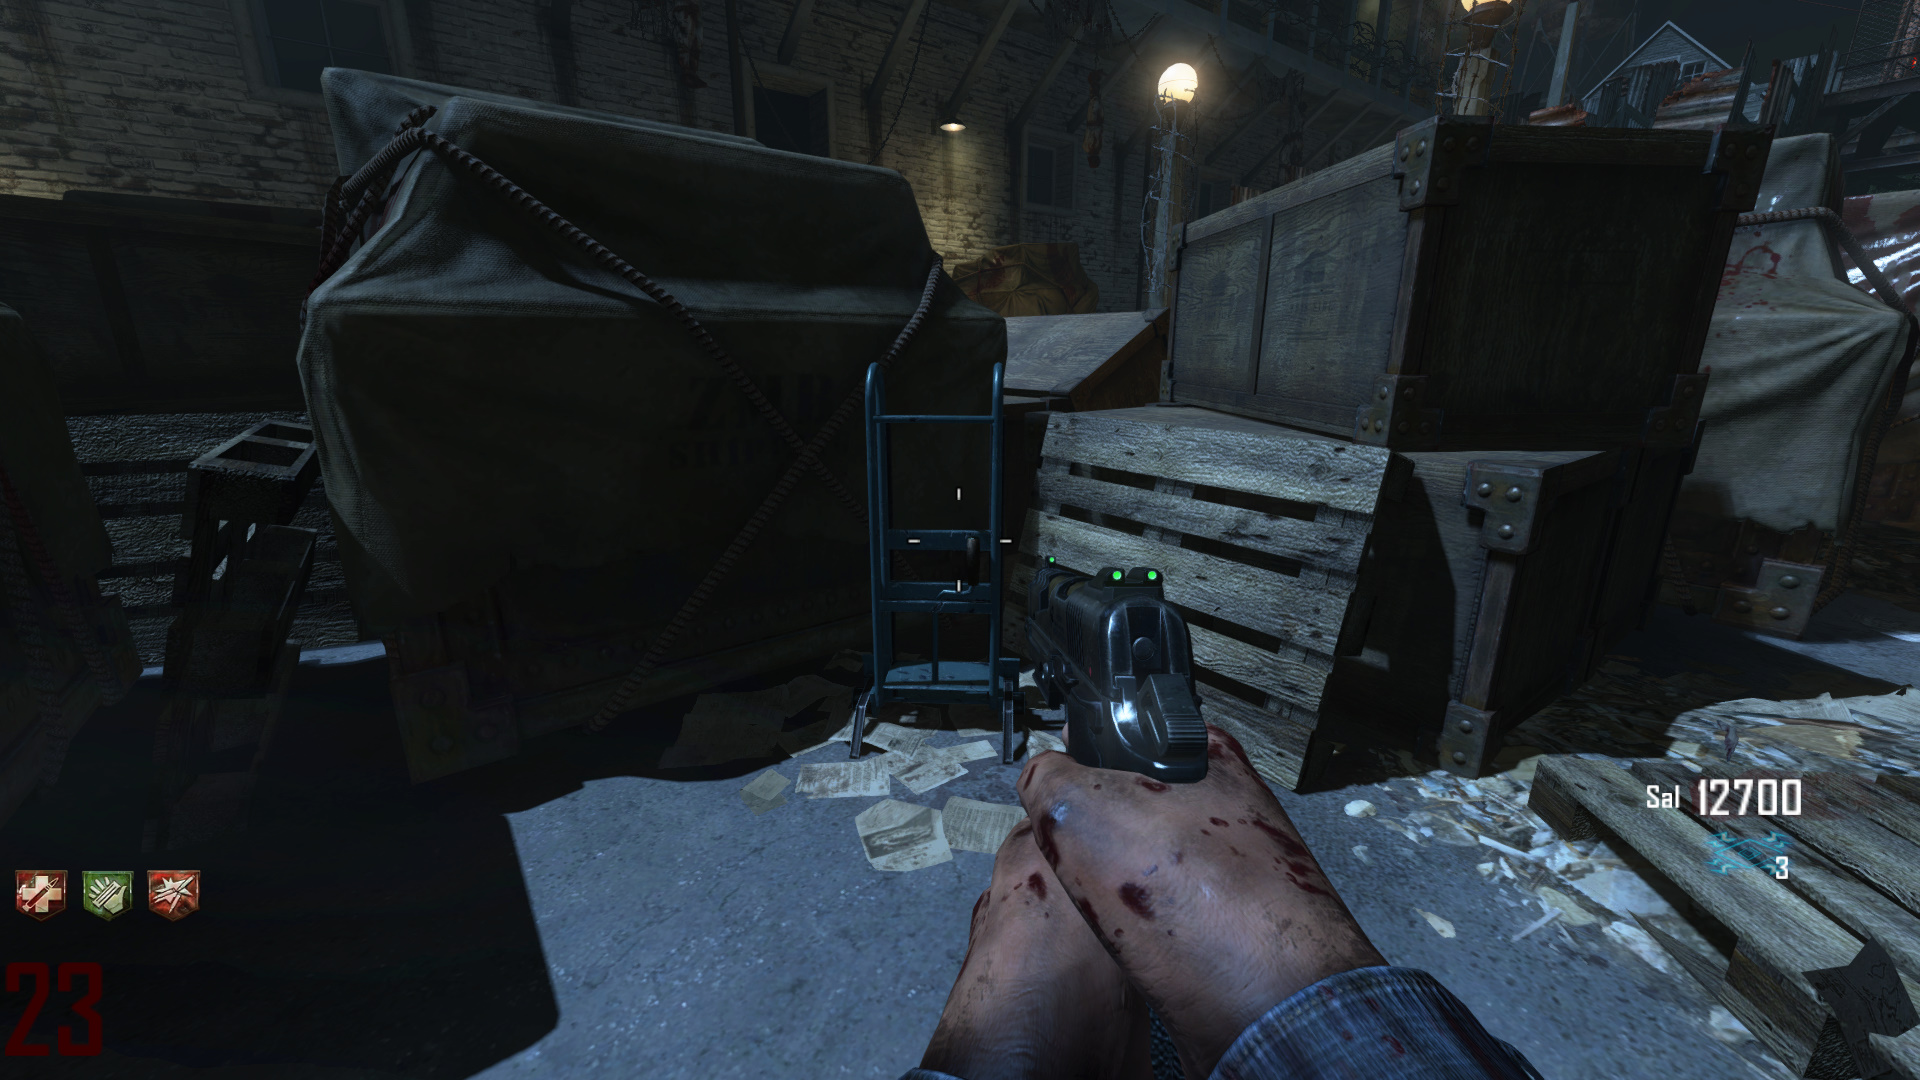 Docks, beside the boxes nearest to the mystery box spawn and closer to the M1927 Thompson Wallbuy.
 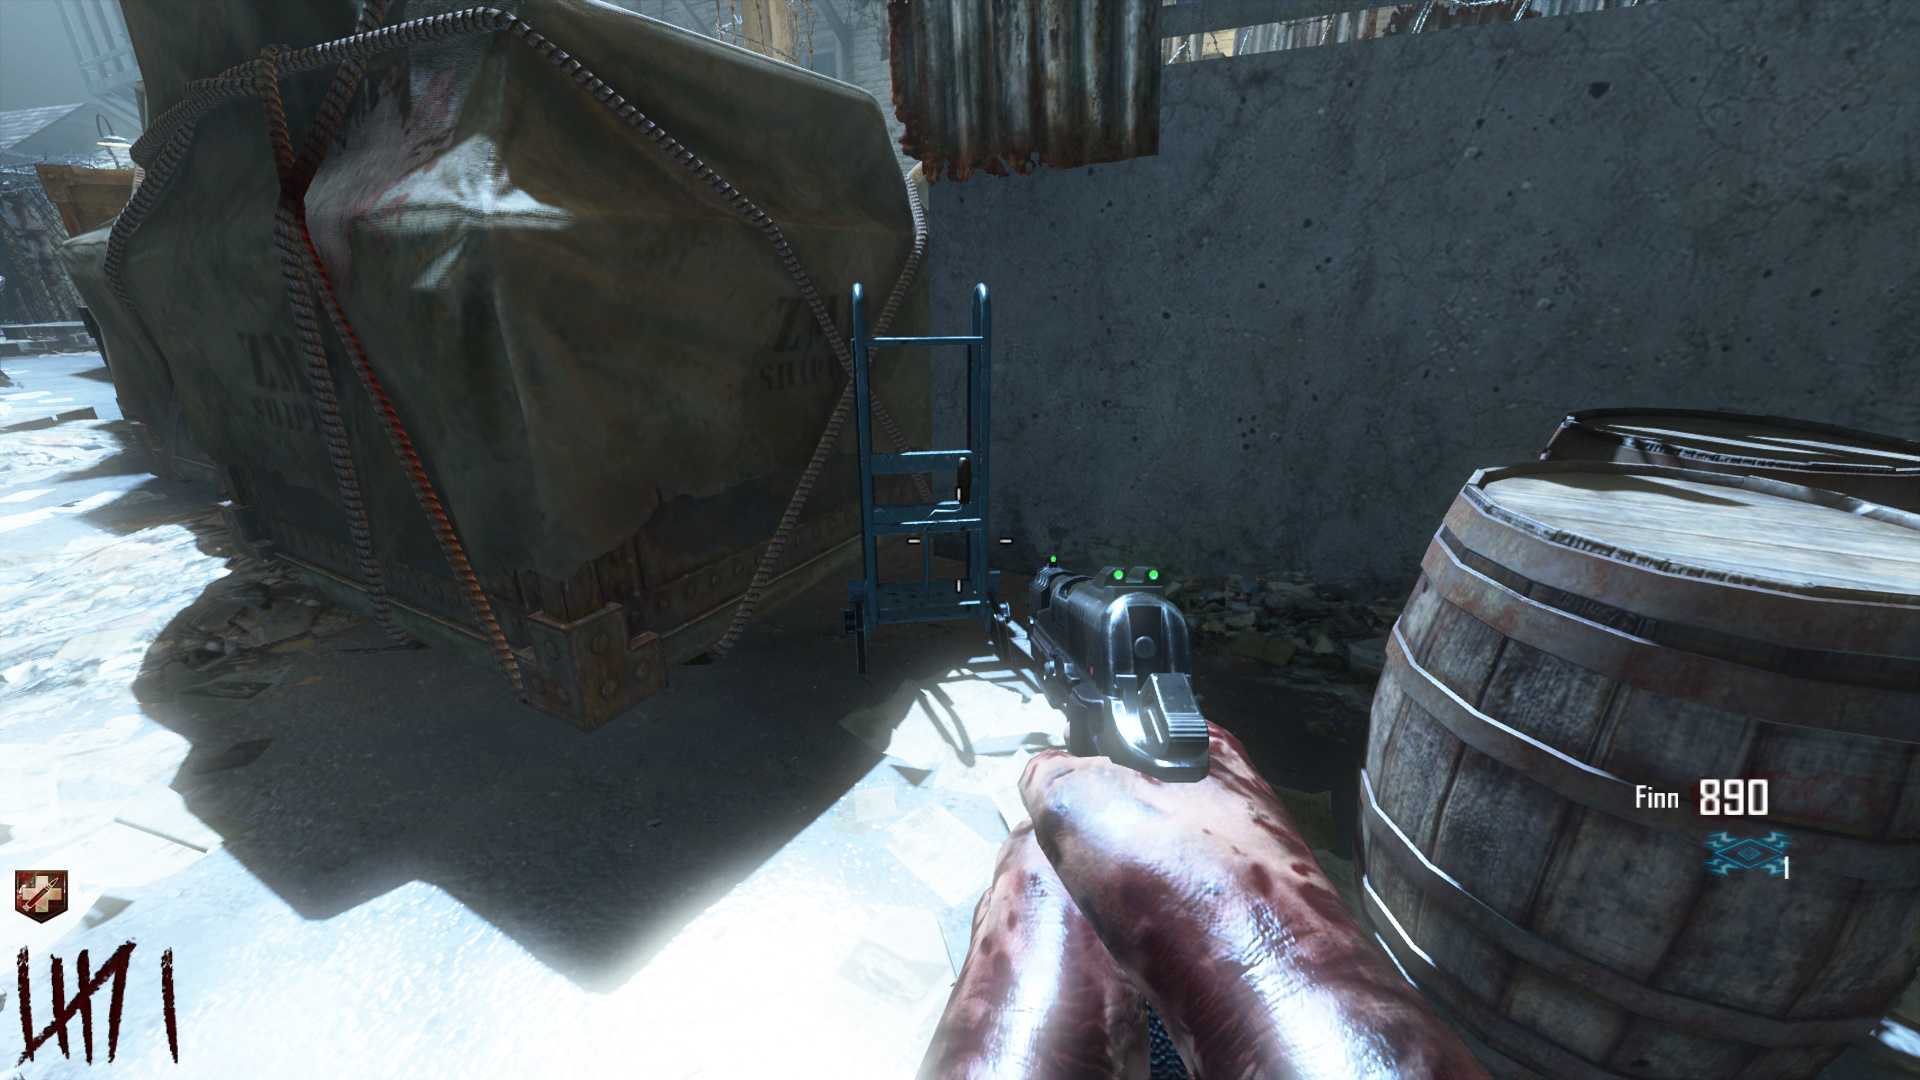 Docks, beside the boxes nearest to the mystery box spawn and closer to the sniper tower.
 Acid Gat Kit
Upgrade kit for the Blundergat. Build at a table, then interact while holding the Blundergat to convert it into the Acid Gat.
 Warden's Office, near the Uzi wallbuy against a wall.
 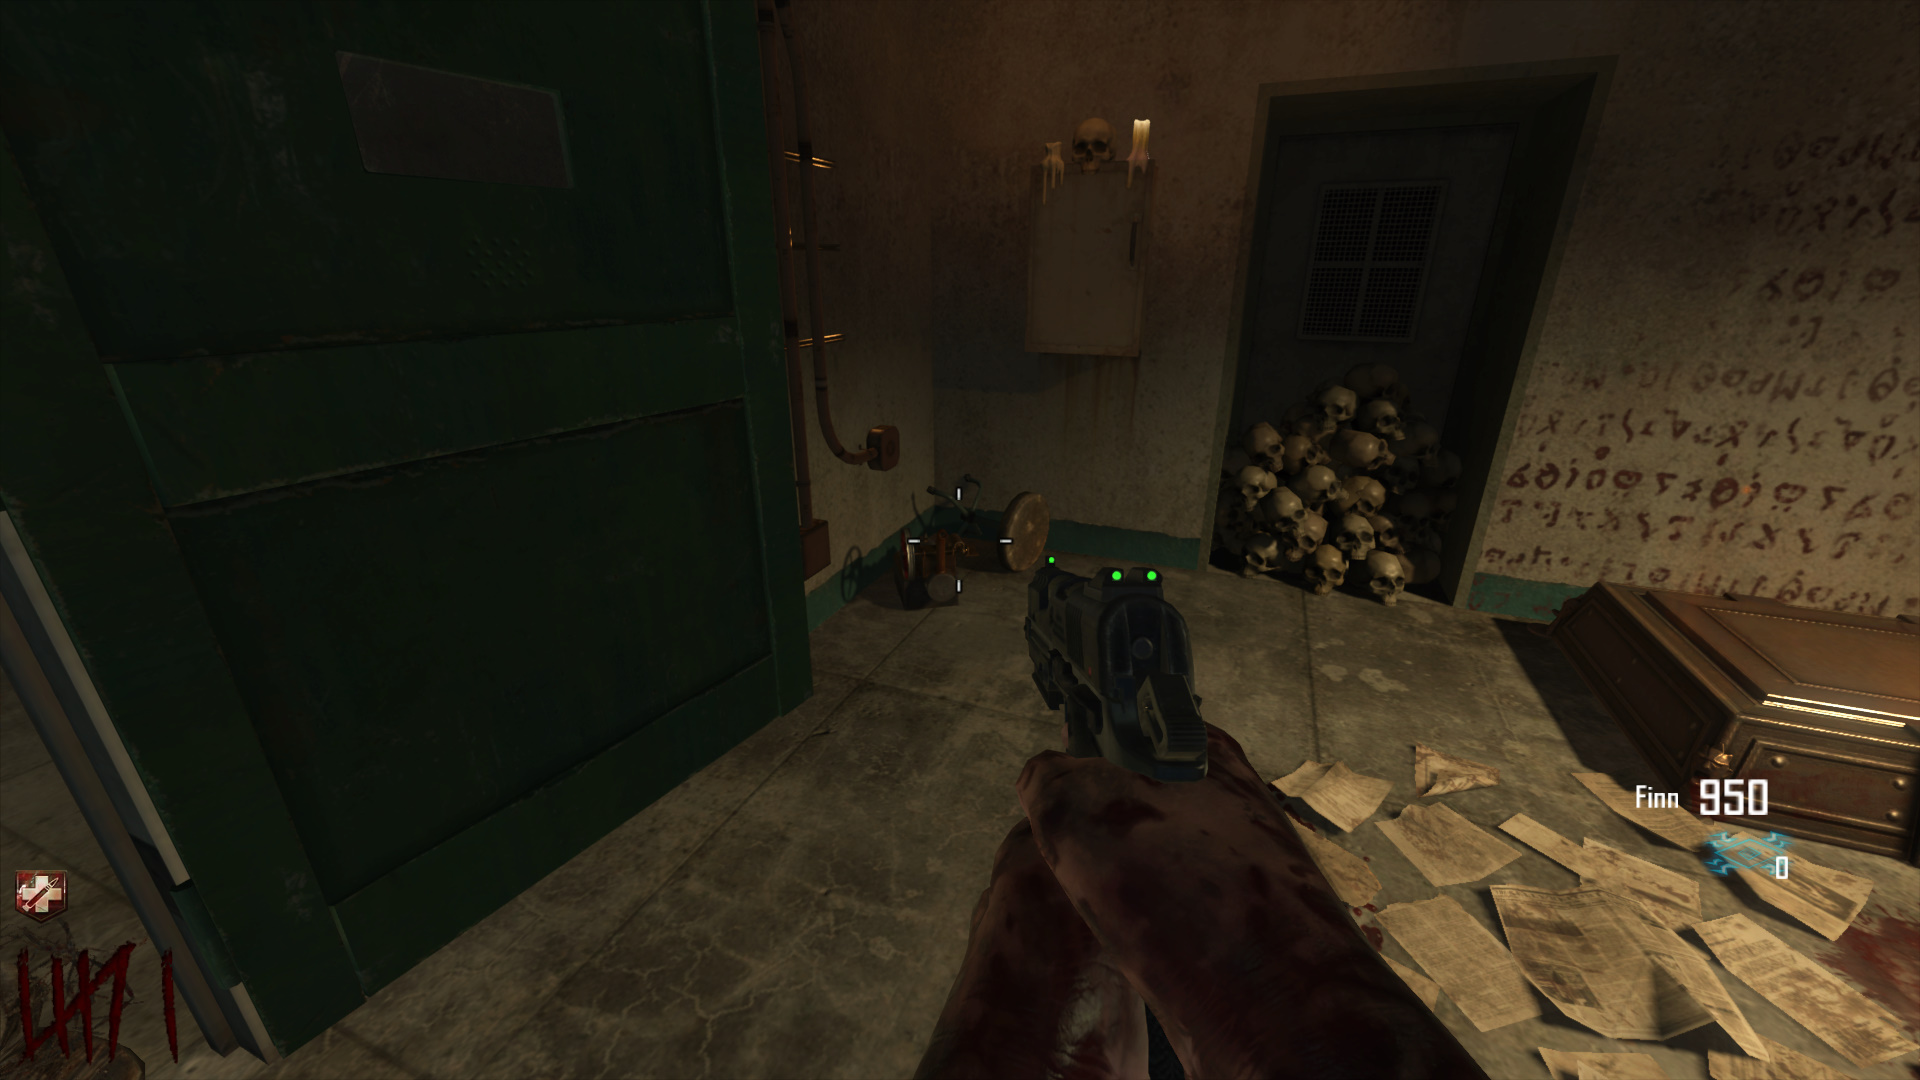 Warden's Office, left of the Mystery Box spawn.
 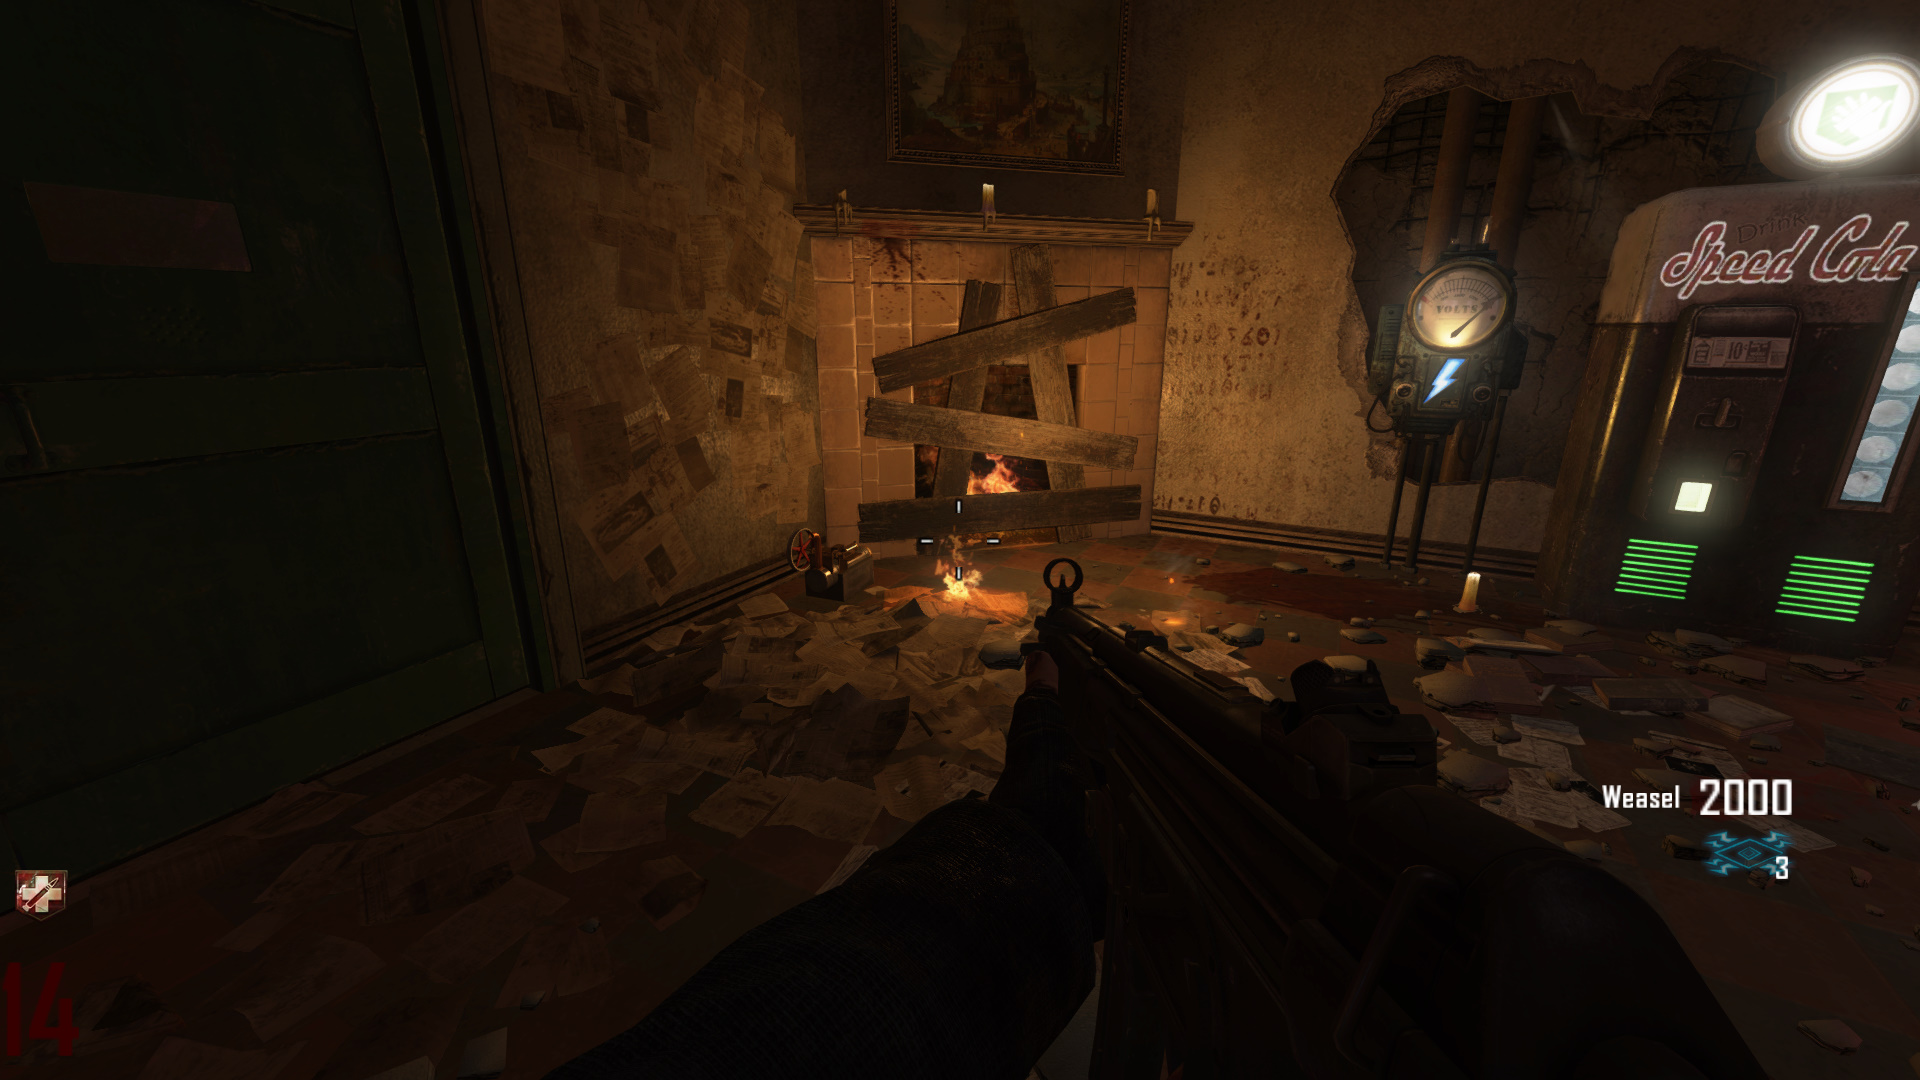 Warden's Office, left of the fireplace.
  Cell Block desk just outside spawn by a jail cell.
  Cell Block near the Afterlife box by Cafeteria.
 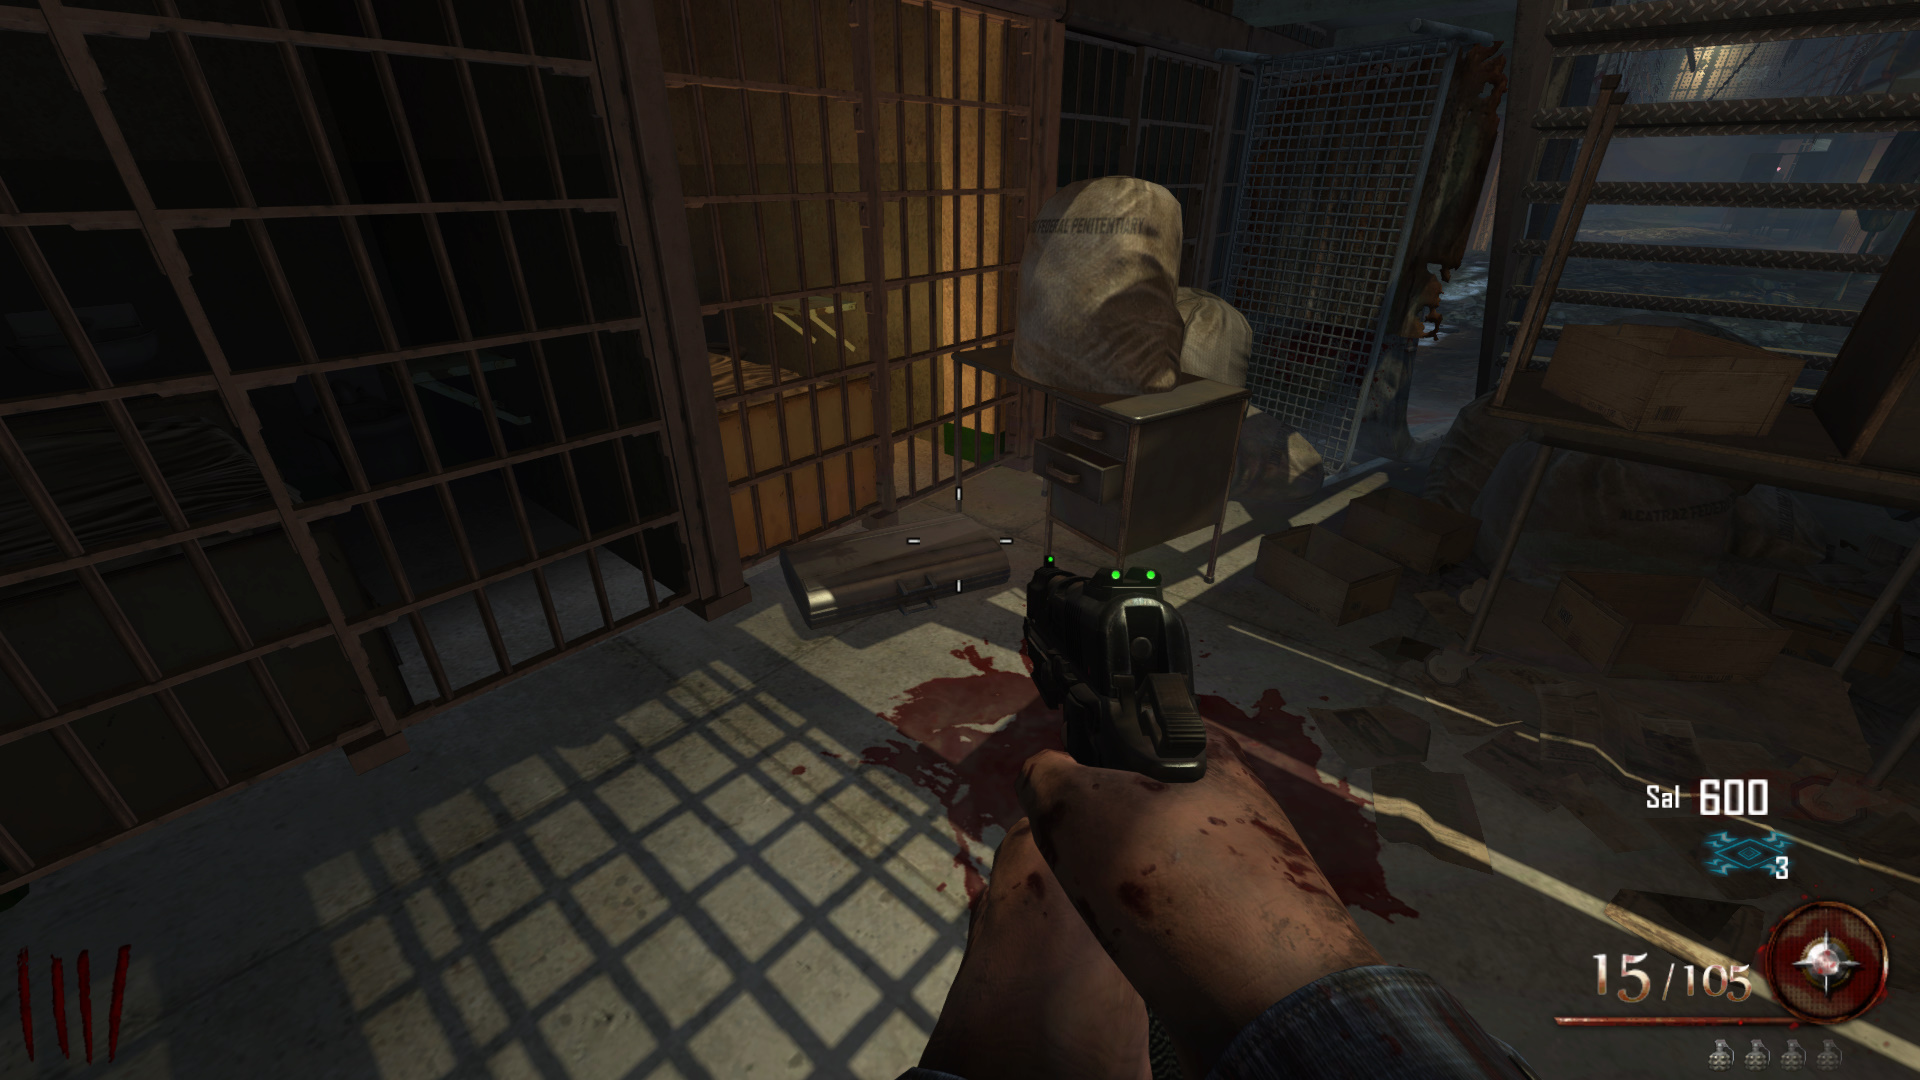 Cell Block under stairs in the hallway toward Warden's Office/B23R.
 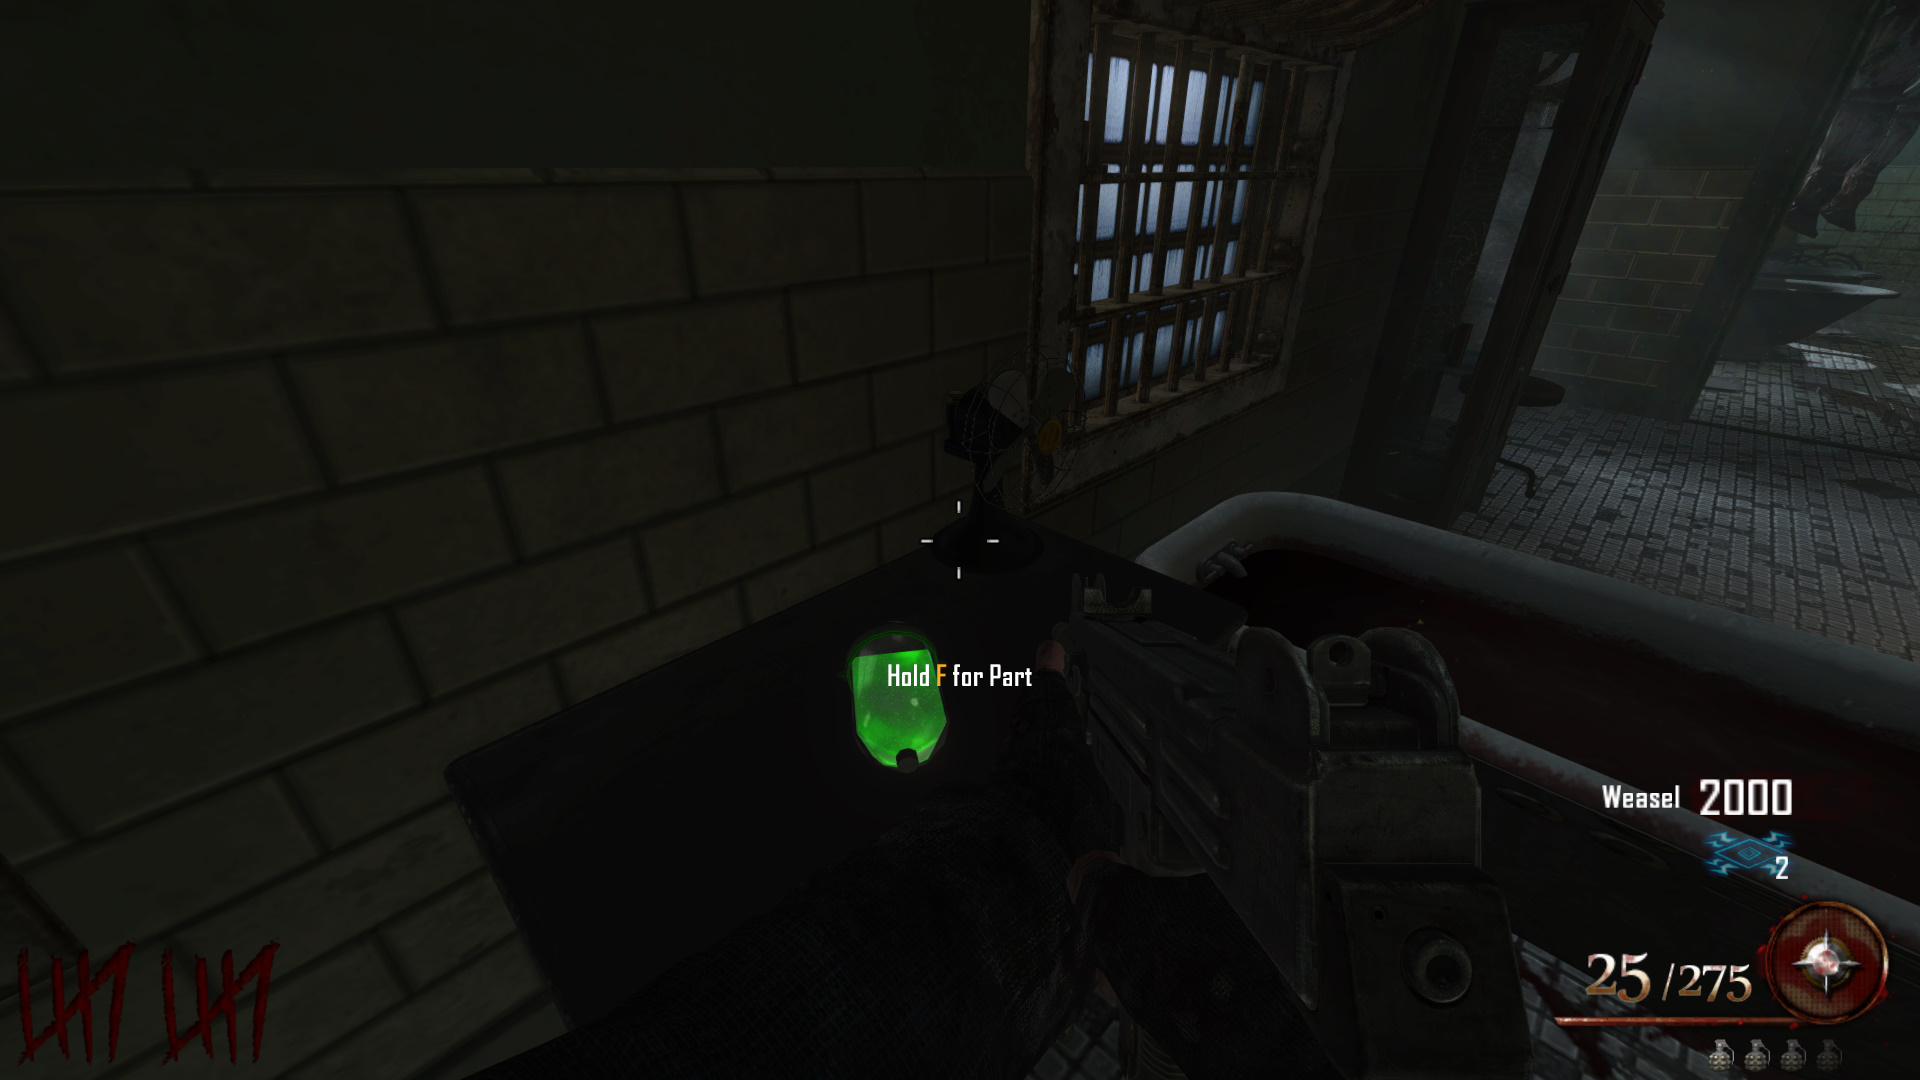 Infirmary table near a bloody bathtub.
 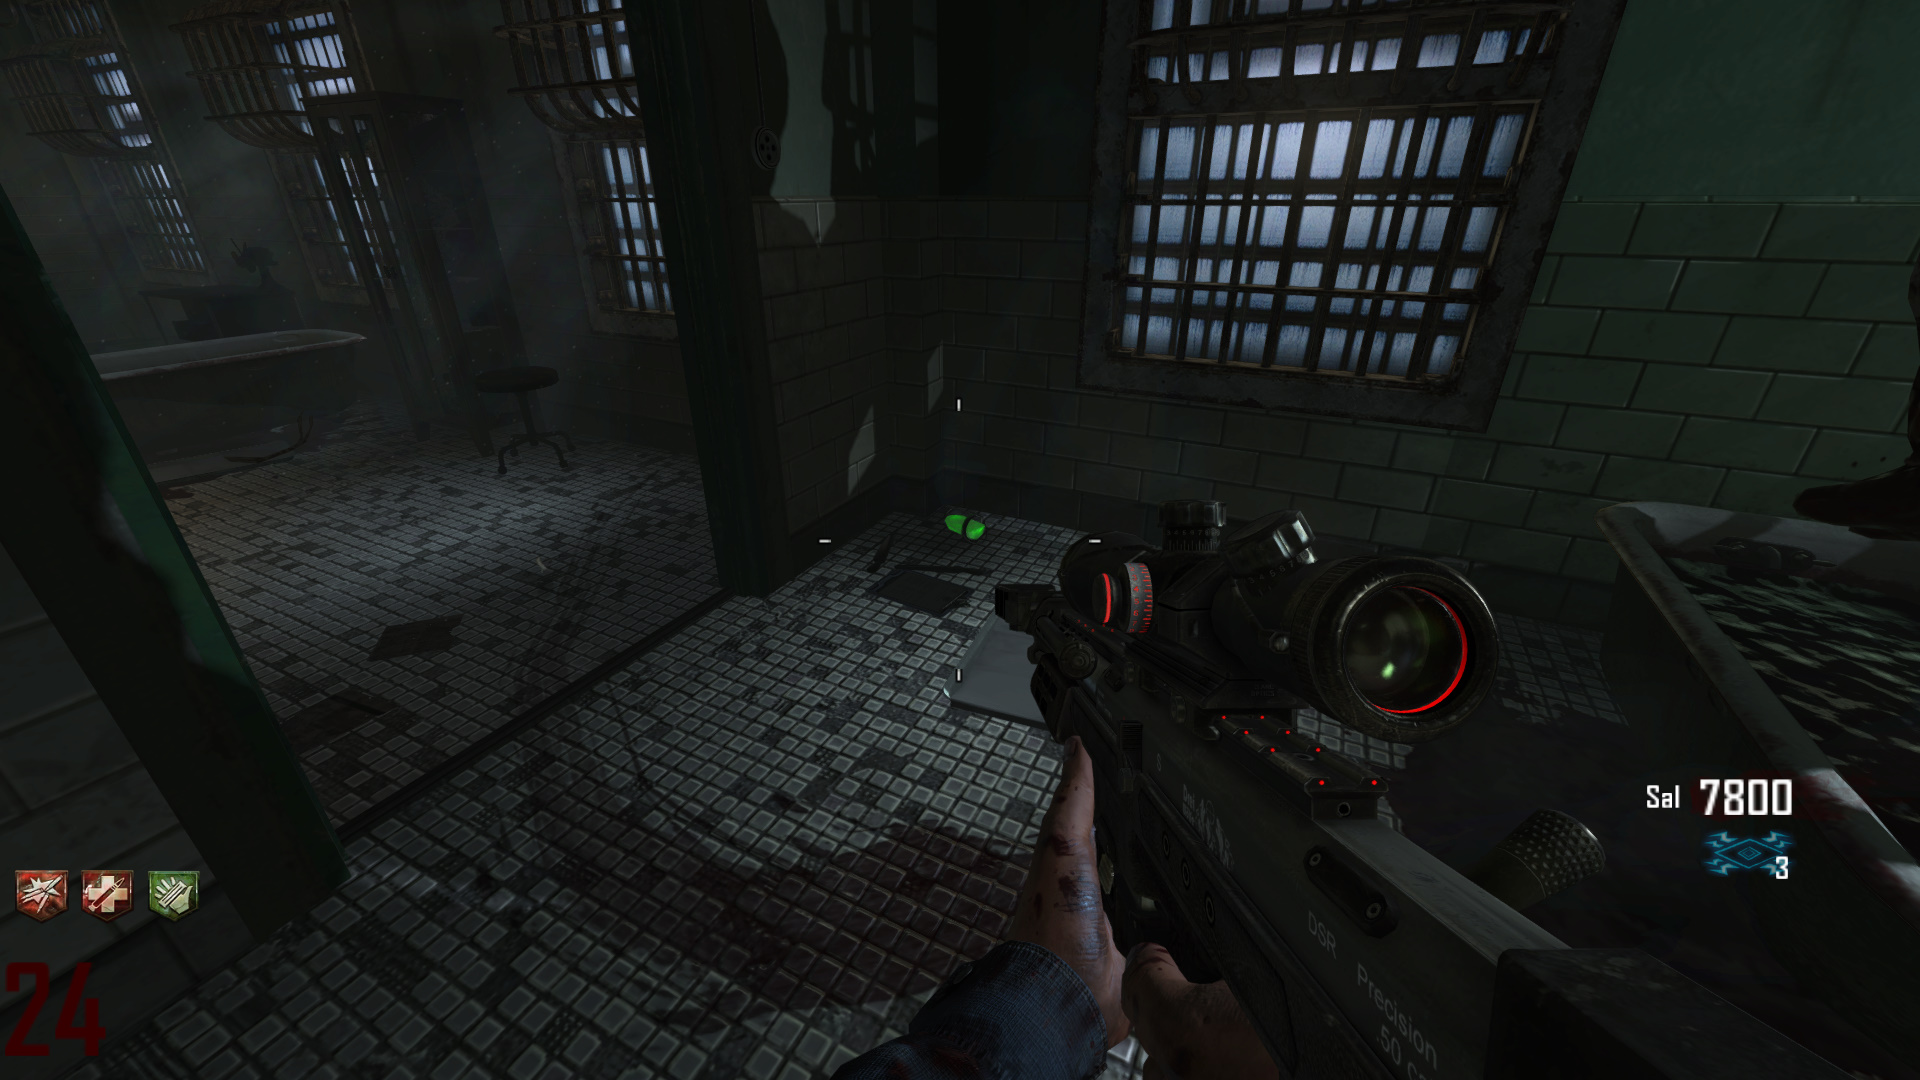 Infirmary floor corner in the room with two blood-filled bathtubs.
 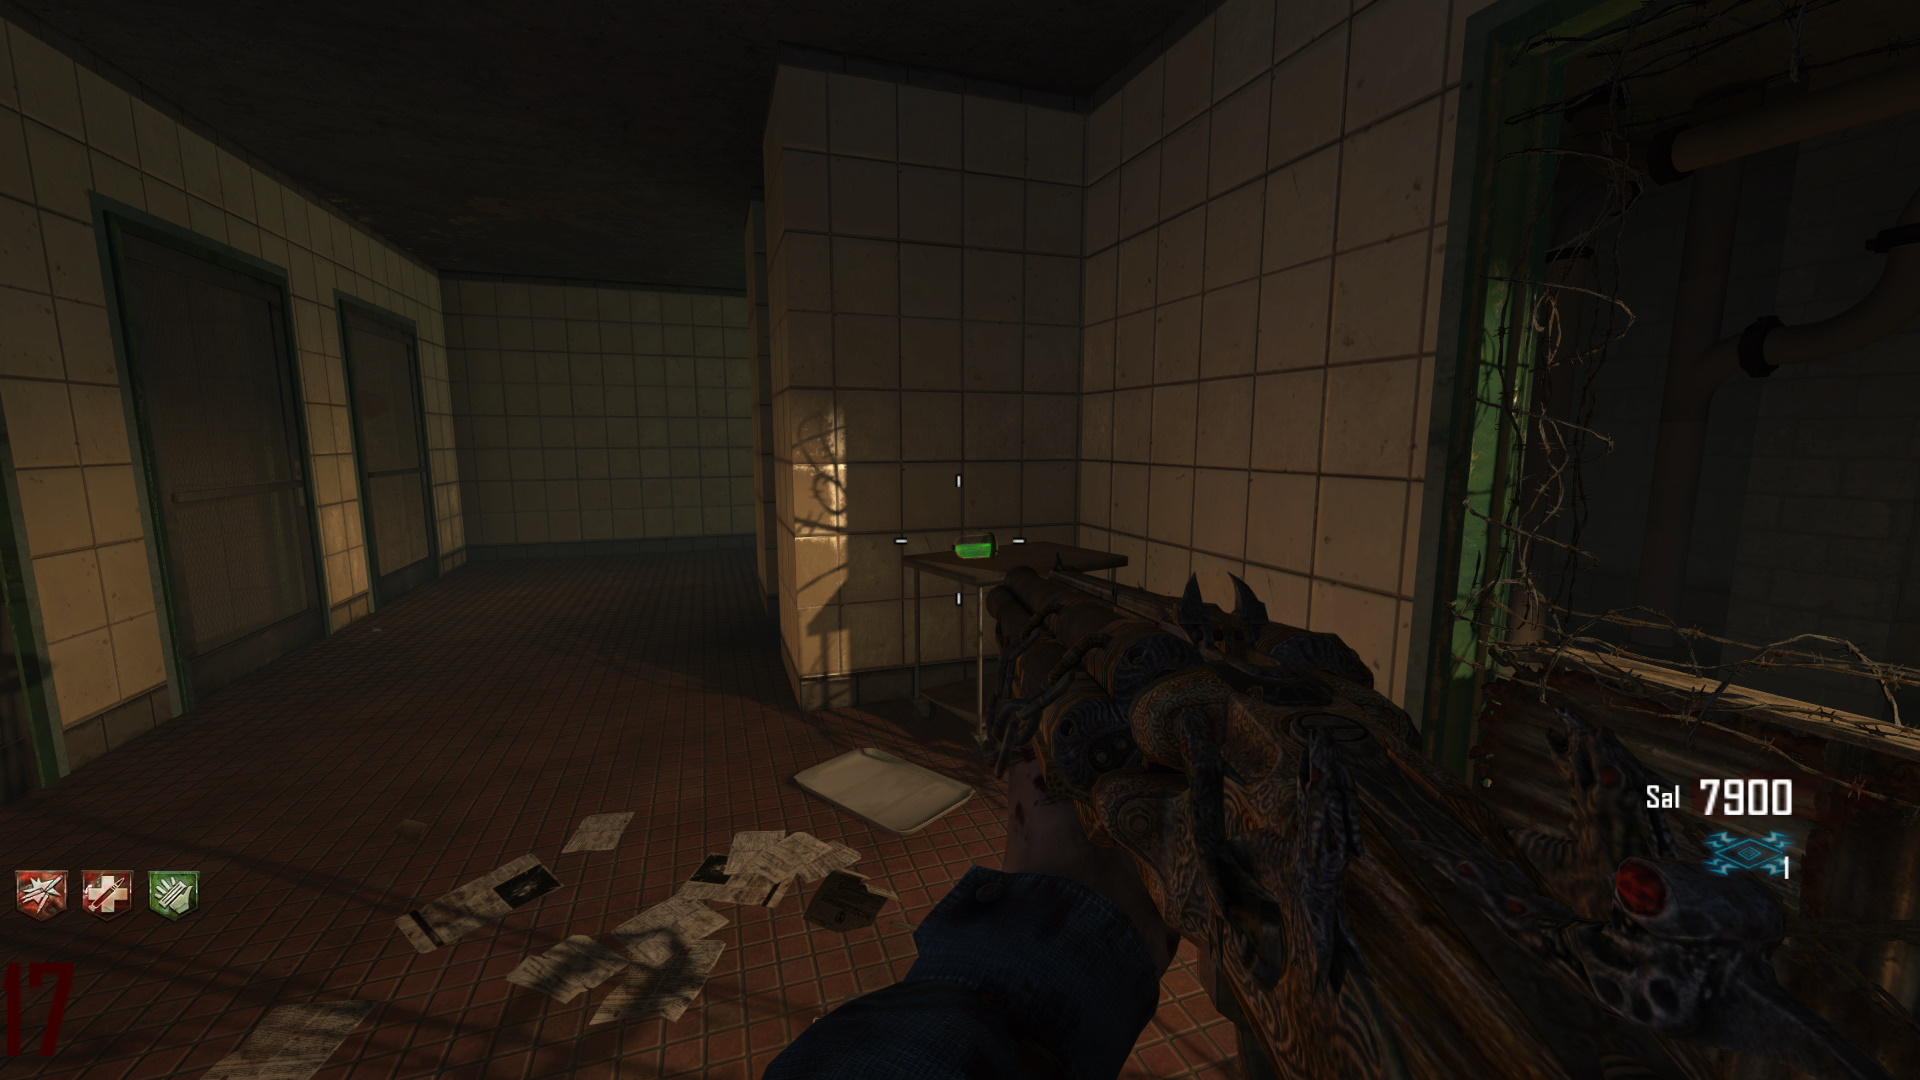 Infirmary hallway, on top of a trolley.
 Pop Goes the Weasel
CO-OP REQUIRED"Pop Goes the Weasel" (2-4 players only): complete core setup items, repeat the bridge cycle, enter inmate numbers in the Citadel panel, then resolve the final confrontation on the Golden Gate Bridge.
Step-by-step guide is being compiled. Overview above is a summary.
Field Strategies
- Spend early rounds opening routes tied to key progression checks (Warden's Key path, showers, Citadel, Docks generators).
- Prioritize Hell's Retriever and Blundergat access early; both feed into later objectives and survivability.
- Brutus can lock Mystery Box and perks for escalating fees each round, so clear him quickly and keep points in reserve.
- Use the gondola and trap network to rotate safely while handling tight corridors like Michigan and Citadel.
- Build the shield in the location you pass most often so replacements are low-risk and fast.
- When planning bridge trips, coordinate Afterlife timing so no one misses refuel or revive windows.
Special Enemies
An armoured warden that appears from round 4 onward. When he reaches a perk machine, Pack-a-Punch, or the Mystery Box he locks it — making it unusable until you kill him. He has very high health and moves steadily toward objectives.
TIP Drop everything and prioritise killing Brutus the moment he spawns. Use traps or high-damage weapons. Letting him reach perks will cost you points and time to unlock them.
Traps and Transport
Docks trap, 1000 points. Fires at nearby zombies and can be upgraded in Afterlife to launch RPG rounds.
Cafeteria trap, 1000 points. Instant-kills zombies in its spray lane but can damage players.
Warden's Office doorway trap, 1000 points. Must be activated via Afterlife and downs players instantly on contact.
Costs 750 points from Cell Block top floor to Docks. Requires prior Afterlife power activation.
Special Weapons and Upgrades
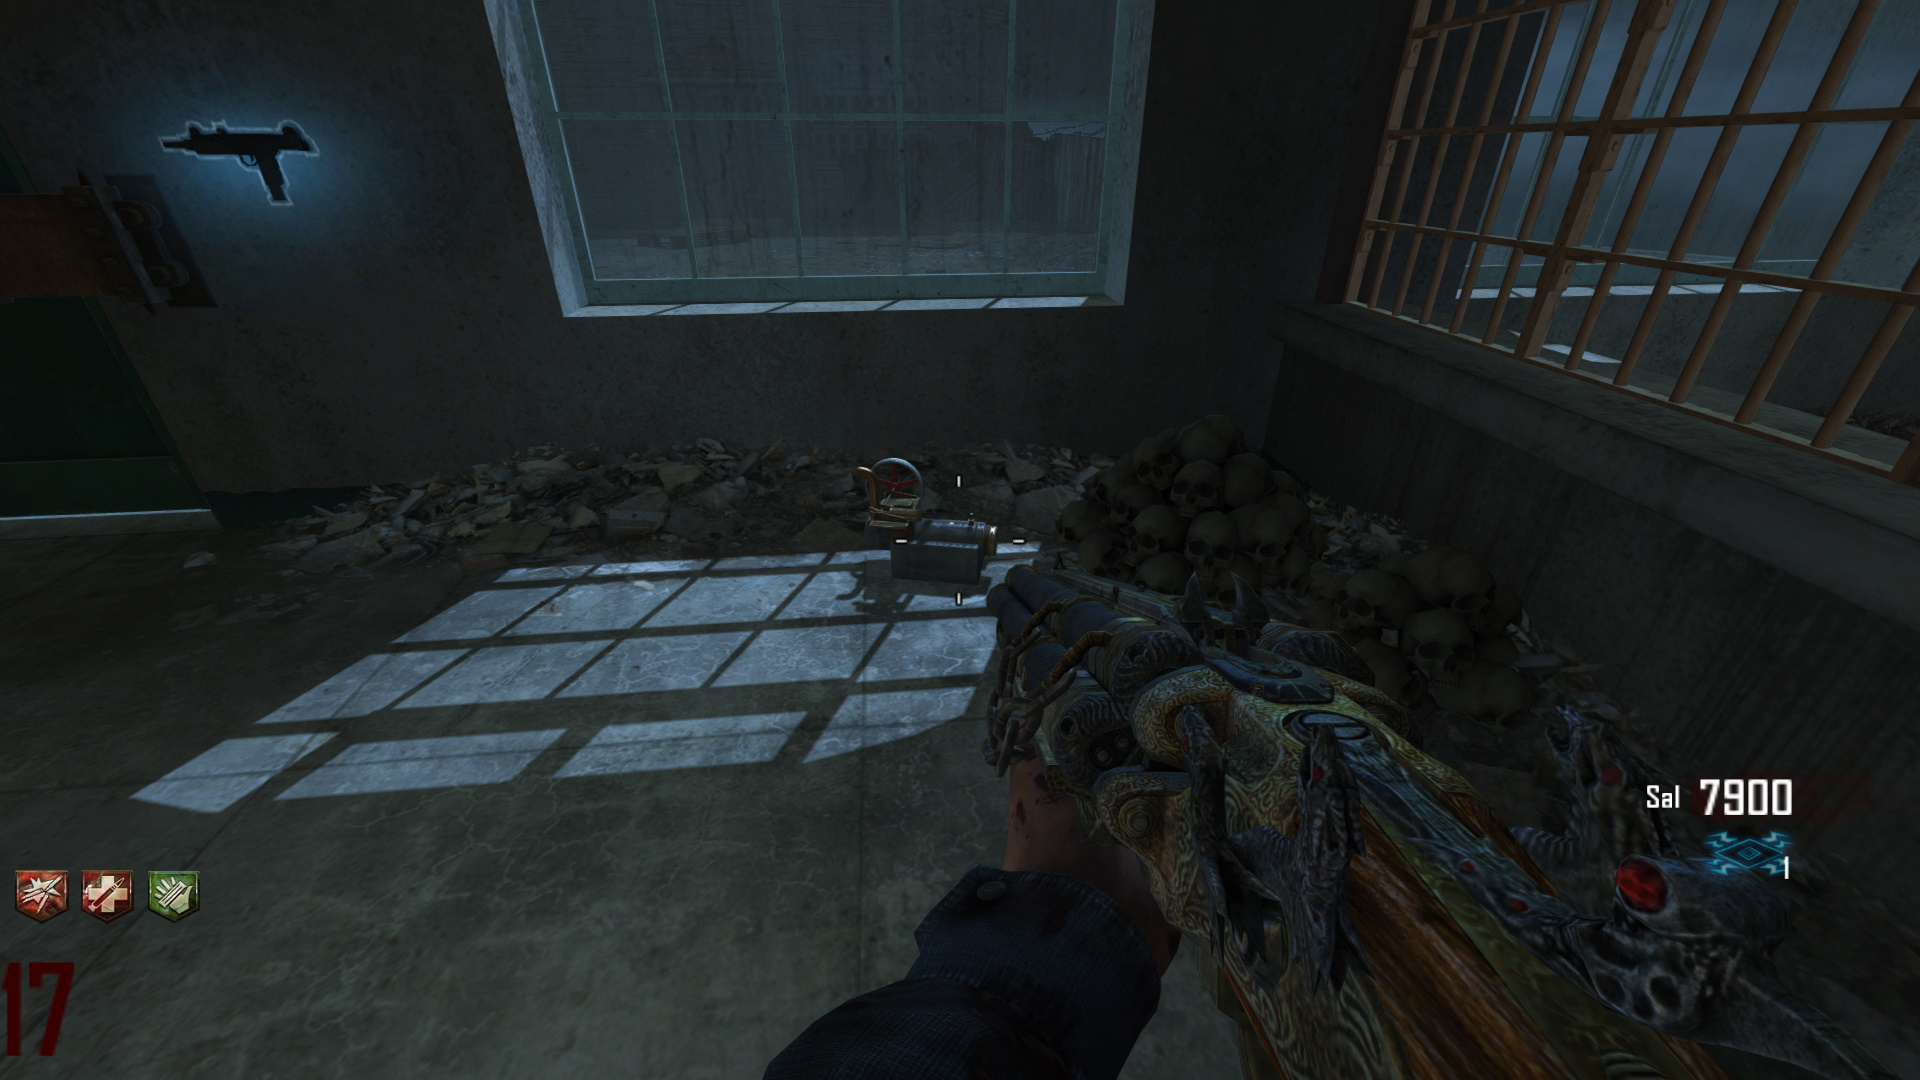
After acquiring Hell's Retriever, hit the five hidden skulls around Alcatraz, then collect the Blundergat in Warden's Office near Speed Cola.
Feed all three Cerberus heads (Broadway, Infirmary, Docks) and claim it in Citadel Tunnels at the dog-head altar.
Wiki path: get Retriever kills, finish a bridge round with it, throw it into the Broadway lava pit, then claim the blue-aura upgrade in Afterlife at Citadel.
Use Retriever and Afterlife interactions near Warden/Cafeteria for Silver Spoon, then complete blood-bath and shower-kill requirements to claim Golden Spork.
Game Features
Warden's Office, Cafeteria, Docks, Infirmary, and Citadel Tunnels. Brutus can lock the box and force a paid unlock.
Juggernog (Docks), Speed Cola (Warden's Office), Double Tap II (Citadel), Deadshot Daiquiri (Infirmary), Electric Cherry (Cell Block top floor).
Perks and box can be locked and require paid unlocks; costs escalate when repeatedly locked in the same round.
Main Easter Egg Notes
The wiki specifies 2-4 players only; the Main Easter Egg cannot be completed solo.
After setup and repeated cycles, use Afterlife in the Citadel/Docks spiral panel and input inmate numbers: 101, 386, 872, 481.
Collect headphone narration prompts, then refuel/board in Afterlife and resolve the final Weasel-vs-crew ending on the bridge.